monsieurbiz / sylius-rich-editor-plugin
Sylius的富编辑器插件。
Requires
- php: ^8.0
- league/commonmark: ^2.5
- sylius/sylius: >=1.11 <1.14
- twig/extra-bundle: ^2.16|^3.12
- twig/markdown-extra: ^2.16|^3.12
Requires (Dev)
- friendsofphp/php-cs-fixer: ^3.16
- phpmd/phpmd: ^2.15
- phpspec/phpspec: ^7.0
- phpstan/phpstan: ^1.8.4
- phpstan/phpstan-doctrine: ^1.3.2
- phpstan/phpstan-webmozart-assert: ^1.1
- phpunit/phpunit: ^10.5
- dev-master / 2.9.x-dev
- v2.9.1
- v2.9.0
- v2.8.4
- v2.8.3
- v2.8.2
- v2.8.1
- v2.8.0
- v2.7.1
- v2.7.0
- v2.6.1
- v2.6.0
- dev-feature/editorjs / 2.5.x-dev
- v2.5.1
- v2.5.0
- v2.4.5
- v2.4.4
- v2.4.3
- v2.4.2
- v2.4.1
- v2.4.0
- v2.3.1
- v2.2.0
- v2.1.0
- v2.0.15
- v2.0.14
- v2.0.13
- v2.0.12
- v2.0.11
- v2.0.10
- v2.0.9
- v2.0.8
- v2.0.7
- v2.0.6
- v2.0.5
- v2.0.4
- v2.0.3
- v2.0.2
- v2.0.1
- v2.0.0
- v2.0.0-RC.14
- v2.0.0-RC.13
- v2.0.0-RC.12
- v2.0.0-RC.11
- v2.0.0-RC.10
- v2.0.0-RC.9
- v2.0.0-RC.8
- v2.0.0-RC.7
- v2.0.0-RC.6
- v2.0.0-RC.5
- v2.0.0-RC.4
- v2.0.0-RC.3
- v2.0.0-RC.2
- v2.0.0-RC.1
- v1.2.0
- 1.1.1
- 1.1.0
- 1.0.x-dev
- 1.0.0
- 0.1.0
- dev-fix/suneditor-upgrade
This package is auto-updated.
Last update: 2024-09-24 07:42:02 UTC
README
Sylius Rich Editor
此插件可以在您想要的字段上添加富编辑器。现在您可以轻松管理您的内容!
兼容性
安装
需要插件
如果您想使用我们的配方,可以通过运行以下命令配置您的 composer.json:
composer config --no-plugins --json extra.symfony.endpoint '["https://api.github.com/repos/monsieurbiz/symfony-recipes/contents/index.json?ref=flex/master","flex://defaults"]'
composer require monsieurbiz/sylius-rich-editor-plugin
对于不使用flex的安装,请按照以下额外步骤进行:
将您的 config/bundles.php 文件更改为添加插件的行
<?php

return [
    //..
    MonsieurBiz\SyliusRichEditorPlugin\MonsieurBizSyliusRichEditorPlugin::class => ['all' => true],
];
然后在 config/packages/monsieurbiz_sylius_rich_editor_plugin.yaml 中创建配置文件
imports:
    - { resource: "@MonsieurBizSyliusRichEditorPlugin/Resources/config/config.yaml" }
最后在 config/routes/monsieurbiz_sylius_rich_editor_plugin.yaml 中导入路由
monsieurbiz_richeditor_admin:
    resource: "@MonsieurBizSyliusRichEditorPlugin/Resources/config/routing/admin.yaml"
    prefix: /%sylius_admin.path_name%
解决 Twig\Extra\Intl\IntlExtension 冲突
如果配方未注释,请更新文件 config/packages/twig.yaml 以注释或删除 IntlExtension 声明
# Twig\Extra\Intl\IntlExtension: ~
安装资产
如果 auto-script 不在您的 composer.json 项目中,您可以使用以下命令安装资产
bin/console asset:install
与Sylius Media Manager一起使用
您无需做任何事情,一切都是兼容的。
composer require monsieurbiz/sylius-media-manager-plugin="^1.0"
如果您在使用媒体管理器之前使用了富编辑器,您需要覆盖媒体管理器插件的表单主题
mkdir -p templates/bundles/MonsieurBizSyliusMediaManagerPlugin/Admin/MediaManager/Form/;
cp dist/templates/bundles/MonsieurBizSyliusMediaManagerPlugin/Admin/MediaManager/Form/_theme.html.twig templates/bundles/MonsieurBizSyliusMediaManagerPlugin/Admin/MediaManager/Form/_theme.html.twig;
使用富编辑器
更新您的表单类型
要使字段使用富编辑器,您必须使用 RichEditorType 类型。
我们在测试应用的文件中有一个实现示例。
如果您的字段已经有一些数据,例如在安装此插件之前的一些文本,我们将将其转换为包含… HTML的HTML元素。
这样,您就可以立即使用我们的插件而不会丢失任何数据!
为了明确:要为原始管理员字段(如“产品描述”、“类别描述”等)添加富编辑器,您必须像上面示例中那样通过扩展更新每个表单类型。
调用twig渲染
要显示富编辑器字段的內容,您必须调用twig过滤器
{{ content | monsieurbiz_richeditor_render_field }}
您可以在测试应用的文件中看到示例。
自定义元素渲染
您还可以用一些自定义DOM围绕元素进行渲染。为此,您可以使用一个提供元素列表的twig过滤器
{% set elements = monsieurbiz_richeditor_get_elements(content) %}
然后您可以渲染所有元素
{{ elements|monsieurbiz_richeditor_render_elements }}
或逐个渲染
{% for element in elements %}
    {{ element|monsieurbiz_richeditor_render_element }}
{% endfor %}
过滤元素
如果您想过滤可用于您字段的元素,您可以在构建表单时使用tags选项。
例如
$builder->add('description', RichEditorType::class, [
    'required' => false,
    'label' => 'sylius.form.product.description',
    'tags' => ['-default', 'product'],
]);
在该示例中,所有带标签 default 的Ui元素都将被排除,然后带标签 product 的Ui元素将被包含。
不用担心,您可以在之后添加此过滤器,我们不会删除您字段中已经存在的Ui元素。但我们不会允许添加更多没有允许的标签的元素!
顺序很重要
标签的顺序很重要!第一个标签的重要性低于第二个。
例如,如果您有3个带以下标签的Ui元素
- 元素1:标签1,标签2,标签3
- 元素2:标签1,标签2
- 元素3:标签2,标签3
然后您将字段标签设置为 -标签1,标签2,-标签3,那么唯一可用的 UI 元素将是: 元素2。
它们都包含标签2以包含它们,但元素1和元素3都有标签3,在两者都被包含后,标签3会排除它们。
使用 YAML 设置 UI 元素标签的示例
monsieurbiz_sylius_richeditor:
    ui_elements:
        app.my_element:
            # …
            tags: ['product']
停用可用元素
以下是在停用 UI 元素时实际发生的事情
- 它不再在前端显示
- 它在后端对旧内容仍然可编辑,但您不能添加新的
- 如果元素有别名,别名将被同等对待
在您的配置文件夹中定义建议的 UiElement 的重载,例如,在 config/packages/monsieurbiz_sylius_richeditor_plugin.yaml 中作为示例。
monsieurbiz_sylius_richeditor:
    ui_elements:
        monsieurbiz.youtube:
            enabled: false
可用元素
行元素(布局)
它包含另一个丰富编辑器字段,每个元素将逐行显示(作为行……)。
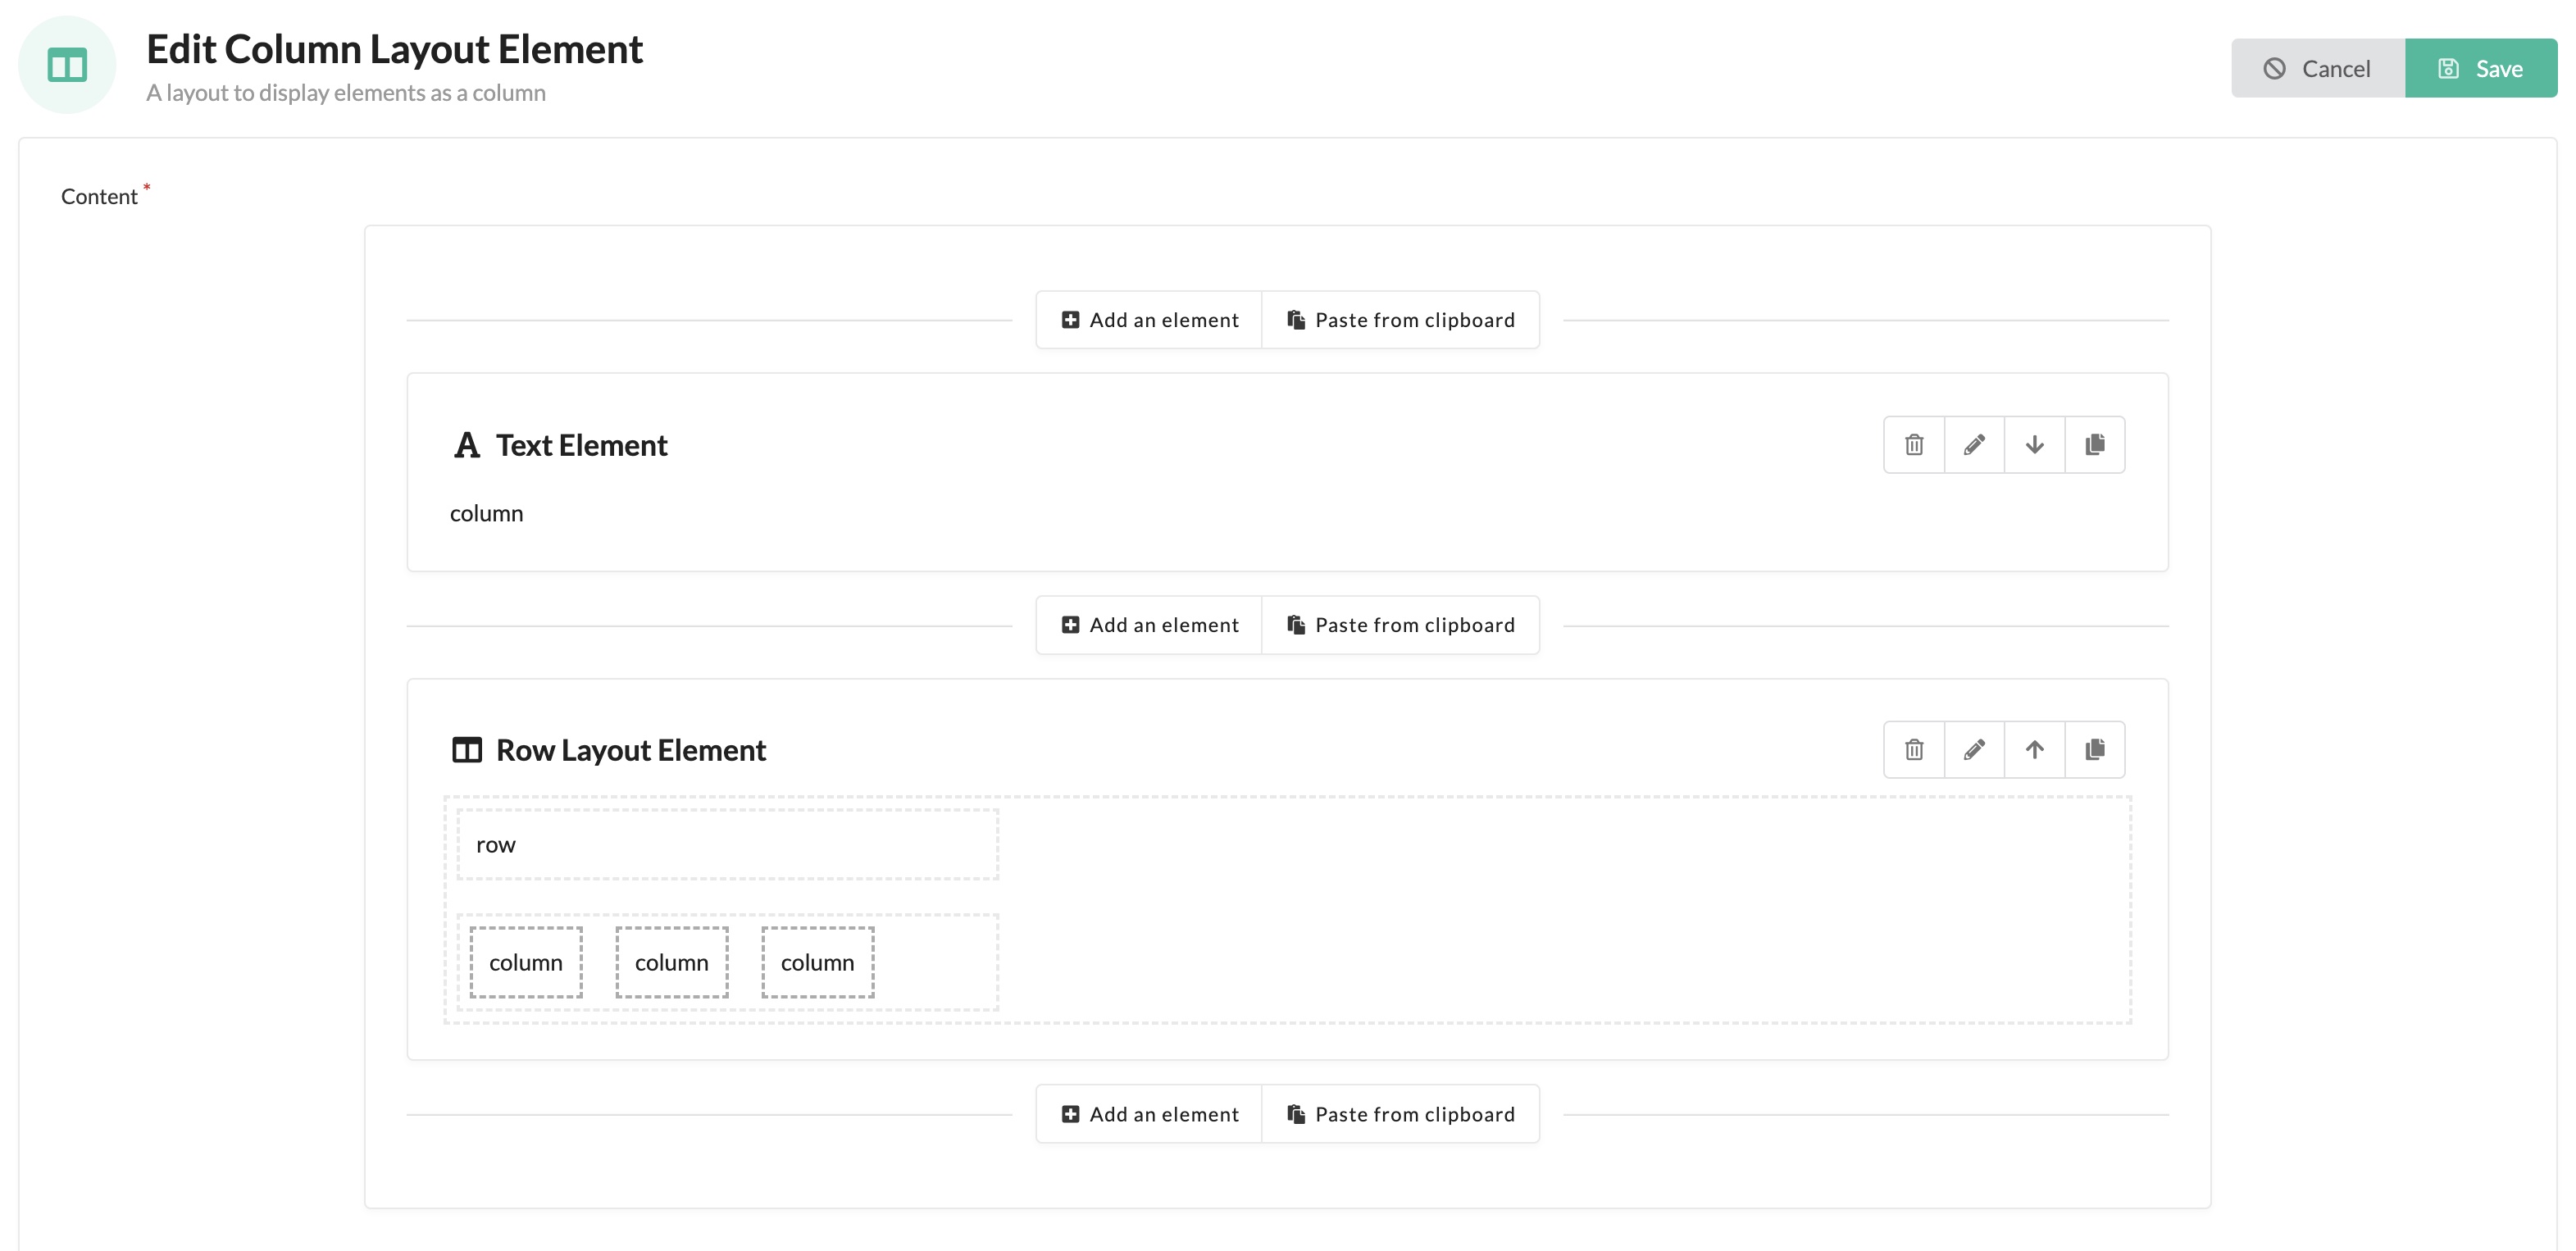
列元素(布局)
它包含另一个丰富编辑器字段,每个元素将并排显示(作为列……)。
使用此元素在 行 元素中,您可以构建类似于下面截图的布局。
您可以通过它们的虚线边框区分 行 元素和 列 元素。
HTML 元素
Markdown 元素
您可以使用 MONSIEURBIZ_SYLIUS_RICH_EDITOR_ENABLED_HIGHLIGHT_JS_SHOP 启用商店中的代码高亮。您还可以使用 MONSIEURBIZ_SYLIUS_RICH_EDITOR_ENABLED_HIGHLIGHT_JS_THEME 更改主题。
文本元素
引用元素
图片元素
视频元素
按钮元素
标题元素
分隔符元素
YouTube 元素
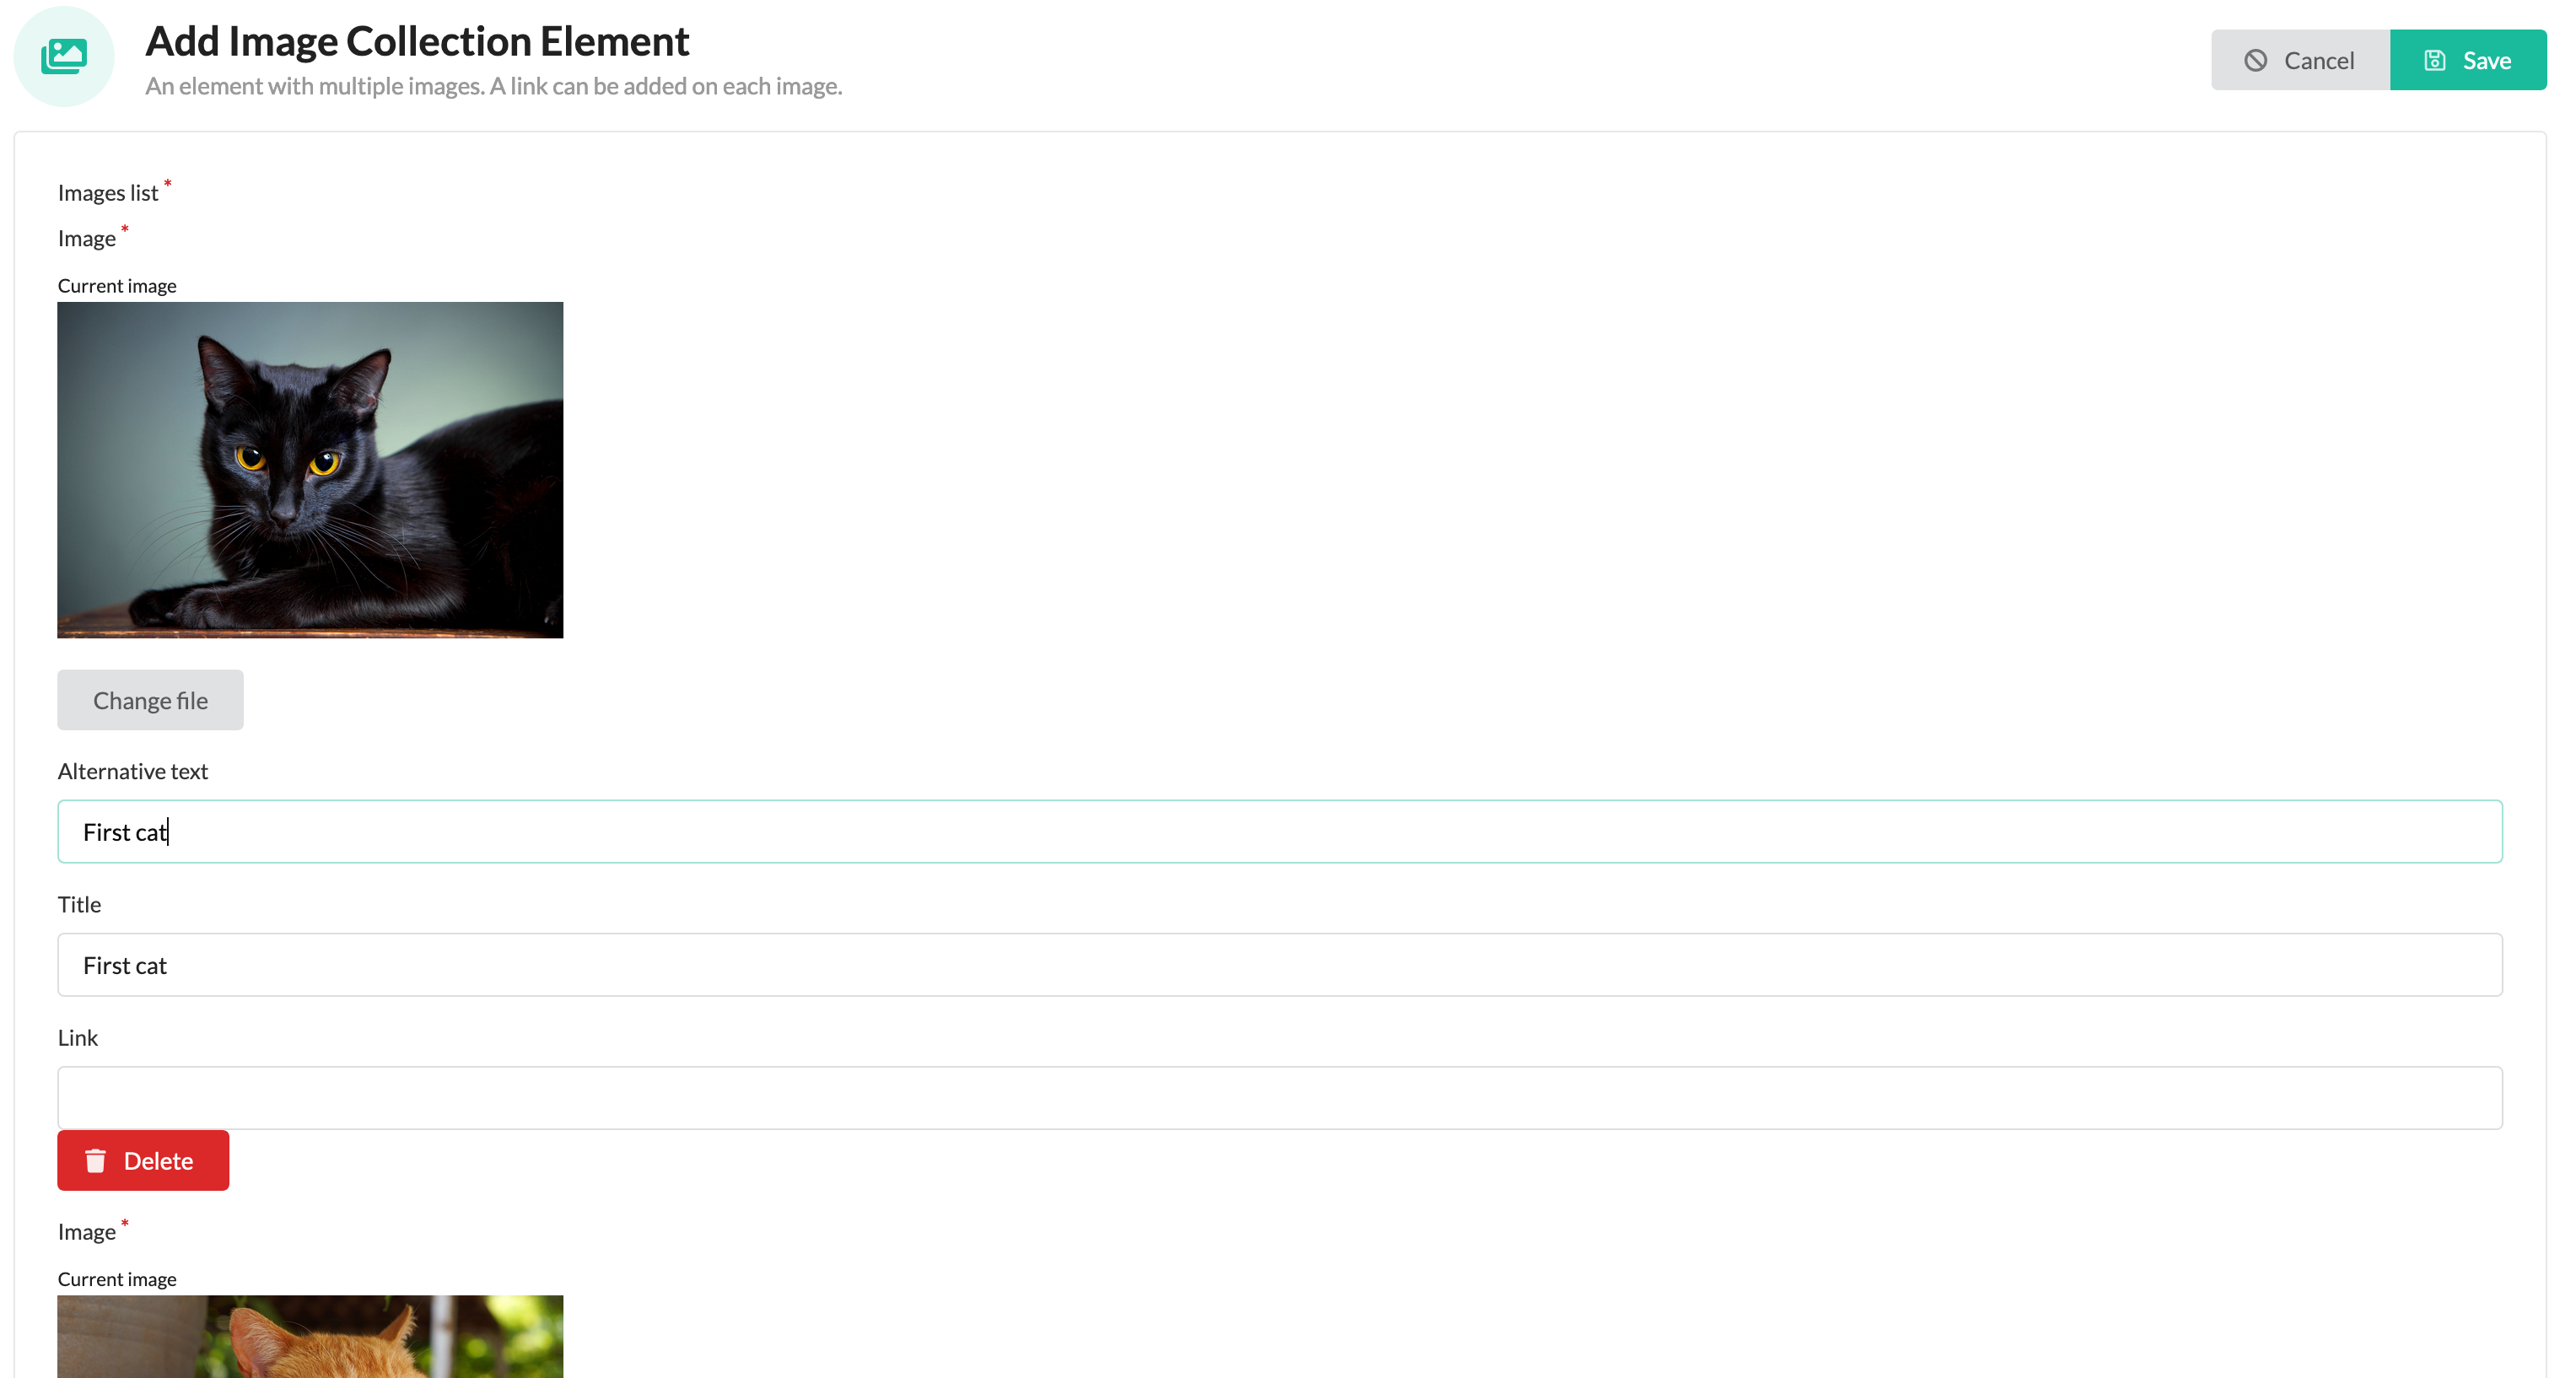
图片集合元素
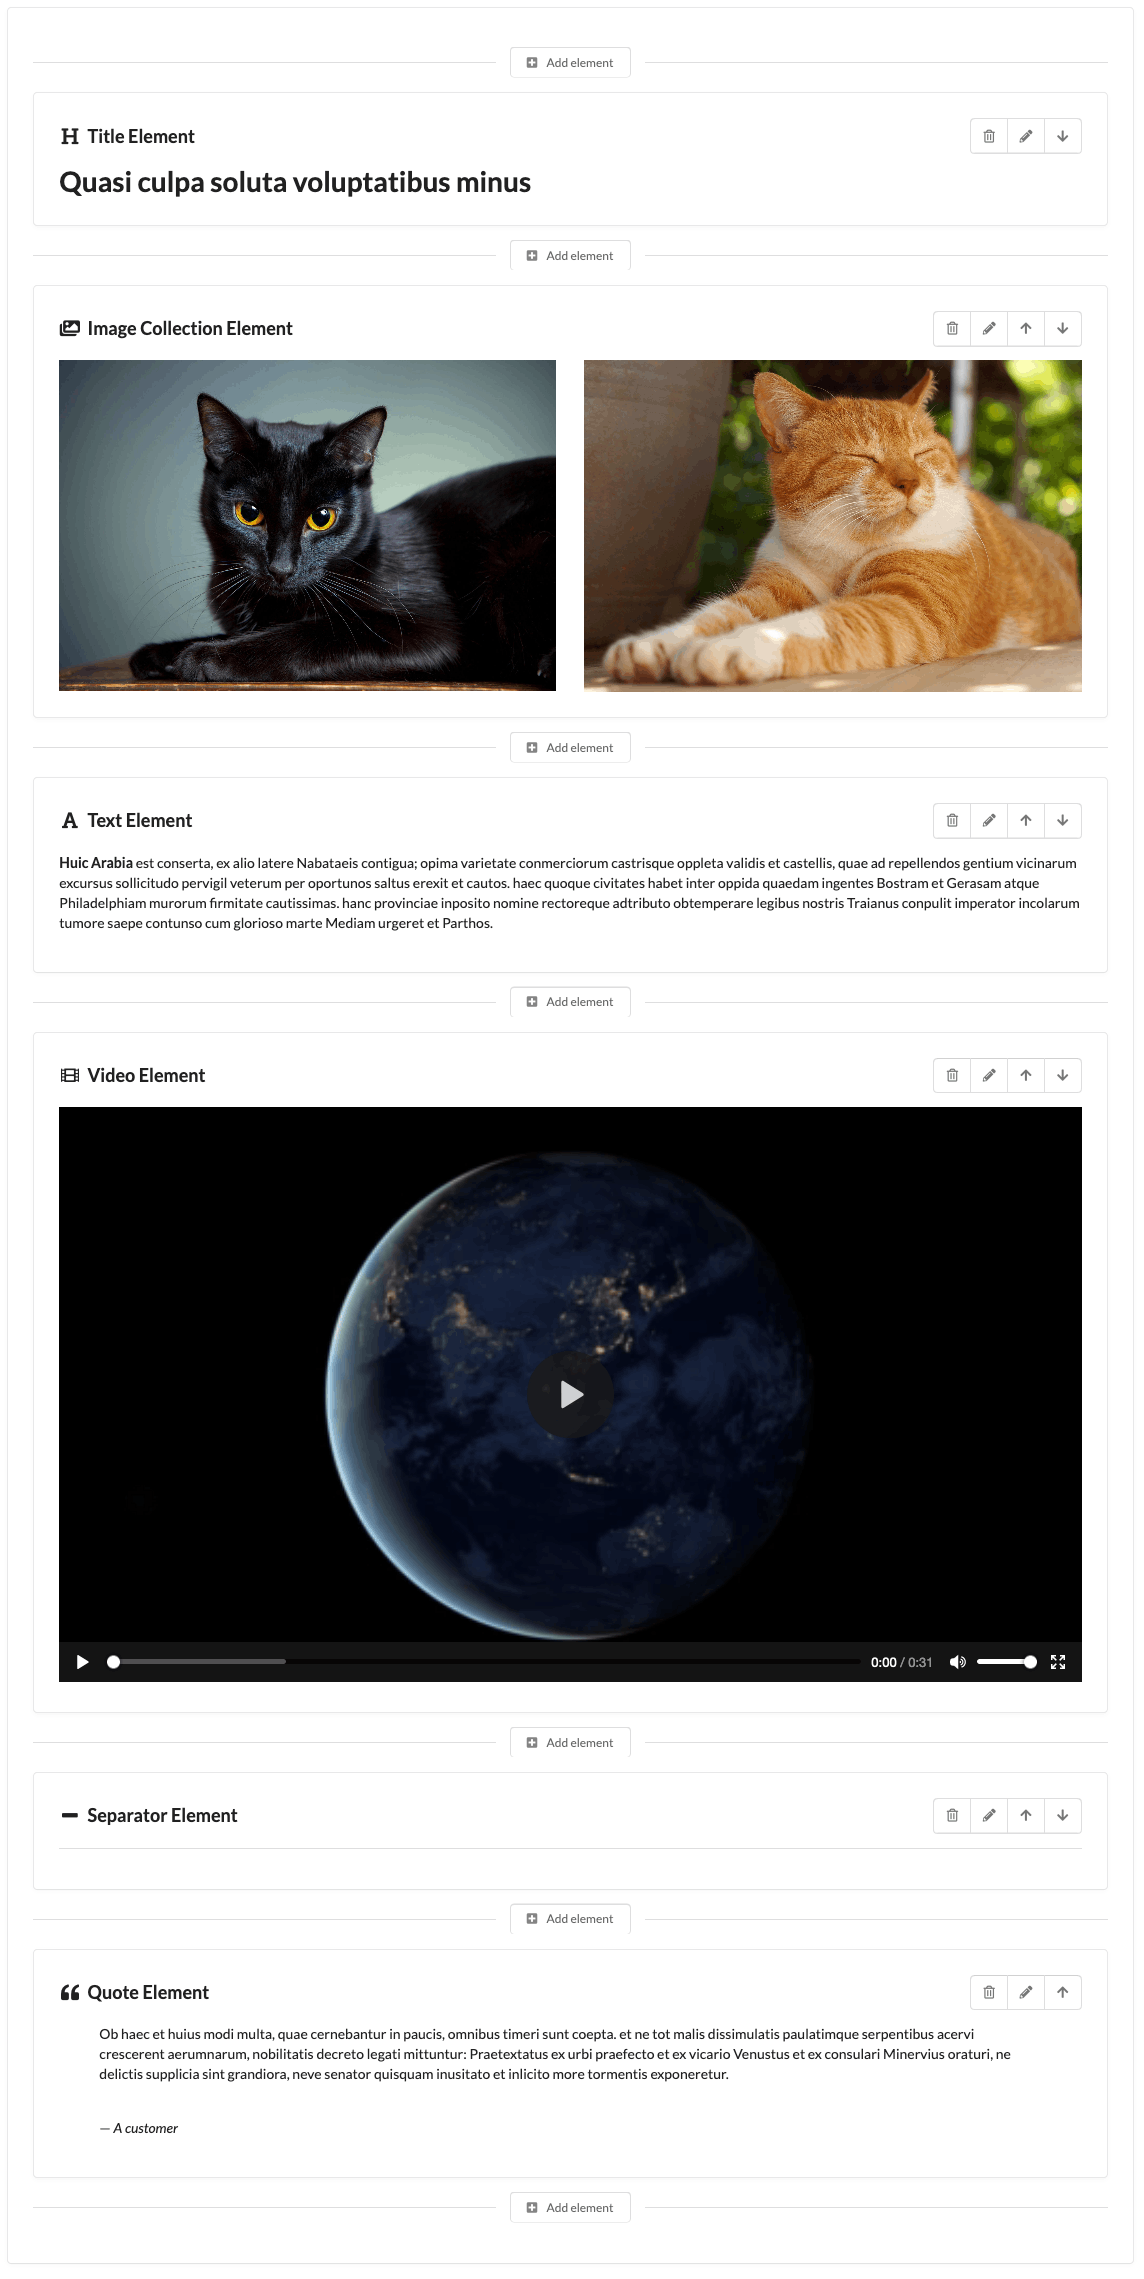
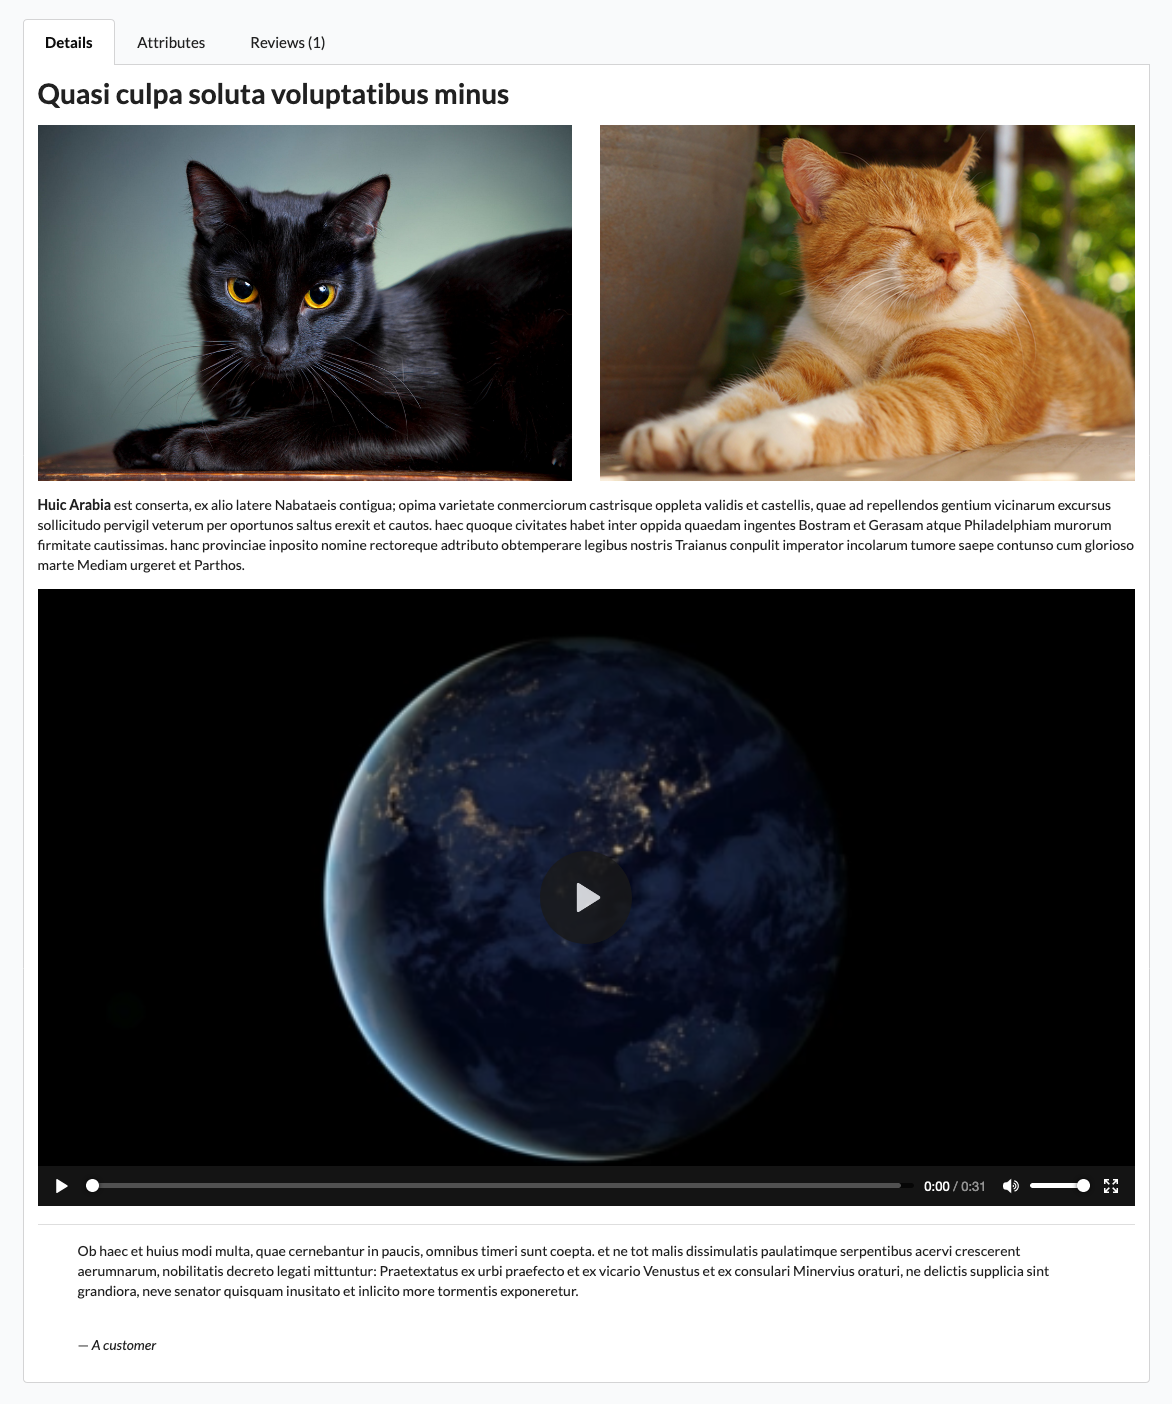
丰富产品描述的示例
带预览的管理员表单
前端显示
创建您自己的元素
在此示例中,我们将添加一个 Google Maps 元素。
使用 Maker Bundle,您可以非常容易地创建一个新的 UiElement
bin/console make:ui-element
然后您将必须回答一些问题,或者您可以在命令中添加参数以避免问题。
bin/console make:ui-element app.google_maps "map pin"
只需添加翻译即可!
定义您的 UiElement(对于 PHP < 8.1)
提示:如果您正在使用 PHP 8.1 或更高版本,您可以使用 #[AsUiElement] 属性来定义您的 UiElement。您可以跳过此步骤。
在您的配置文件夹中定义您的 UiElement,例如,在 config/packages/monsieurbiz_sylius_richeditor_plugin.yaml 中作为示例。
monsieurbiz_sylius_richeditor:
    ui_elements:
        app.google_maps:
            title: 'app.ui_element.google_maps.title'
            description: 'app.ui_element.google_maps.description'
            icon: map pin
            classes:
                form: App\Form\Type\UiElement\GoogleMapsType
                #ui_element: App\UiElement\MyUiElement
            templates:
                admin_render: '/Admin/UiElement/google_maps.html.twig'
                front_render: '/Shop/UiElement/google_maps.html.twig'
            tags: []
如果需要,您可以使用自己的 Ui Element 对象。请确保实现 \MonsieurBiz\SyliusRichEditorPlugin\UiElement\UiElementInterface 接口。
还有一个 trait 供您使用 🤗。这对于您需要在模板中进行一些自定义操作非常有用,就像有一个助手一样。然后,UI 元素将通过模板中的 ui_element 变量可用。
创建我们用于在管理员中填充您的 UiElement 的表单类型
<?php

declare(strict_types=1);

namespace App\Form\Type\UiElement;

use Symfony\Component\Form\AbstractType;
use Symfony\Component\Form\Extension\Core\Type\TextType;
use Symfony\Component\Form\FormBuilderInterface;
use Symfony\Component\Validator\Constraints as Assert;

class GoogleMapsType extends AbstractType
{
    public function buildForm(FormBuilderInterface $builder, array $options)
    {
        $builder
            ->add('link', TextType::class, [
                'label' => 'app.ui_element.google_maps.link',
                'required' => true,
                'constraints' => [
                    new Assert\NotBlank(),
                ],
            ])
        ;
    }
}
对于 PHP 8.1 和更高版本,您可以使用 #[AsUiElement] 属性来定义您的 UiElement。例如
<?php

// ...

use MonsieurBiz\SyliusRichEditorPlugin\Attribute\AsUiElement;

#[AsUiElement(
    code: 'app.google_maps',
    icon: 'map pin',
)]
class GoogleMapsType extends AbstractType
// ...
标题、描述和模板值将自动从代码中生成。在此示例中
- 标题将是
app.ui_element.google_maps.title, - 描述将是
app.ui_element.google_maps.description, - 管理员模板将是
/Admin/UiElement/google_maps.html.twig, - 前端模板将是
/Shop/UiElement/google_maps.html.twig。
但您可以覆盖它们,如果您想的话
#[AsUiElement(
    code: 'app.google_maps',
    title: 'my_cusom.title', // Use your own translation key or a string
    description: 'my_custom.description',
    icon: 'map pin',
    templates: new TemplatesUiElement(
        adminRender: 'MyCusomPath/google_maps.html.twig',
        frontRender: 'MyCusomPath/google_maps.html.twig',
    ),
    uiElement: GoogleMapsUiElement::class, // Use your own UiElement class
    tags: ['map'], // Add some tags to filter the UiElement
    wireframe: 'google_maps', // Add a wireframe to help the user to understand the UiElement, see below
)]
当然添加您的翻译
以下是 GMap 元素可能的翻译示例
app:
    ui_element:
        google_maps:
            title: 'Google Maps Element'
            short_description: 'Include a Google Maps'
            description: 'An element with a Google Maps link'
            link: 'Link'
创建用于在前端和后台渲染它的模板
您必须创建一个用于前端的模板,也必须为管理员预览创建一个模板。
以下是可用于前端和后台的简单模板示例
<iframe id="gmap_canvas" src="{{ element.link }}" scrolling="no" marginheight="0" marginwidth="0" width="600" height="500" frameborder="0"></iframe>
结果!
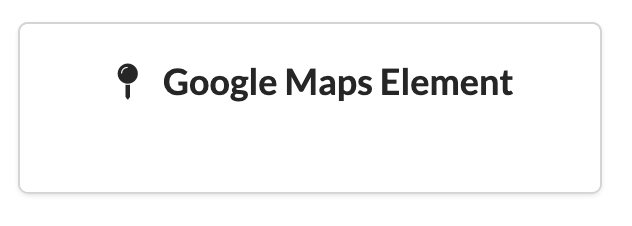
该元素在 UI 元素列表中
现在您有一个表单可以编辑它(您的表单!)
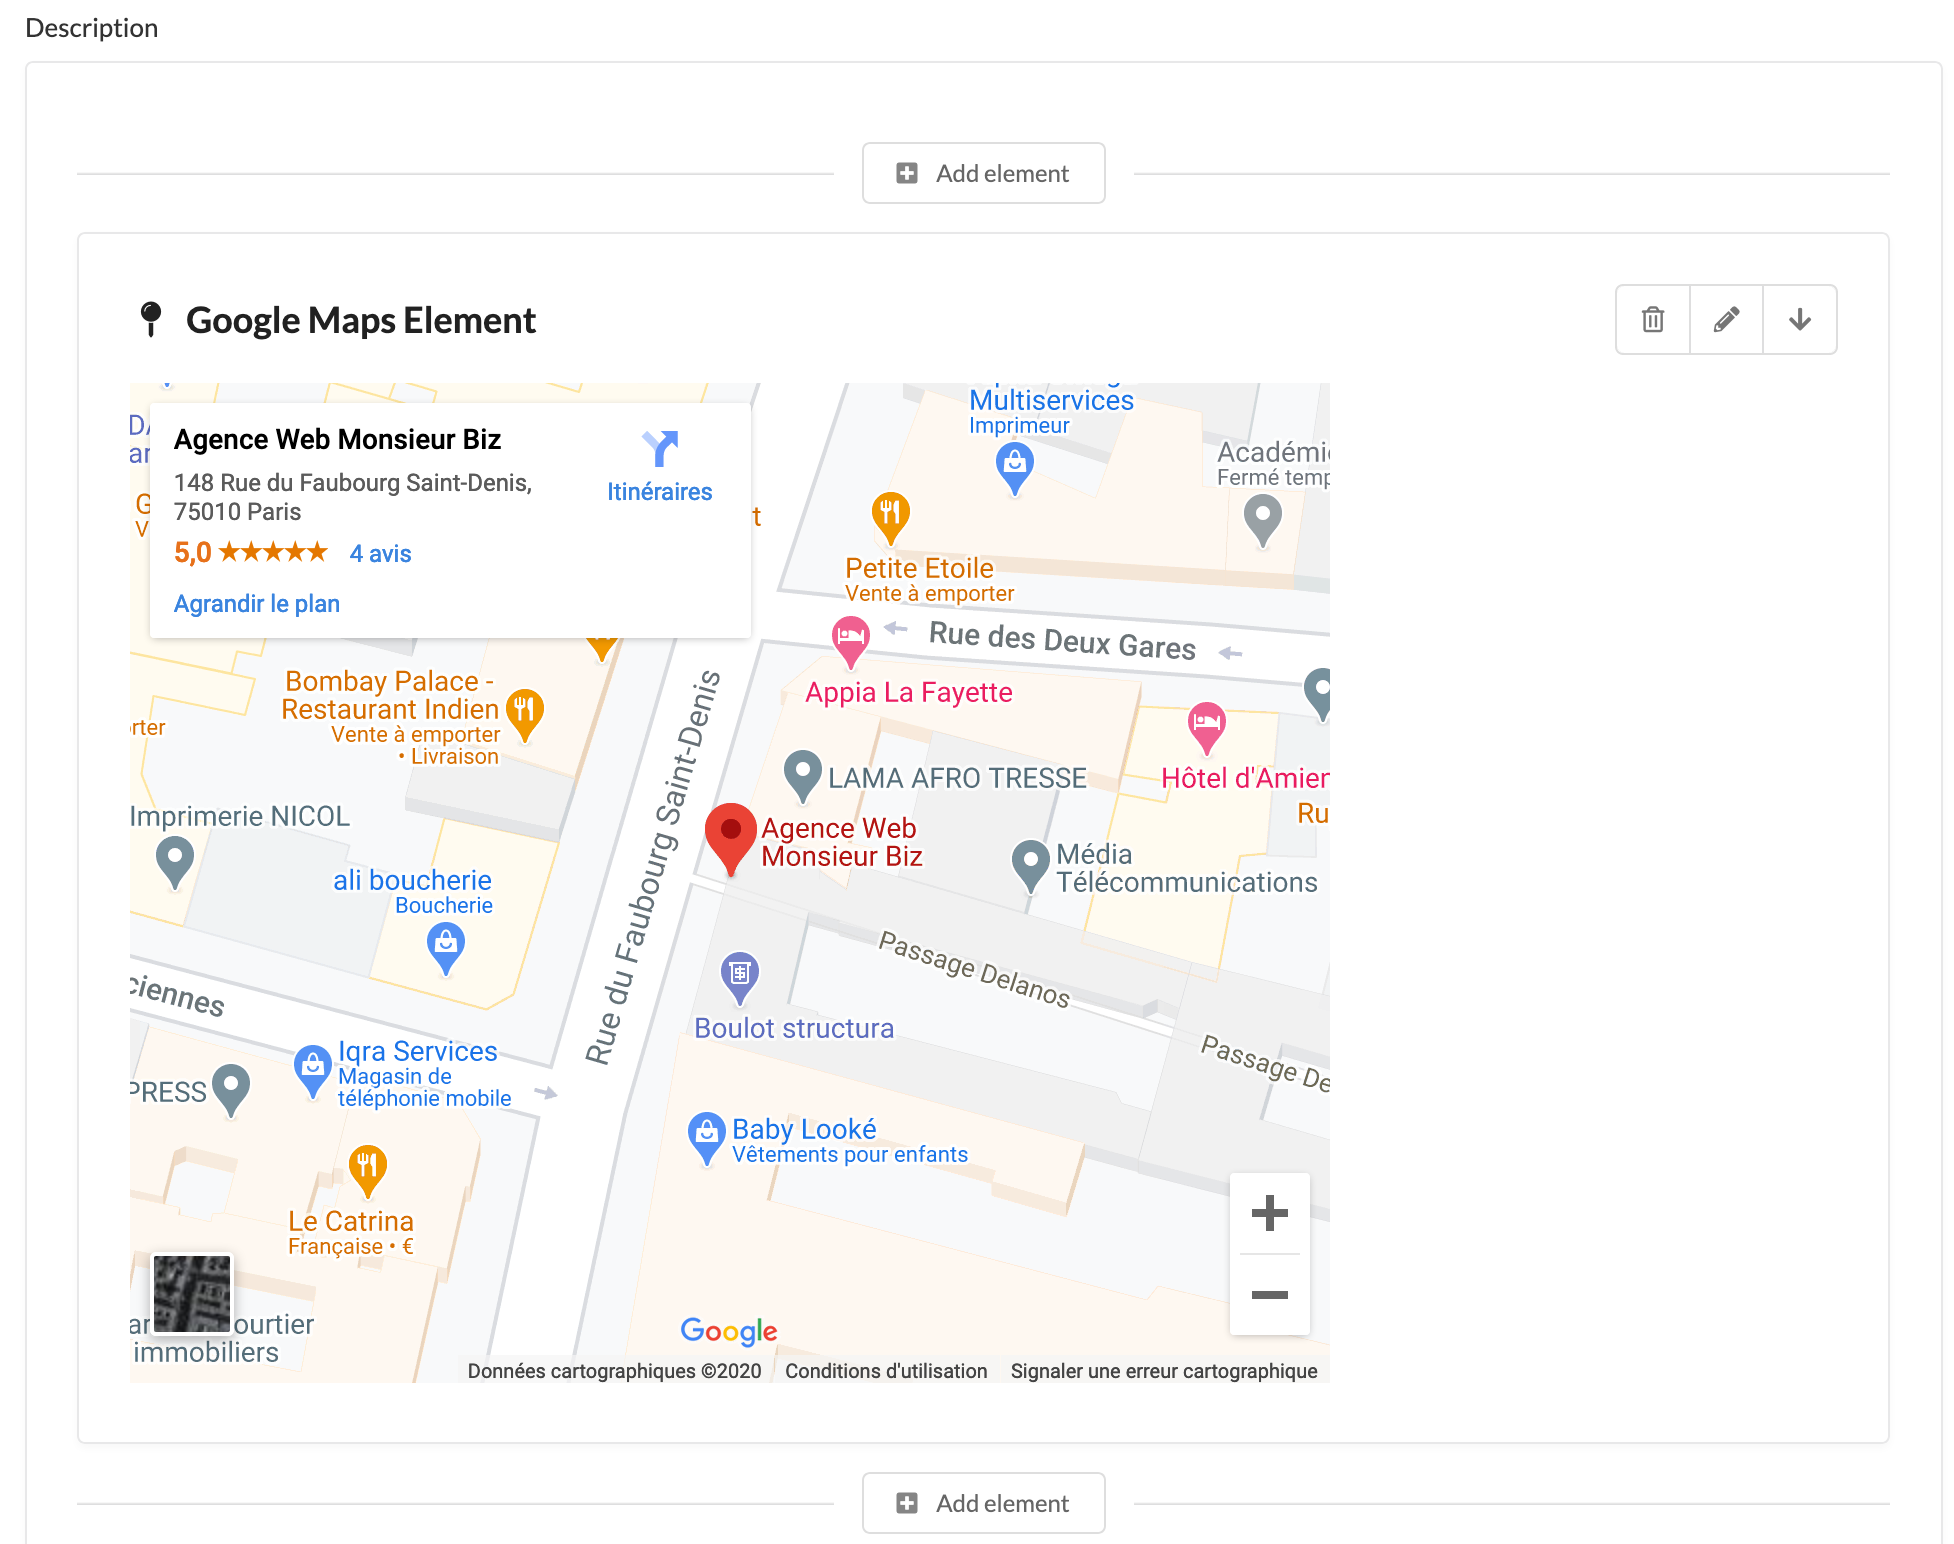
并且我们使用您的模板来渲染您的UiElement
在管理员界面
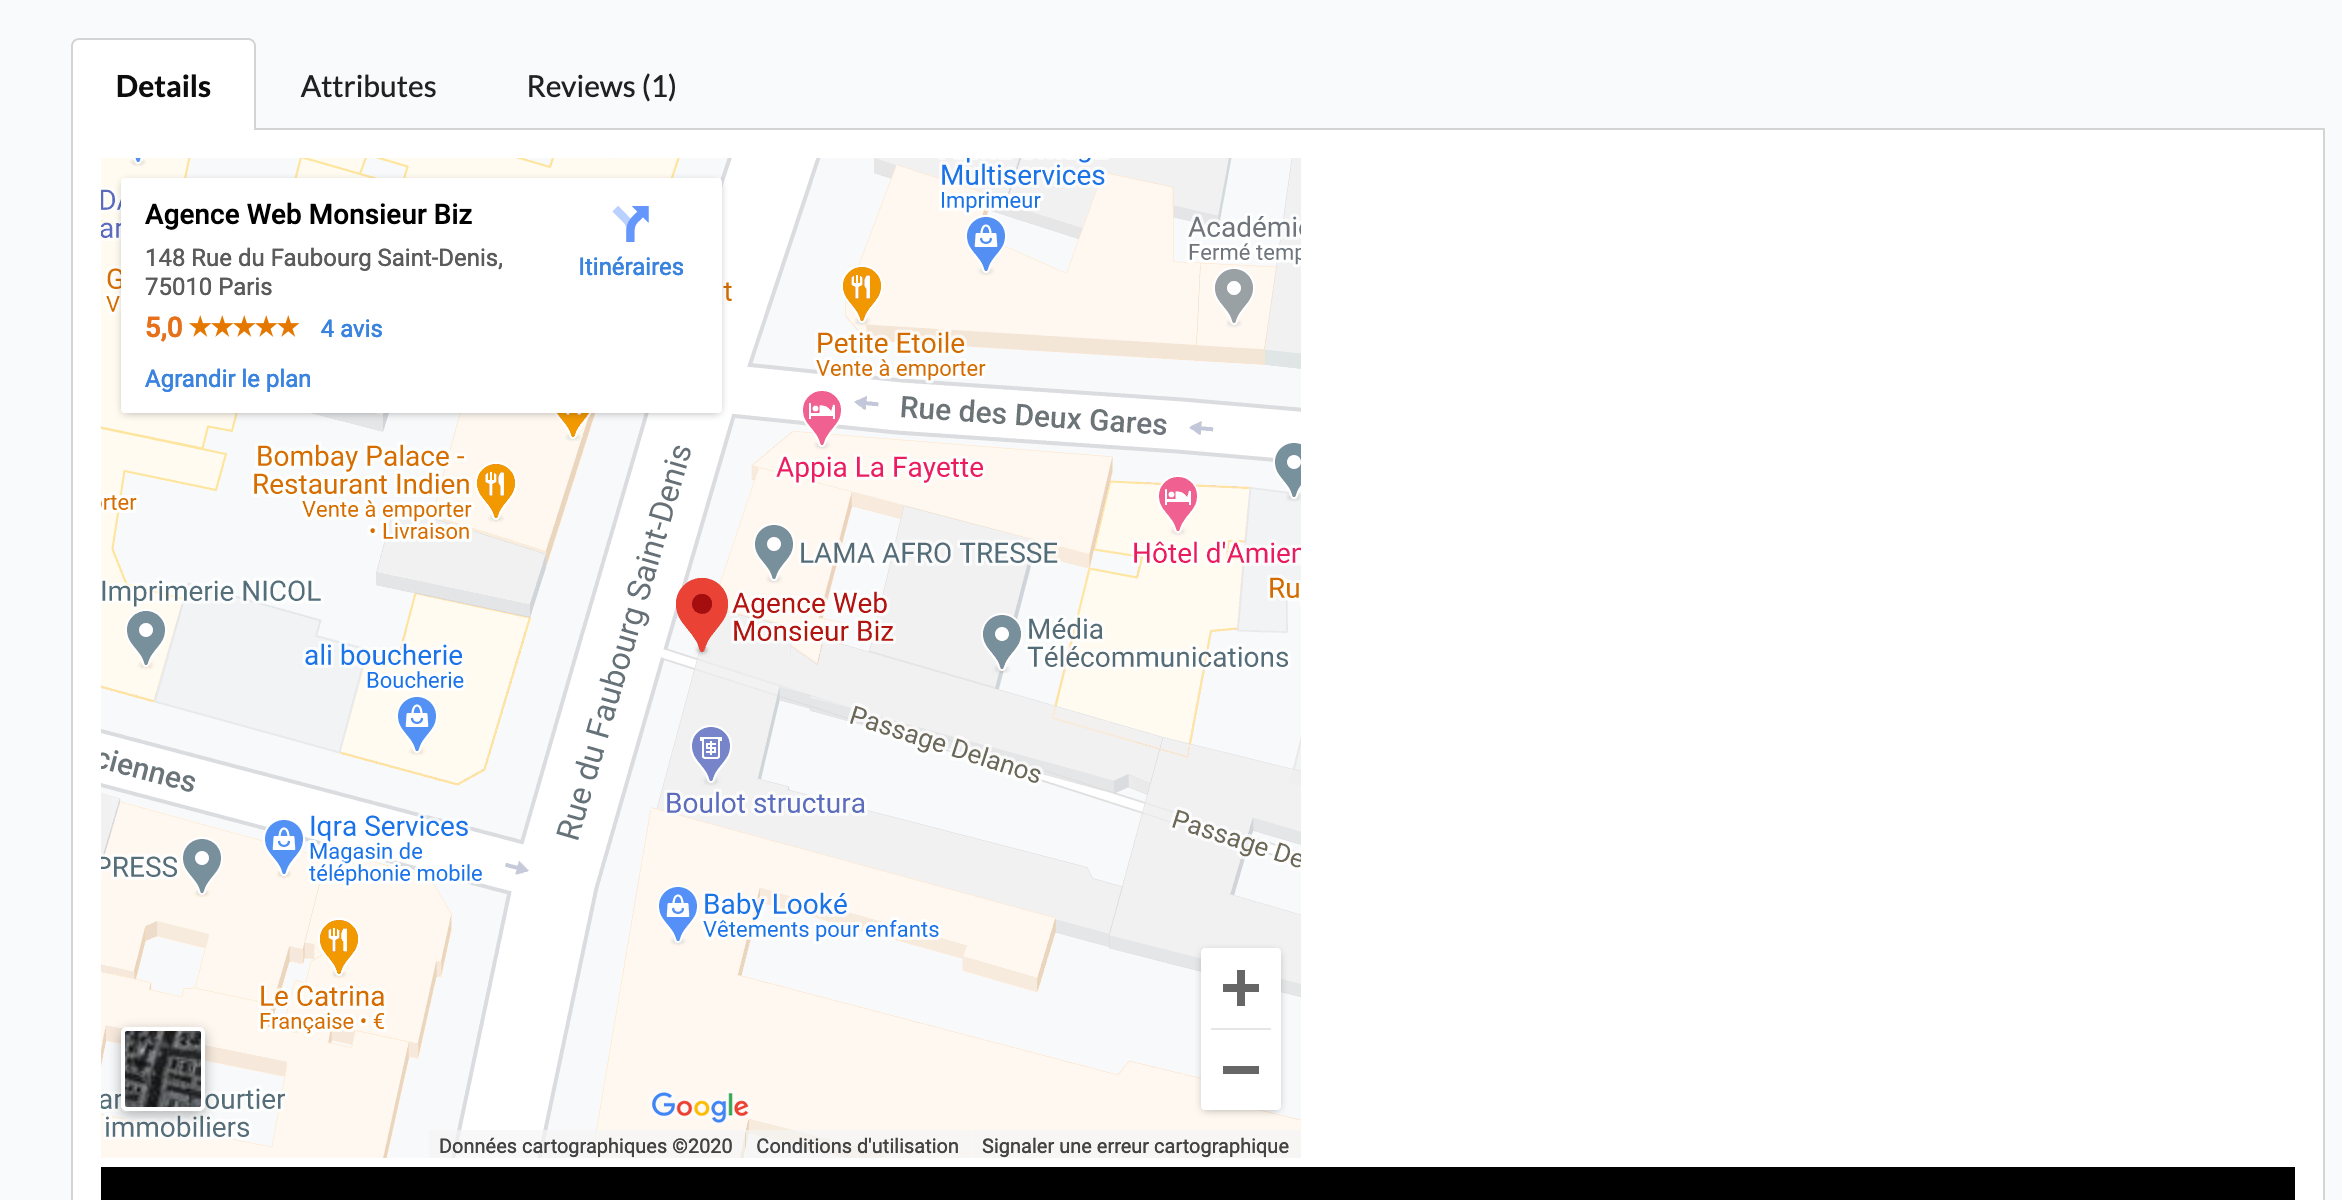
在前端
在 fixtures 管理中的文件
在某些情况下,您可能想将 UI 元素添加到内容 fixtures 中,这些元素是富文本编辑字段。如果您的 UI 元素需要文件,您可以使用专门的 fixtures。其使用方法如下。
sylius_fixtures:
    suites:
        my_project:
            fixtures:
                my_files:
                    name: monsieurbiz_rich_editor_file
                    options:
                        files:
                            -   source_path: 'src/Resources/fixtures/bar1.png'
                                target_path: 'image/foo/bar1.png'
                            -   source_path: 'src/Resources/fixtures/file.pdf'
                                target_path: 'baz/file.pdf'
下面的示例将文件复制到 public/media/image/foo/bar1.png 和 public/media/foo/file.pdf。
现在您可以在内容 fixtures 中使用文件了
description: |
    [{
        "code": "app.my_ui_element",
        "data": {
          "title": "My title",
          "image": "/media/image/foo/bar1.png",
          "file": "/media/baz/file.pdf"
        }
    }]
线框图
您可以将线框图添加到您的 UiElement 中。它将在管理员表单中显示,以帮助用户了解 UiElement 的内容。文件可以是
- 具有
.twig扩展名的 SVG。例如:button.svg.twig。 - 一个经典的 twig 模板。例如
button.html.twig。您可以将文件添加到以下文件夹中:templates/MonsieurBizSyliusRichEditorPlugin/Wireframe/*.{svg/html}.twig在 UI 元素的 YAML 声明中,您可以通过文件名(不含扩展名)添加线框图键。
    monsieurbiz.title:
        alias: title
        title: 'monsieurbiz_richeditor_plugin.ui_element.monsieurbiz.title.title'
        description: 'monsieurbiz_richeditor_plugin.ui_element.monsieurbiz.title.description'
        icon: heading
        wireframe: title
        tags: [ default ]
        classes:
            form: MonsieurBiz\SyliusRichEditorPlugin\Form\Type\UiElement\TitleType
        templates:
            admin_render: '@MonsieurBizSyliusRichEditorPlugin/Admin/UiElement/title.html.twig'
            front_render: '@MonsieurBizSyliusRichEditorPlugin/Shop/UiElement/title.html.twig'
所见即所得类型
WysiwygType 表单类型是由 MonsieurBiz Sylius 富文本编辑插件提供的自定义表单类型。它扩展了 Symfony 的 TextareaType,并在管理员表单中提供富文本编辑界面。它仅在管理员界面中工作。
基本用法
要使用 WysiwygType 在您的表单中,您可以像这样将其添加到您的表单构建器中
$builder->add('content', WysiwygType::class, [
    'required' => false,
    'label' => 'app.form.content',
]);
选项
WysiwygType 表单类型接受几个选项
editor_type:编辑器的类型。默认是SunEditor::TYPE。目前,唯一支持的编辑器类型是SunEditor::TYPE。editor_height:编辑器的高度(以像素为单位)。默认是300。editor_locale:编辑器的区域设置。默认是当前管理员区域设置或 'en'(如果无法确定)。editor_toolbar_type:工具栏的类型。可以是以下之一:EditorInterface::TOOLBAR_TYPE_MINIMAL、EditorInterface::TOOLBAR_TYPE_BASIC、EditorInterface::TOOLBAR_TYPE_FULL、EditorInterface::TOOLBAR_TYPE_CUSTOM。默认是EditorInterface::TOOLBAR_TYPE_BASIC。editor_toolbar_buttons:当editor_toolbar_type为EditorInterface::TOOLBAR_TYPE_CUSTOM时,要在工具栏中显示的按钮数组。默认是null。editor_custom_config:编辑器的自定义配置选项数组。默认是null。
以下是如何使用这些选项的示例
$builder->add('content', WysiwygType::class, [
    'required' => false,
    'label' => 'app.form.content',
    'editor_height' => 500,
    'editor_locale' => 'fr',
    'editor_toolbar_type' => EditorInterface::TOOLBAR_TYPE_CUSTOM,
    'editor_toolbar_buttons' => ['bold', 'italic', 'underline'],
    'editor_custom_config' => ['option1' => 'value1', 'option2' => 'value2'],
]);
在这个例子中,我们设置了自定义编辑器类型,增加了编辑器的高度,将区域设置设置为法语,选择了完整工具栏,指定了工具栏中要显示的按钮,并为编辑器提供了一些自定义配置选项。
贡献
如果您想贡献,可以打开一个问题或 Pull Request!😘
谢谢!


