luewell / gpg
此包包含简单GPG包装器的实现
Requires (Dev)
- phpunit/phpunit: >=5.5.0
README
- 简介
- 许可证
- 安装
- 概要
- 使用私钥签署文档
- 使用私钥进行明文签署文档
- 使用私钥创建分离签名
- 使用公钥加密文档
- 解密加密文件
- 密钥管理
- 其他方法
- 测试包
- 创建私钥的打印备份
- 从图形表示中重新生成密钥
- 有用链接
简介
此包实现了对PGP命令行工具的包装。
请注意,此包装器的目标不是“完整”。开发此包装器的目的是自动化大量文件的GPG处理。因此,仅包装了基本的GPG功能(签名、加密、解密和签名验证)。
许可证
此代码在以下许可证下发布
请参阅文件LICENSE.TXT
安装
从命令行
composer require luewell/gpg
或者,在文件composer.json中
"require": {
    "luewell/gpg": "*"
}
概要
// Get the fingerprint of a key.

$fgp = Gpg::getPublicKeyFingerPrint('protected key');
$fgp = Gpg::getPrivateKeyFingerPrint('protected key');

// Remove a key from the keyring.

Gpg::removePublicKey($fgp);
Gpg::removePrivateKey($fgp);

// Import a key into the keyring.

Gpg::importPublicKey('open.pub');
Gpg::importPrivateKey('open.prv');

// Check that a key is in the keyring.

Gpg::isPublicKeyPresent($fgp);
Gpg::isPrivateKeyPresent($fgp);

// Sign (encrypt with a private key).

Gpg::signFile('/path/to/document', $fgp, 'my password (if any), or null', '/path/to/encrypted_file');
Gpg::signFile('/path/to/document', $fgp, null, '/path/to/encrypted_file');
Gpg::signString('AZERTY', $fgp, 'my password (if any), or null', '/path/to/encrypted_file');
Gpg::signString('AZERTY', $fgp, null, '/path/to/encrypted_file');

$encryptedString = Gpg::signFile('/path/to/document', $fgp, 'my password (if any), or null', null);
$encryptedString = Gpg::signFile('/path/to/document', $fgp, null, null);
$encryptedString = Gpg::signString('AZERTY', $fgp, 'my password (if any), or null', null);
$encryptedString = Gpg::signString('AZERTY', $fgp, null, null);

// Clear sign

Gpg::clearSignFile('/path/to/document', $fgp, 'my password (if any), or null', '/path/to/signed_document');
Gpg::clearSignFile('/path/to/document', $fgp, null, '/path/to/signed_document');
Gpg::clearSignString('AZERTY', $fgp, 'my password (if any), or null', '/path/to/signed_document');
Gpg::clearSignString('AZERTY', $fgp, null, '/path/to/signed_document');

$signedDocument = Gpg::clearSignFile('/path/to/document', $fgp, 'my password (if any), or null', null);
$signedDocument = Gpg::clearSignFile('/path/to/document', $fgp, null, null);
$signedDocument = Gpg::clearSignString('AZERTY', $fgp, 'my password (if any), or null', null);
$signedDocument = Gpg::clearSignString('AZERTY', $fgp, null, null);

// Detach sign

Gpg::detachSignFile('/path/to/document', $fgp, 'my password (if any), or null', '/path/to/signature');
Gpg::detachSignFile('/path/to/document', $fgp, null, '/path/to/signature');
Gpg::detachSignString('AZERTY', $fgp, 'my password (if any), or null', '/path/to/signature');
Gpg::detachSignString('AZERTY', $fgp, null, '/path/to/signature');

$signature = Gpg::detachSignFile('/path/to/document', $fgp, 'my password (if any), or null', null);
$signature = Gpg::detachSignFile('/path/to/document', $fgp, null, null);
$signature = Gpg::detachSignString('AZERTY', $fgp, 'my password (if any), or null', null);
$signature = Gpg::detachSignString('AZERTY', $fgp, null, null);

// Verify a "clear" signature (that is: a file that contains the document and it signature)

$warning = null;
$status = Gpg::verifyClearSignedFile('/path/to/signed_document', $warning); // true: valid signature, false: invalid signature.
$status = Gpg::verifyClearSignedString($signature, $warning); // true: valid signature, false: invalid signature.

// Verify a "detached" signature (against a document)

$warning = null;
$status = Gpg::verifyDetachedSignedFile('/path/to/signature', '/path/to/document', $warning);
$status = Gpg::verifyDetachedSignedString($signature, '/path/to/document', $warning);

// Encrypt with a public key

Gpg::encryptAsymmetricFile('/path/to/document', $fgp, '/path/to/encrypted_file');
Gpg::encryptAsymmetricString('AZERTY', $fgp, '/path/to/encrypted_file');

$encryptedString = Gpg::encryptAsymmetricFile('AZERTY', $fgp, null);
$encryptedString = Gpg::encryptAsymmetricString('AZERTY', $fgp, null);

// Decrypt a document

Gpg::decryptFile('/path/to/encrypted_file', 'my password (if any), or null', '/path/to/decrypted_file');
Gpg::decryptFile('/path/to/encrypted_file', null, '/path/to/decrypted_file');
Gpg::decryptString($encryptedString, 'my password (if any), or null', '/path/to/decrypted_file');
Gpg::decryptString($encryptedString, null, '/path/to/decrypted_file');

$decryptedString = Gpg::decryptFile('/path/to/encrypted_file', 'my password (if any), or null', null);
$decryptedString = Gpg::decryptFile('/path/to/encrypted_file', null, null);
$decryptedString = Gpg::decryptString($encryptedString, 'my password (if any), or null', null);
$decryptedString = Gpg::decryptString($encryptedString, null, null);
有关返回代码的详细描述,请参阅此文件。
使用私钥签署文档
签署文档意味着:使用私钥加密文档。
命令行
命令
gpg --armor -u 03DEC874738344206A1A7D31E07D9D14954C8DC5 --output document.pgp --sign document

# For automation inside a script:

exec 3> /tmp/status; echo 'password' | gpg --batch --yes --always-trust --status-fd 3 --passphrase-fd 0 --armor -u 03DEC874738344206A1A7D31E07D9D14954C8DC5 --output document.pgp --sign document; echo $?; exec 3>&-
然后使用公钥解密文档
gpg --output document.decrypted --decrypt document.pgp
gpg --output - --decrypt document.pgp
请注意,您可以使用与私钥关联的子密钥而不是私钥本身。
API
签名
static function signFile($inAPath, $inPrivateKeyFingerPrint, $inOptPassword=null, $inOptSignaturePath=null)
static function signString($inString, $inPrivateKeyFingerPrint, $inPassword=null, $inOptSignaturePath=null)
解密
static function decryptFile($inAbsolutePath, $inOptPassword=null, $inOptOutputFile=null)
static function decryptString($inString, $inOptPassword=null, $inOptOutputFile=null)
使用私钥进行明文签署文档
“明文签署”文档意味着
- 生成文档的散列(例如使用SHA1)。
- 使用私钥加密先前生成的散列。
- 将加密的散列附加到文档末尾(文档保持清晰)。
命令行
命令
gpg --armor -u 03DEC874738344206A1A7D31E07D9D14954C8DC5 --output document.pgp --clearsign document

# For automation inside a script:

exec 3> /tmp/status; echo 'password' | gpg --batch --yes --always-trust --status-fd 3 --passphrase-fd 0 --armor -u 03DEC874738344206A1A7D31E07D9D14954C8DC5 --output document.pgp --clearsign document; echo $?; exec 3>&-
验证签名
gpg --verify document.pgp
API
签名
static function clearSignFile($inPath, $inPrivateKeyFingerPrint, $inOptPassword=null, $inOptSignaturePath=null)
static function clearSignString($inString, $inPrivateKeyFingerPrint, $inPassword=null, $inOptSignaturePath=null)
验证签名
static function verifyClearSignedFile($inFilePath, &$outWarning)
static function verifyClearSignedString($inString, &$outWarning) {
创建分离签名(使用私钥)
创建“分离签名”意味着
- 生成文档的散列(例如使用SHA1)。
- 使用私钥加密先前生成的散列。
- 将加密的散列写入一个(指定的)文件。
请注意,“分离签名”和“明文签名”是相同的。分离签名与明文签名的区别在于前者放在单独的文件中,而后者附加到已签名文档的末尾。
命令行
命令
gpg --armor -u 03DEC874738344206A1A7D31E07D9D14954C8DC5 --output document.PGP --detach-sign document

# For automation inside a script:

exec 3> /tmp/status; echo 'password' | gpg --batch --yes --always-trust --status-fd 3 --passphrase-fd 0 --armor -u 03DEC874738344206A1A7D31E07D9D14954C8DC5 --output document.pgp --detach-sign document; echo $?; exec 3>&-
验证签名
gpg --verify document.pgp document
API
签名
static function detachSignFile($inPath, $inPrivateKeyFingerPrint, $inOptPassword=null, $inOptSignaturePath=null)
static function detachSignString($inString, $inPrivateKeyFingerPrint, $inPassword=null, $inOptSignaturePath=null)
验证签名
static function verifyDetachedSignedFile($inSignatureFilePath, $inDocument, &$outWarning)
static function verifyDetachedSignedString($inSignature, $inDocument, &$outWarning)
使用公钥加密文档
请注意,在GPG术语中,使用私钥进行加密称为“签名”(从技术角度讲,这是一种加密)。
命令行
命令
gpg --armor --output encrypted_file --encrypt --recipient 03DEC874738344206A1A7D31E07D9D14954C8DC5 document

# For automation inside a script:

exec 3> /tmp/status; gpg --batch --yes --status-fd 3 --always-trust --armor --output document.pgp --encrypt --recipient 03DEC874738344206A1A7D31E07D9D14954C8DC5 document; echo $?; exec 3>&-
使用私钥解密文件
gpg --output document --decrypt document.pgp
API
static function encryptAsymmetricFile($inInputPath, $inPublicKeyFingerPrint, $inOptOutputFile=null)
static function encryptAsymmetricString($inString, $inPublicKeyFingerPrint, $inOptOutputFile=null)
解密加密文件
请注意,该文档可能已被使用公钥或私钥(即,签名)加密。
- 如果文档被使用公钥(可能是您的公钥)加密,您需要私钥来解密它。
- 如果文档使用私钥签名,您需要公钥来解密它。
命令行
命令
gpg --output document --decrypt document.pgp
脚本内的自动化
exec 3> /tmp/status; echo 'password' | gpg --batch --yes --status-fd 3 --passphrase-fd 0 --always-trust --output document --decrypt document.pgp; echo $?; exec 3>&-
API
static function decryptFile($inAbsolutePath, $inOptPassword=null, $inOptOutputFile=null)
static function decryptString($inString, $inOptPassword=null, $inOptOutputFile=null)
密钥管理
除了调用返回指纹的方法(getPublicKeyFingerPrint 和 getPrivateKeyFingerPrint)之外,密钥通过其指纹进行识别。这确保了在指定密钥ID时最大限度地减少“副作用”发生的安全。
API
static function getPublicKeyFingerPrint($inPublicKey)
static function getPrivateKeyFingerPrint($inPrivateKey)
static function isPrivateKeyPresent($inPrivateKeyFingerPrint)
static function isPublicKeyPresent($inPublicKeyFingerPrint)
static function removePrivateKey($inPrivateKeyFingerPrint)
static function removePublicKey($inPublicKeyFingerPrint)
static function importPrivateKey($inPrivateKeyPath)
static function importPublicKey($inPublicKeyPath)
其他方法
static function version()
static function checkVersion()
测试包
此包包含两对密钥
- 一对密钥的私钥被密码保护。
- 一对密钥的私钥没有被保护。
这些密钥位于目录 tests/data
open.prv/open.pub:这对密钥没有被保护。protected.prv/protected.pub:这对密钥被保护。
导入这些密钥
cd tests/data
gpg --import open.prv; gpg --import open.pub; gpg --import protected.prv; gpg --import protected.pub
获取ID和指纹
对于公钥
gpg --batch --list-keys --fingerprint --with-colon
对于私钥
gpg --batch --list-secret-keys --fingerprint --with-colon
有关选项
--with-colon输出的详细描述,请参阅此文档。
可以使用Perl脚本list-keys.pl打印公钥列表。
gpg --list-keys --with-colon --fingerprint | perl list-keys.pl
gpg --list-secret-keys --with-colon --fingerprint | perl list-keys.pl
示例
gpg --list-secret-keys --with-colon --fingerprint | perl list-keys.pl
输出
6   sec E07D9D14954C8DC5 03DEC874738344206A1A7D31E07D9D14954C8DC5 0C185D728E760EC0 open key <ok@test.com>
6   sec 29A778386005B911 881C41F8B8FD138E86E7230929A778386005B911 6A492A01B27F4819 protected key <pk@test.com>
Whith
Column 1: the total number of columns for the current line.
Column 2: the type of key (pub: public, sec: secret).
Column 3: the UID of the key.
Column 4: the fingerprint of the key.
Column 5: the UID of the associated sub key.
Column 6: the ID of the key.
请注意
- 每行的最后一个字段可能有空格(例如:
PHP coder <php_coder@php.com>)。 - 一个密钥可能有多个子密钥。因此,一行可能有超过6个列。
创建私钥的打印备份
您可以生成私钥的图形表示。这些表示可以打印在纸上。
请注意,您不需要生成公钥的图形表示。实际上,公钥不需要保护。因此,您可以在任何地方复制您的公钥。
安装数据矩阵工具
$ sudo apt-get install dmtx-utils
生成一个非常长的RSA密钥
    $ cat -n batch.txt
         1	%echo Generating a basic OpenPGP key
         2	Key-Type: RSA
         3	Key-Length: 8192
         4	Subkey-Type: RSA
         5	Subkey-Length: 8192
         6	Name-Real: Tester Long
         7	Name-Comment: This is for testing
         8	Name-Email: joe-long@foo.bar
         9	Expire-Date: 0
        10	Passphrase: abc
        11	# Do a commit here, so that we can later print "done" :-)
        12	%commit
        13	%echo done

    $ cat batch.txt | gpg --enable-large-rsa --batch --gen-key
查找生成的密钥的ID或指纹
通过ID
   $ gpg --list-keys
   sec   8192R/9BEF3AAC 2016-12-30
   uid                  Tester Long (This is for testing) <joe-long@foo.bar>
   ssb   8192R/3A57FB1C 2016-12-30

   $ gpg --export 9BEF3AAC > very-long-key.pub

   $ gpg --export-secret-key 9BEF3AAC > very-long-key.prv
通过指纹
    $ gpg --list-keys --fingerprint --with-colons
    pub:-:8192:1:FB9F45539BEF3AAC:2016-12-30:::-:Tester Long (This is for testing) <joe-long@foo.bar>::escaESCA:
    fpr:::::::::1335EF5C02BEF36A56DBA451FB9F45539BEF3AAC:
    sub:-:8192:1:1D4050C33A57FB1C:2016-12-30::::::esa:
然后生成表示私钥的图像
    $ gpg --export-secret-key 9BEF3AAC | paperkey --output-type raw | split -b 1500 - key-

    # Or:
    # gpg --export-secret-key 1335EF5C02BEF36A56DBA451FB9F45539BEF3AAC | paperkey --output-type raw | split -b 1500 - key-

    $ cat -n gen-images.sh
         1	#!/bin/bash
         2
         3	for K in key-*; do
         4	    dmtxwrite -e 8 $K > $K.png
         5	done

    $ ./gen-images.sh

    $ ls -1 *.png
    key-aa.png
    key-ab.png
    key-ac.png
    key-ad.png
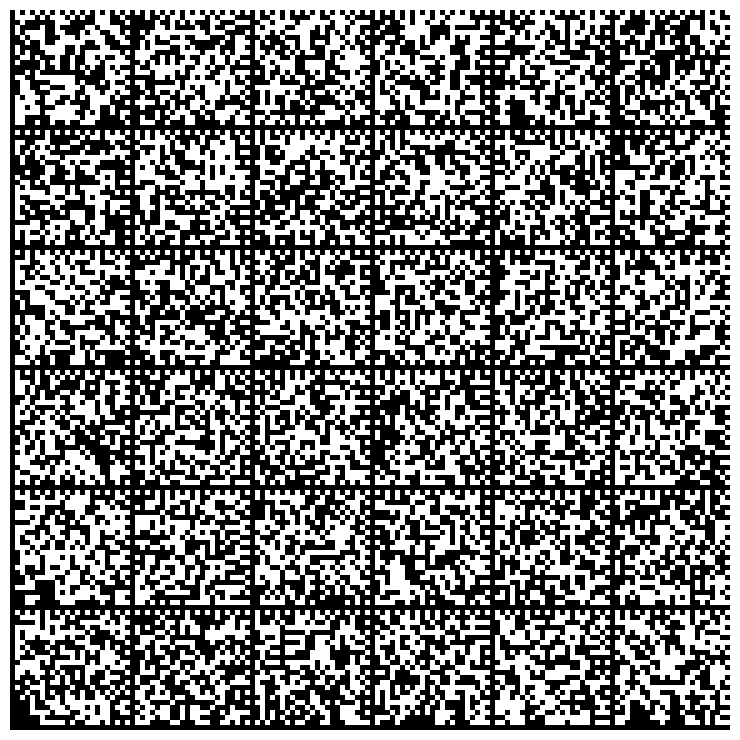
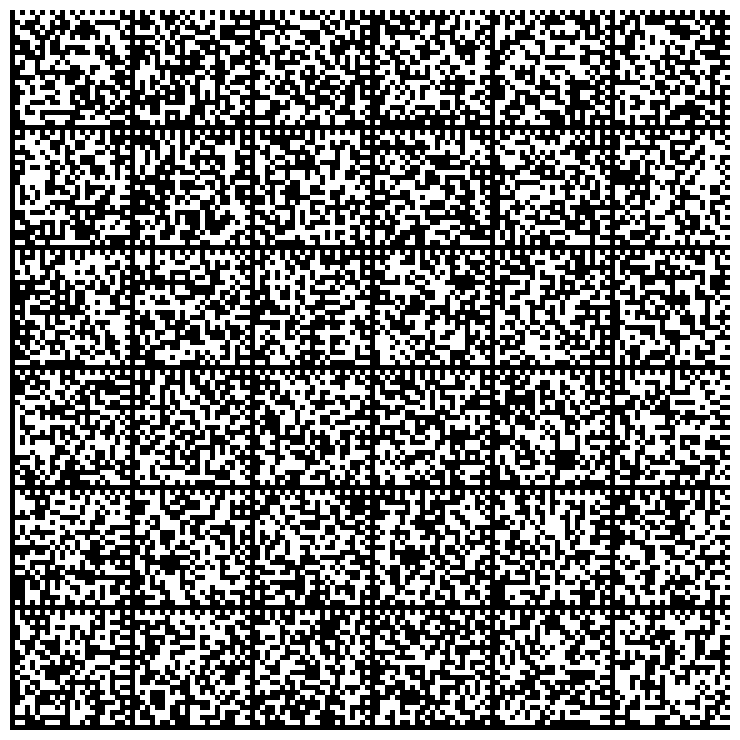
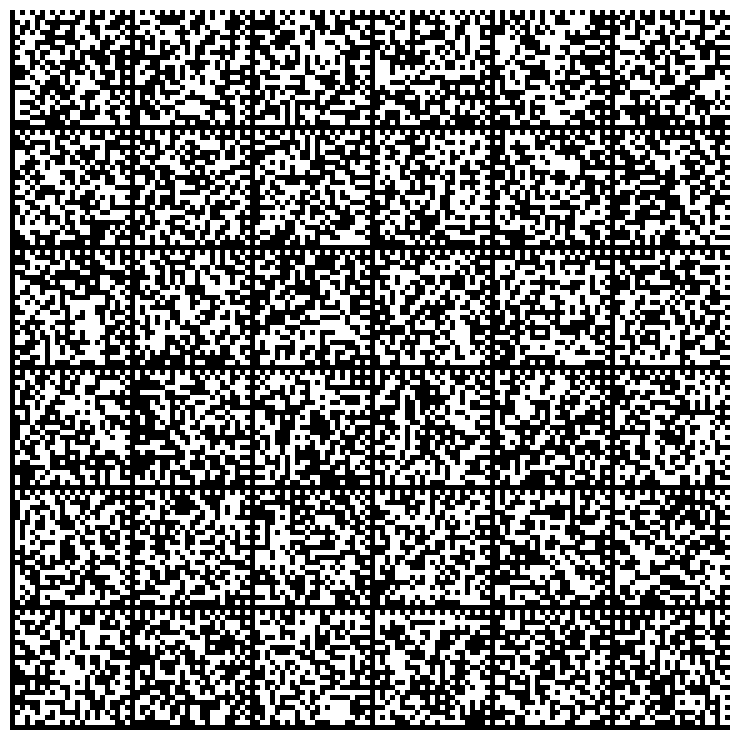
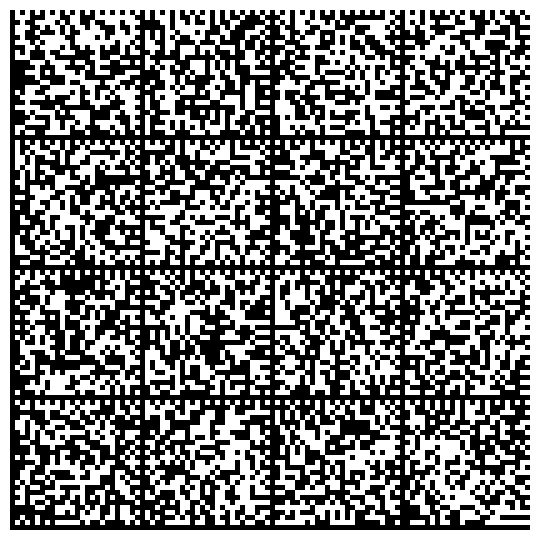
表示私钥的图像列表
从其图形表示中重新生成密钥
    $ cat -n gen-key.sh
         1	#!/bin/bash
         2
         3	rm -f key.prv
         4	for K in key-*.png; do
         5	    echo $K
         6	    dmtxread $K >> key.prv
         7	done

    $ ./gen-key.sh

    $ paperkey --pubring ~/.gnupg/pubring.gpg --secrets key.prv > restore.raw

    # Or:
    # paperkey --pubring very-long-key.pub --secrets key.prv > restore.raw
请注意,您需要公钥才能重新生成私钥!公钥可以存储在公钥环中,也可以存储在文件中。
将恢复的密钥与原始密钥进行比较
    $ gpg --list-packets restore.raw > f1

    $ gpg --list-packets very-long-key.prv > f2

    $ diff f1 f2
如果您尝试导入恢复的私钥
    $ gpg --import restore.raw
    gpg: key 9BEF3AAC: already in secret keyring
    gpg: Total number processed: 1
    gpg:       secret keys read: 1
    gpg:  secret keys unchanged: 1
使用原始私钥签名文档
$ gpg -u 9BEF3AAC --sign gen-key.sh
从其密钥环中删除原始私钥
$ gpg --delete-secret-keys 9BEF3AAC
使用备份恢复秘密密钥
    $ gpg --import restore.raw
    gpg: key 9BEF3AAC: secret key imported
    gpg: key 9BEF3AAC: "Tester Long (This is for testing) <joe-long@foo.bar>" not changed
    gpg: Total number processed: 1
    gpg:              unchanged: 1
    gpg:       secret keys read: 1
    gpg:   secret keys imported: 1
然后,确保恢复的秘密密钥按预期工作
    $ gpg --output script.sh --decrypt gen-key.sh.gpg

    $ diff gen-key.sh script.sh
有用的链接
https://www.void.gr/kargig/blog/2013/12/02/creating-a-new-gpg-key-with-subkeys/


