haariga / craft-gonzo
从模板文件夹的组件库
Requires
- craftcms/cms: ^4.2.0
- nystudio107/craft-plugin-vite: ^4.0.6
Requires (Dev)
- craftcms/rector: dev-main
- phpstan/phpstan: ^1.8
This package is auto-updated.
Last update: 2024-09-10 17:49:58 UTC
README
*** BETA **********

!IMPORTANT NOTE!
This plugin is currently under development and requires a special structure in your templates folder to be used.
Please scroll to the Structure example to learn more.
If you have any recommendations on how to improve it please create a ticket on GitHub.

Thank you very much
David & Martin

*******************
演示
您可以在以下链接中看到此插件的实际应用: https://craft3.baukasten.io/patternlib#/
描述
Gonzo 是一个简单的模式库。您只需创建配置文件即可将组件添加到库中。它非常简单。您不需要第三方工具即可拥有一个模式库。只需像平常一样编写代码,但开始在模板中使用非虚构的硬编码内容。您还需要在后台(仅一些图像)中创建条目来填充您的组件。每个组件都有一个 config.php 文件,这里就是所有魔法所在。使用 gonzo 是一个巨大的优势。
开发者可以创建与模板或整个页面解耦的组件。专注于组件并为您特定的组件构建所有变体。完成工作后,将状态设置为 审查 或其他状态,并将其退回给设计师以获取批准。整个团队都可以看到组件状态,对于所有人来说,完成的工作和正在开发的工作都很清楚。
对于团队来说,第二个巨大的好处是您可以在一个地方看到所有组件。不在库中的内容不存在。这非常清楚,某人可以检查项目中目前有哪些按钮。
第三个好处是您可以在不失去焦点的情况下与客户讨论特定组件。
这是一个动态库,如果您的项目增长,您的库也会增长!
目录
需求
此插件需要 Craft CMS 3.0.0 或更高版本。
安装
通过 composer 安装
composer require haariga/craft-gonzo
通过管理控制面板安装
转到插件商店,搜索 Gonzo 并安装。
配置
插件配置文件
您必须在配置文件夹中创建一个 craft-gonzo.php 文件。这里是一个您可以开始的基 本配置文件。在 _examples 文件夹中有一个更复杂的文件,用于创建附加页面等内容。
<?php
return [
	 // The folders that are visible within the library.
	 // Currently we can display just folder one level deep in your templates folder
    "compFolders" => [
        "_atoms",
        "_molecules",
        "_organisms",
        "_embeds",
        "_views"
    ],
    // The different buttons to resize the iFrame.
    // It's up to you to motifie this sizes
    "mqButtons" => [
        "min" => "320px",
        "xs" => "400px",
        "s" => "600px",
        "m" => "800px",
        "l" => "1000px",
        "max" => "1440px",
        "fluid" => "100vw"
    ],
    // The different component statusses for your components
    // Create your own or start with the following
    "compStatus" => [
        0 => ["name" => "wip", "color" => "#FF9800"],
        1 => ["name" => "review", "color" => "#369BF4"],
        2 => ["name" => "done", "color" => "#4CAF50"],
        3 => ["name" => "discarded", "color" => "#F44336"],
    ],
    // You can configure custom pages for this plugin
    "pages" => [
	    'typography' => [
		    'label' => 'Typography',
		    'options' => [...]
			],
			'colors' => [
				'label' => 'Colors',
				'options' => [...],
    ],
];
组件配置文件
这是我们目前可以显示的最小设置。一个更复杂的示例在 _examples 文件夹中。
<?php
// Describe your component
$componentMeta = [
    'title' => 'sampleComponent',
    'status' => 'wip',
    'visible' => true,
    'type' => 'atom',
    'path' => '_atoms/sampleComponent/',
    'description' => 'sampleComponent Description'
];

$defaultVariant = [
    'title' => 'sampleComponent Variant Title',
    'status' => '', // if empty the global status is used
    'description' => 'sampleComponent Variant Description'
];

return [
    'meta' => array_merge($componentMeta, []),
];
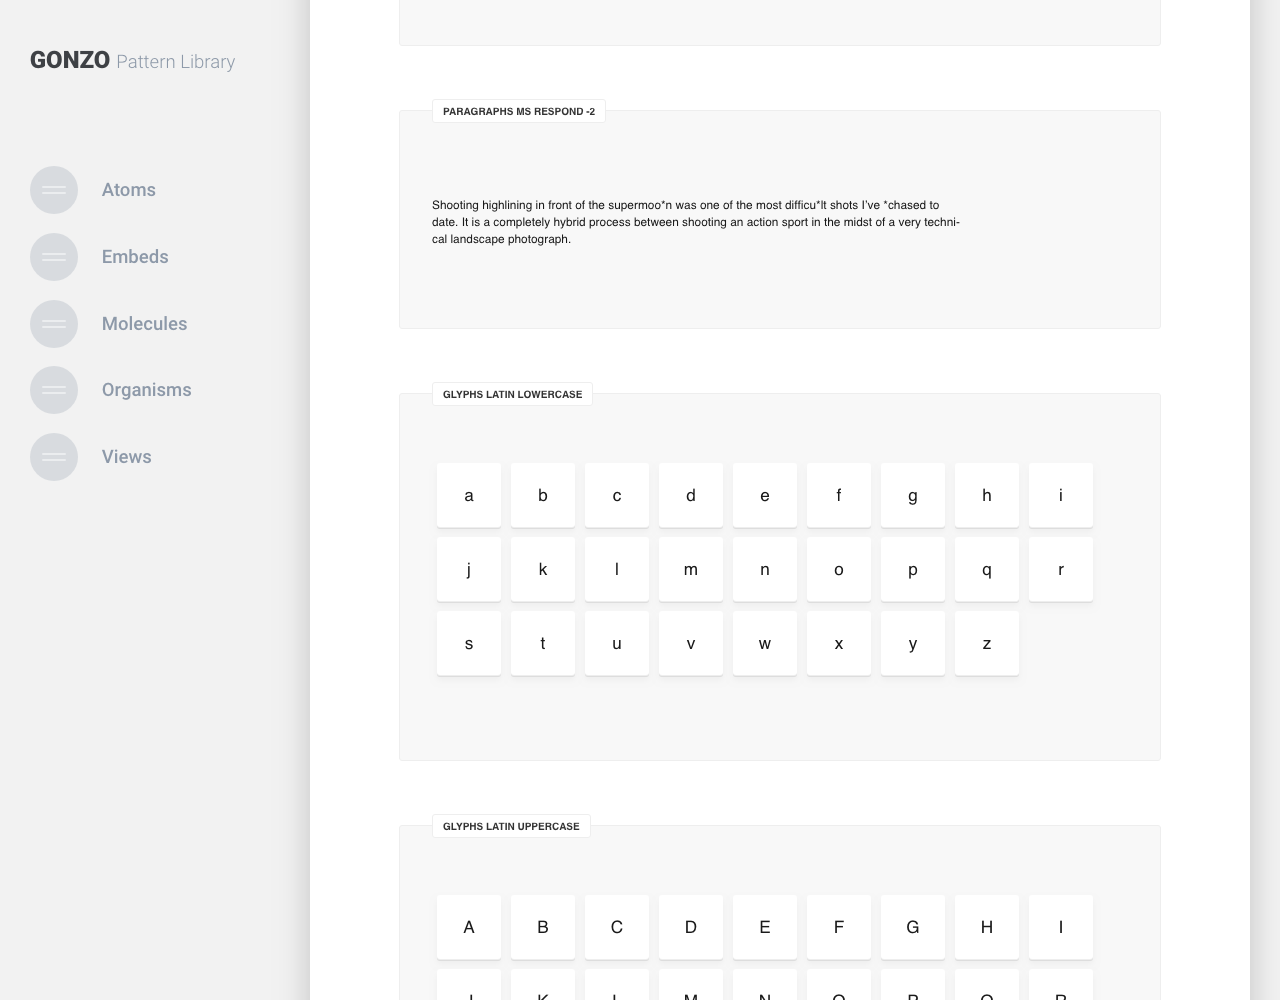
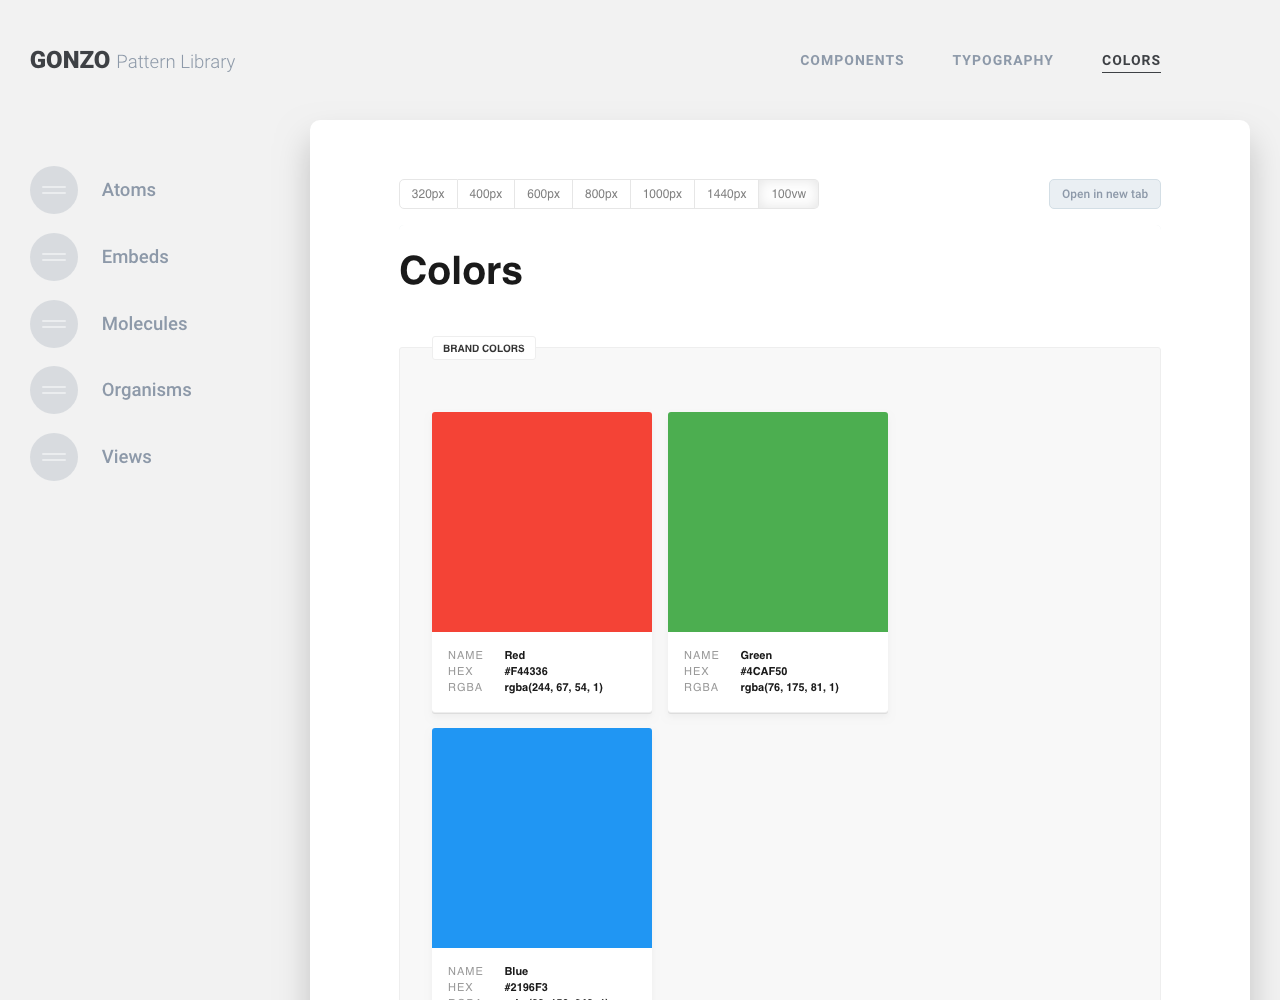
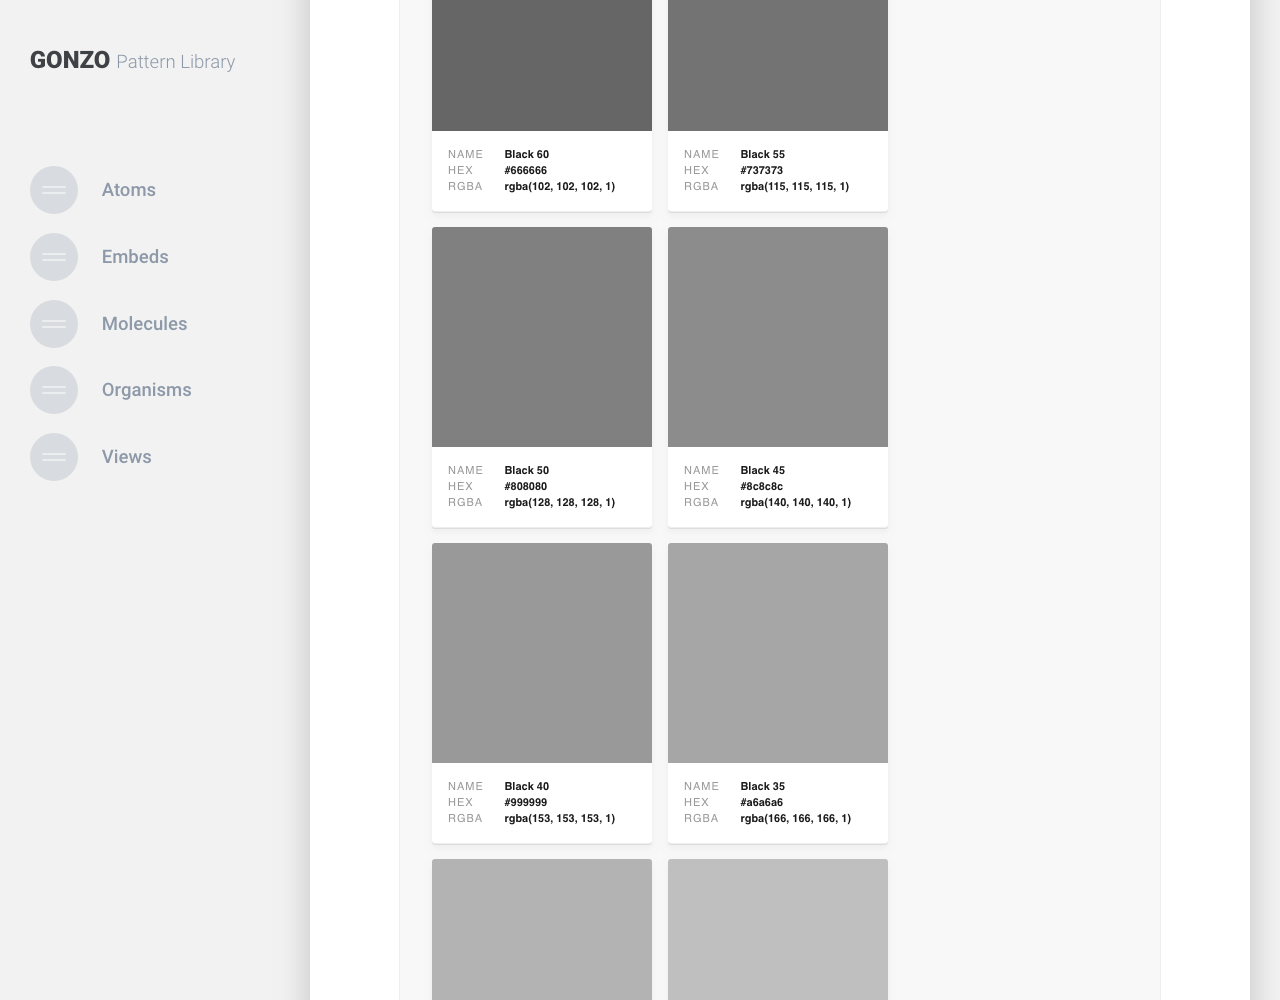
屏幕截图
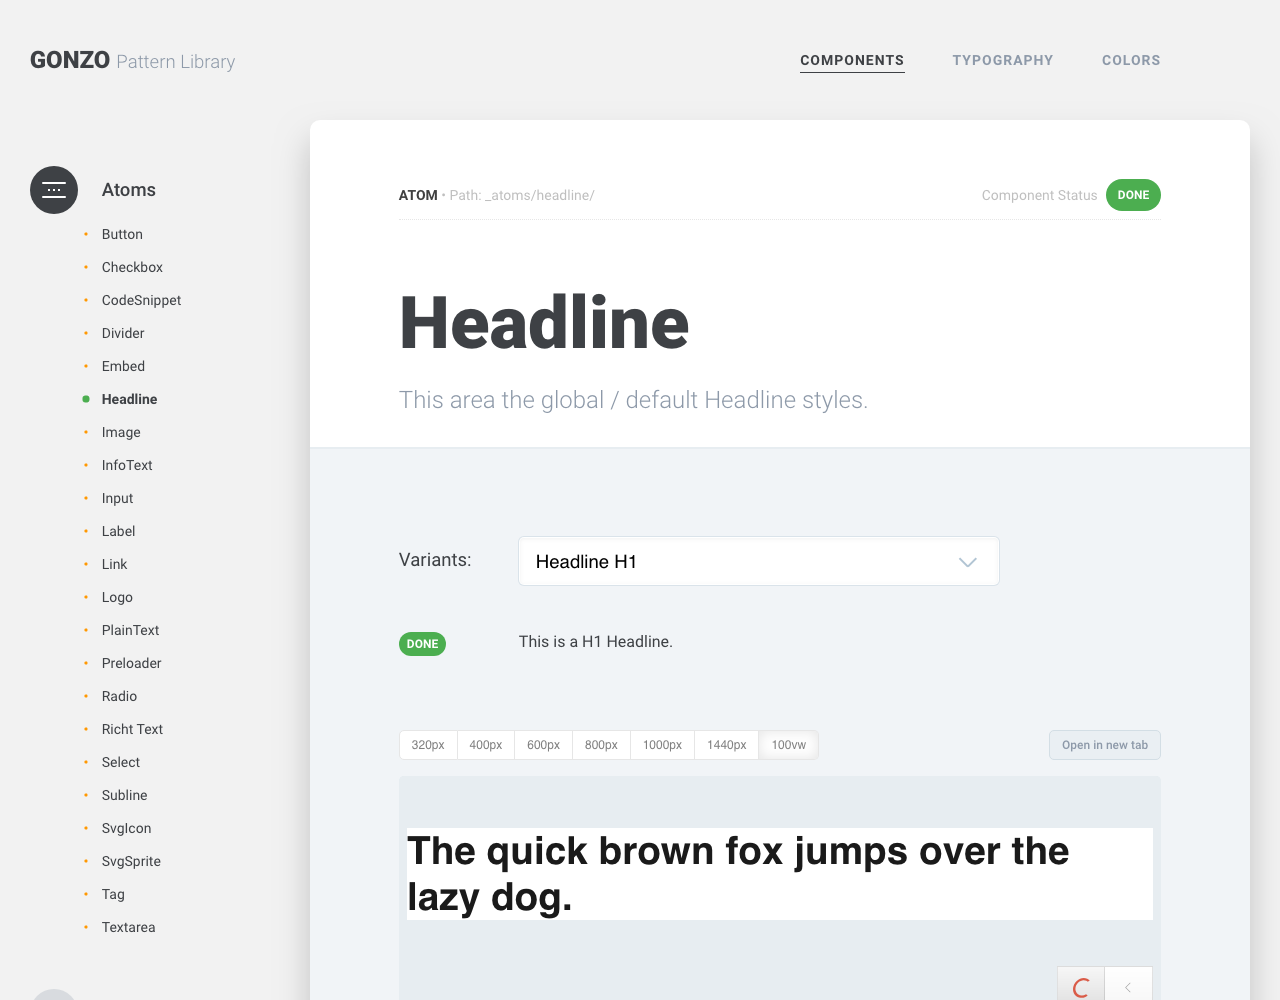
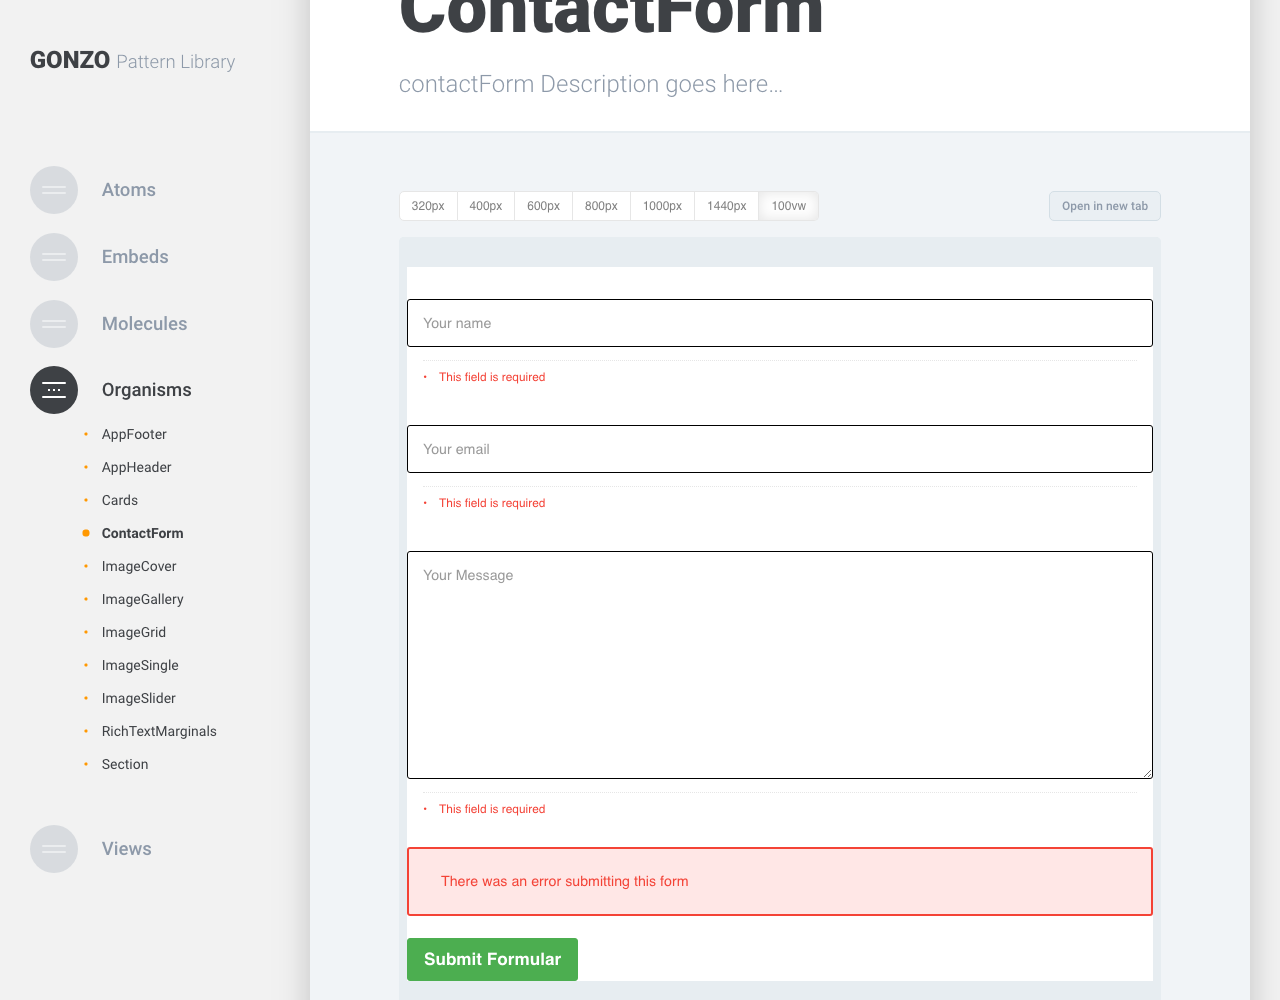
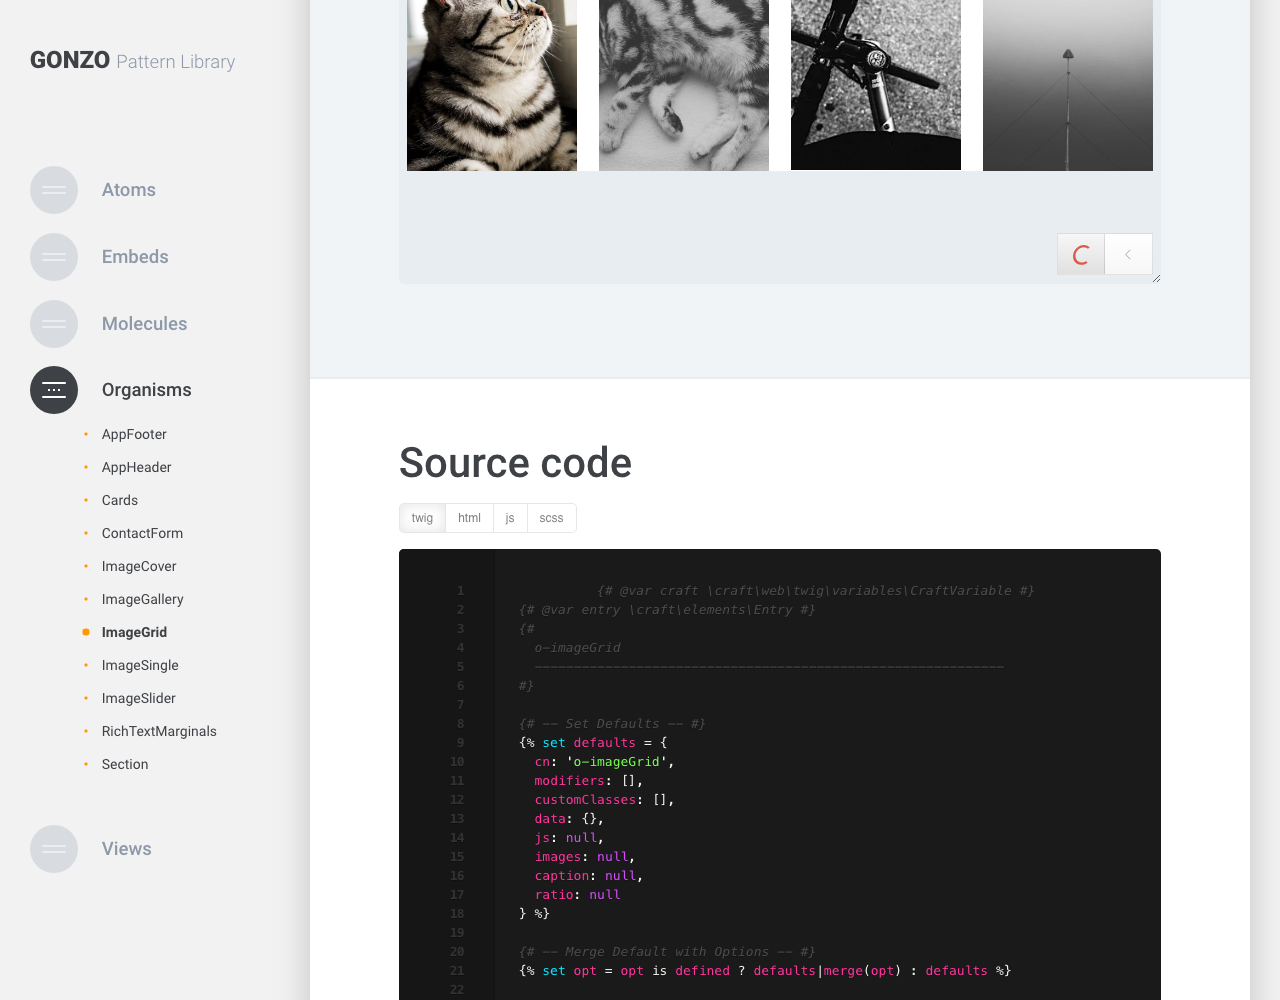
组件
标题
联系表单
图片网格
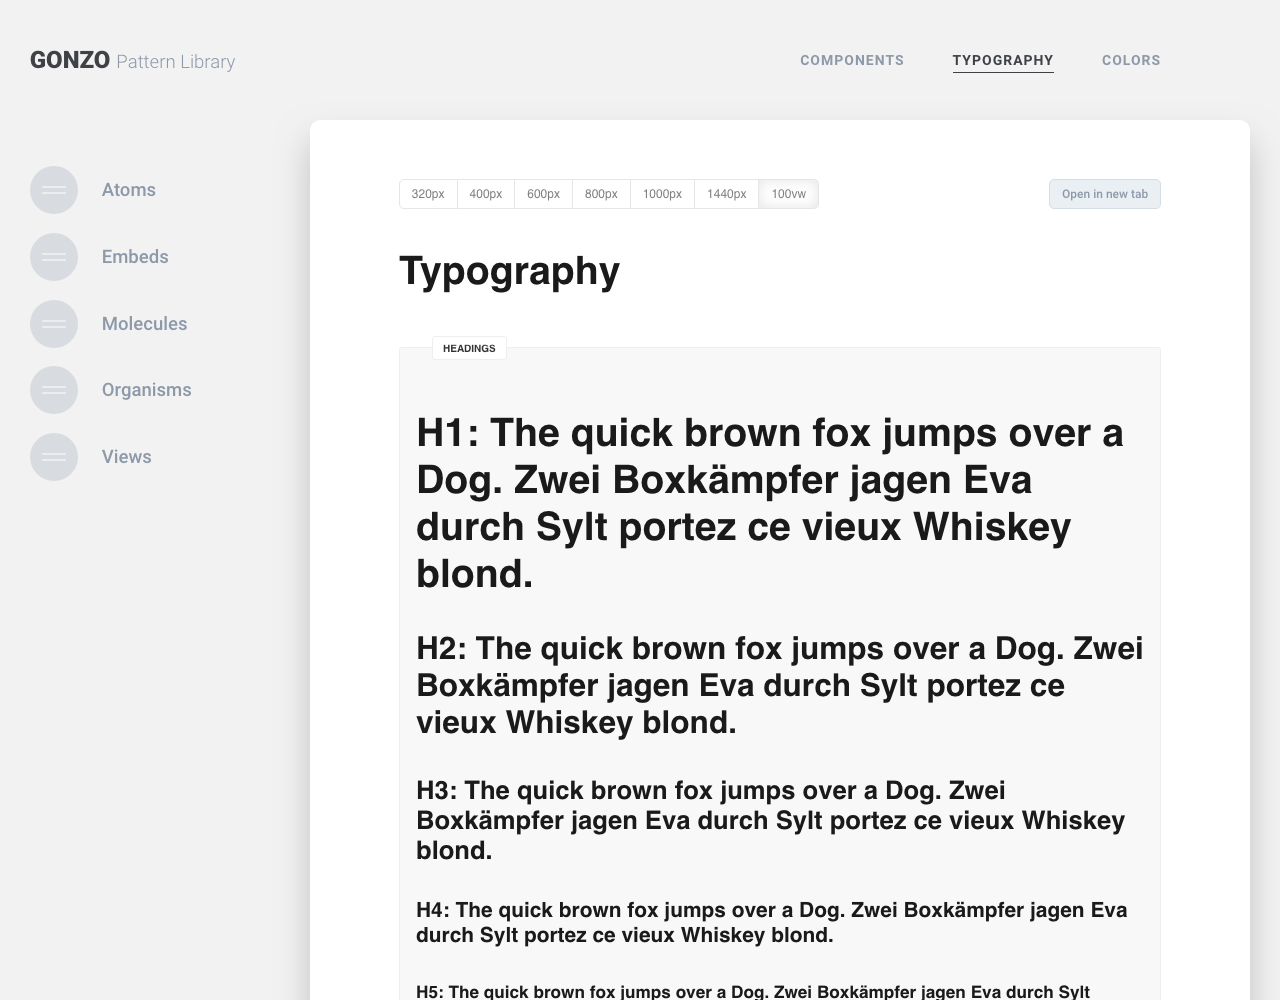
排版
标题
符号
颜色
品牌颜色
灰度
结构
该插件目前最佳使用最多 2 级别
├── _atoms
│   ├── button
│   │   ├── _button.js
│   │   ├── _button.scss
│   │   ├── _button.{twig|html}
│   │   └── config.php
│   ├── headline
│   │   ├── _headline.js
│   │   ├── _headline.scss
│   │   ├── _headline.{twig|html}
│   │   └── config.php
│   ├── image
│   │   ├── _image.js
│   │   ├── _image.scss
│   │   ├── _image.{twig|html}
│   │   └── config.php
├── _molecules
│   ├── card
│   │   ├── _script.js
│   │   ├── _style.scss
│   │   ├── _template.{twig|html}
│   │   └── config.php
├── _organisms
│   ├── accordion
│   │   ├── _script.js
│   │   ├── _style.scss
│   │   ├── _template.{twig|html}
│   │   └── config.php
│   ├── cards
│   │   ├── _script.js
│   │   ├── _style.scss
│   │   ├── _template.{twig|html}
│   │   └── config.php
您可以在模板文件夹中拥有其他文件夹和文件,但这是一个经过测试和使用的结构。您应该将 "compFolders" 设置设置为如下所示
"compFolders" => [
	"_atoms",
	"_molecules",
	"_organisms",
]
除了 config.php 之外的所有文件名都不是很重要,插件搜索 *.twig、*.scss 和 *.js 文件。
示例
标题组件
这是一个真实世界的例子。这是一个简单的标题组件。在这种情况下,它是一个 atom。总体来说,我们有四个文件。 _template.html 是我们的模板文件,其中包含所有模板逻辑。 config.php 是在模式库中渲染模块的核心文件。这里有一些占位内容来填充组件。这里还有一些不同的变体来定义。在这种情况下,H1、H2 等。第三个文件是 _style.scss 文件,我们可以在这个文件中为组件进行样式设计。最后一个文件是 _script.js 文件,当组件需要一些 JavaScript 代码时使用。
_template.html
{# @var craft \craft\web\twig\variables\CraftVariable #}
{# @var entry \craft\elements\Entry #}
{#
  a-headline
  ------------------------------------------------------------
#}

{# -- Set Defaults -- #}
{% set defaults = {
  cn: 'a-headline',
  modifiers: [],
  customClasses: [],
  data: {},
  js: null,
  text: null,
  size: 'h2'
} %}

{# -- Merge Default with Options -- #}
{% set opt = opt is defined ? defaults|merge(opt) : defaults %}

{# -- Modul -- #}
{% if opt.text %}
  <{{ opt.size }} class="{{ opt.cn }}
              {% for modifier in opt.modifiers %}
                {{ modifier | length ? '  ' ~ opt.cn ~ '--' ~ modifier }}
              {% endfor %}
              {% for customClass in opt.customClasses %}
                {{ customClass | length ? '  ' ~ customClass }}
              {% endfor %}  {{ opt.js ? opt.cn|replace({ 'a-' : 'js-' }) : '' }}"
              {% for key, value in opt.data %}
                {{ 'data-' ~ key ~ '=' ~ value }}
              {% endfor %}>
    {{ opt.text }}
  </{{ opt.size }}>
{% endif %}
config.php
<?php
// Describe your component
$componentMeta = [
    'title' => 'Headline',
    'status' => 'done',
    'visible' => true,
    'type' => 'atom',
    'path' => '_atoms/headline/',
    'description' => 'This area the global / default Headline styles.'
];

// That's your default Variant. When you need just a single
// Variant you can describe it all here.
$defaultVariant = [
    'title' => 'Headline H1',
    'status' => '',
    'description' => 'This is a H1 Headline.',
    'cn' => 'a-headline',
    'modifiers' => [],
    'customClasses' => [],
    'data' => [],
    'js' => null,
    'waypoint' => null,
    'waypointAni' => null,
    'text' => 'The quick brown fox jumps over the lazy dog.',
    'size' => 'h1'
];

// When you need more as one variant this part is your friend.
// You can add endless variants.
return [
    'meta' => array_merge($componentMeta, []),
    'variants' => [
        'headline' => array_merge($defaultVariant, []),
        'headline--h2' => array_merge($defaultVariant, [
            'title' => 'Headline H2',
            'description' => 'This is a H2 Headline.',
            'size' => 'h2',
        ]),
        'headline--h3' => array_merge($defaultVariant, [
            'title' => 'Headline H3',
            'description' => 'This is a H3 Headline.',
            'size' => 'h3',
        ]),
        'headline--h4' => array_merge($defaultVariant, [
            'title' => 'Headline H4',
            'description' => 'This is a H4 Headline.',
            'size' => 'h4',
        ]),
        'headline--h5' => array_merge($defaultVariant, [
            'title' => 'Headline H5',
            'description' => 'This is a H5 Headline.',
            'size' => 'h5',
        ]),
        'headline--h6' => array_merge($defaultVariant, [
            'title' => 'Headline H6',
            'description' => 'This is a H6 Headline.',
            'size' => 'h6',
        ]),
    ]
];
_style.scss
/*
 |--------------------------------------------------------------------------
 |  a-headline
 |--------------------------------------------------------------------------
 */

// Modul
.a-headline {
  $root: &;
  width: 100%;

  + .a-subline {
    margin-top: s(2);
  }
}

// Modul Modifiers Example
.a-headline--modifier {
  .a-headline__block {
    // Styles here
  }
}
_script.js
/**
 * headline
 */

const headline = {
    cfg:  {
        name: `headline`
    },

    log(msg) {
        console.log(msg)
    },

    init() {
        this.log(`Init: ${this.cfg.name}`)
    }
}

export default headline
页面
您可以为自定义页面创建示例,例如颜色页面,您可以在其中显示网站上使用的颜色。
要创建自定义页面,只需将其添加到 pages 选项中,并在 patternlib/pages 中创建模板。 key 应与文件名相同,例如 colors -> colors.{twig|html}。每个页面都应该有一个用于导航的标签键以及一个选项键,您可以在其中定义在此模板中可以使用的选项。
路线图
一些要做的事情和潜在功能的想法
- 发布它
由 Martin Herweg 和 David Hellmann 提供


