comur / content-admin-bundle
允许您为所有模板添加具有 CKEditor 视觉内联编辑器的 symfony 表单字段
Requires
- php: >=7.1
- ext-json: *
- emanueleminotto/simple-html-dom: *
- symfony/console: >=3.4
- symfony/form: >=3.4
- symfony/framework-bundle: >=3.4
- symfony/orm-pack: *
- symfony/translation: >=3.4
- symfony/twig-bundle: >=3.4
- symfony/validator: >=3.4
- symfony/yaml: >=3.4
Requires (Dev)
- phpunit/phpunit: ^7.5.1
README
此捆绑包帮助您在您的后端添加字段,并通过 CKEditor 内联编辑动态编辑所有模板内容
它还允许您使用 ComurImageBundle 编辑图片
如果此捆绑包帮助您减少了开发时间,您可以为我的咖啡支付一杯 ;)
安装
使用 Symfony Flex 的应用程序
打开命令行,进入您的项目目录,并执行
$ composer require comur/content-admin-bundle
不使用 Symfony Flex 的应用程序
步骤 1:下载捆绑包
打开命令行,进入您的项目目录,并执行以下命令以下载此捆绑包的最新稳定版本
$ composer require comur/content-admin-bundle
此命令需要您全局安装 Composer,如 Composer 文档的 安装章节 中所述。
步骤 2:启用捆绑包
然后,通过将其添加到项目 app/AppKernel.php 文件中注册的捆绑包列表中,启用捆绑包
// app/AppKernel.php

// ...
class AppKernel extends Kernel
{
    public function registerBundles()
    {
        $bundles = [
            // ...
            new Comur\ContentAdminBundle\ComurContentAdminBundle(),
        ];

        // ...
    }

    // ...
}
配置
您可以通过在您的配置目录中创建 comur_content_admin.yaml 来配置以下参数
#config/comur_content_admin.yaml

comur_content_admin:
    locales: ['en'] # this will add as many translation tabs as the number of locales when rendering content editing field
    templates_parameter: 'my_templates' # (optional) if you use this parameter, the bundle will use this parameter name as templates parameter and try to get templates using this parameter name
    entity_name: 'page' # (optional) a page parameter is passed to all templates when editing in backend (except if entity is not persisted yet)
    editable_tags: ['li', 'ul', 'td', 'th', 'i', 'span'] # (optional) use this parameter to set editable tags list for CKEditor, see: https://ckeditor.npmjs.net.cn/docs/ckeditor4/latest/api/CKEDITOR_dtd.html#property-S-editable
    templates: # optional template parameters
        -   template: 'sections/developers/login.html.twig'
            controller: 'App\Controller\PageController::index' # Use controller instead of template (need anyway a template field to match and get controller parameter)
            controllerParams:
                pageId: '123'
                #...
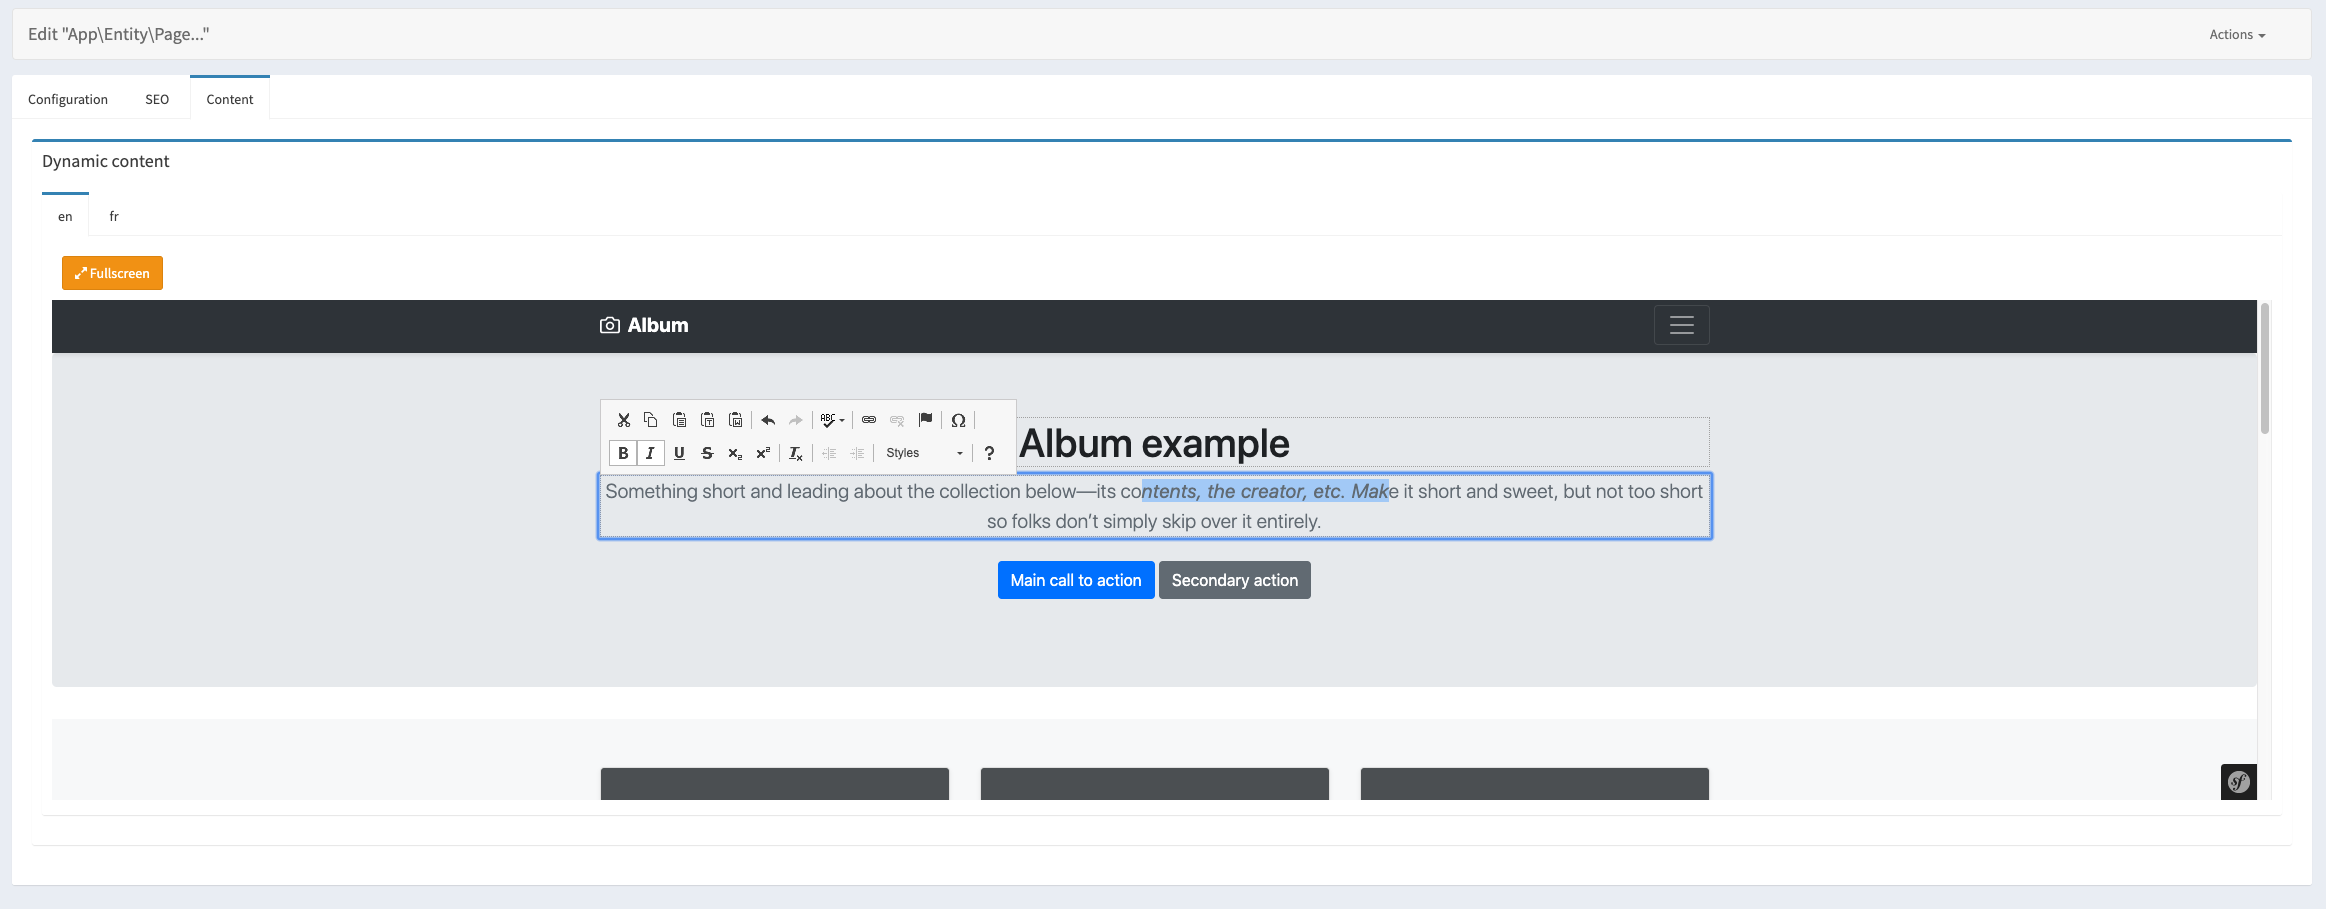
例如:多语言管理员的截图
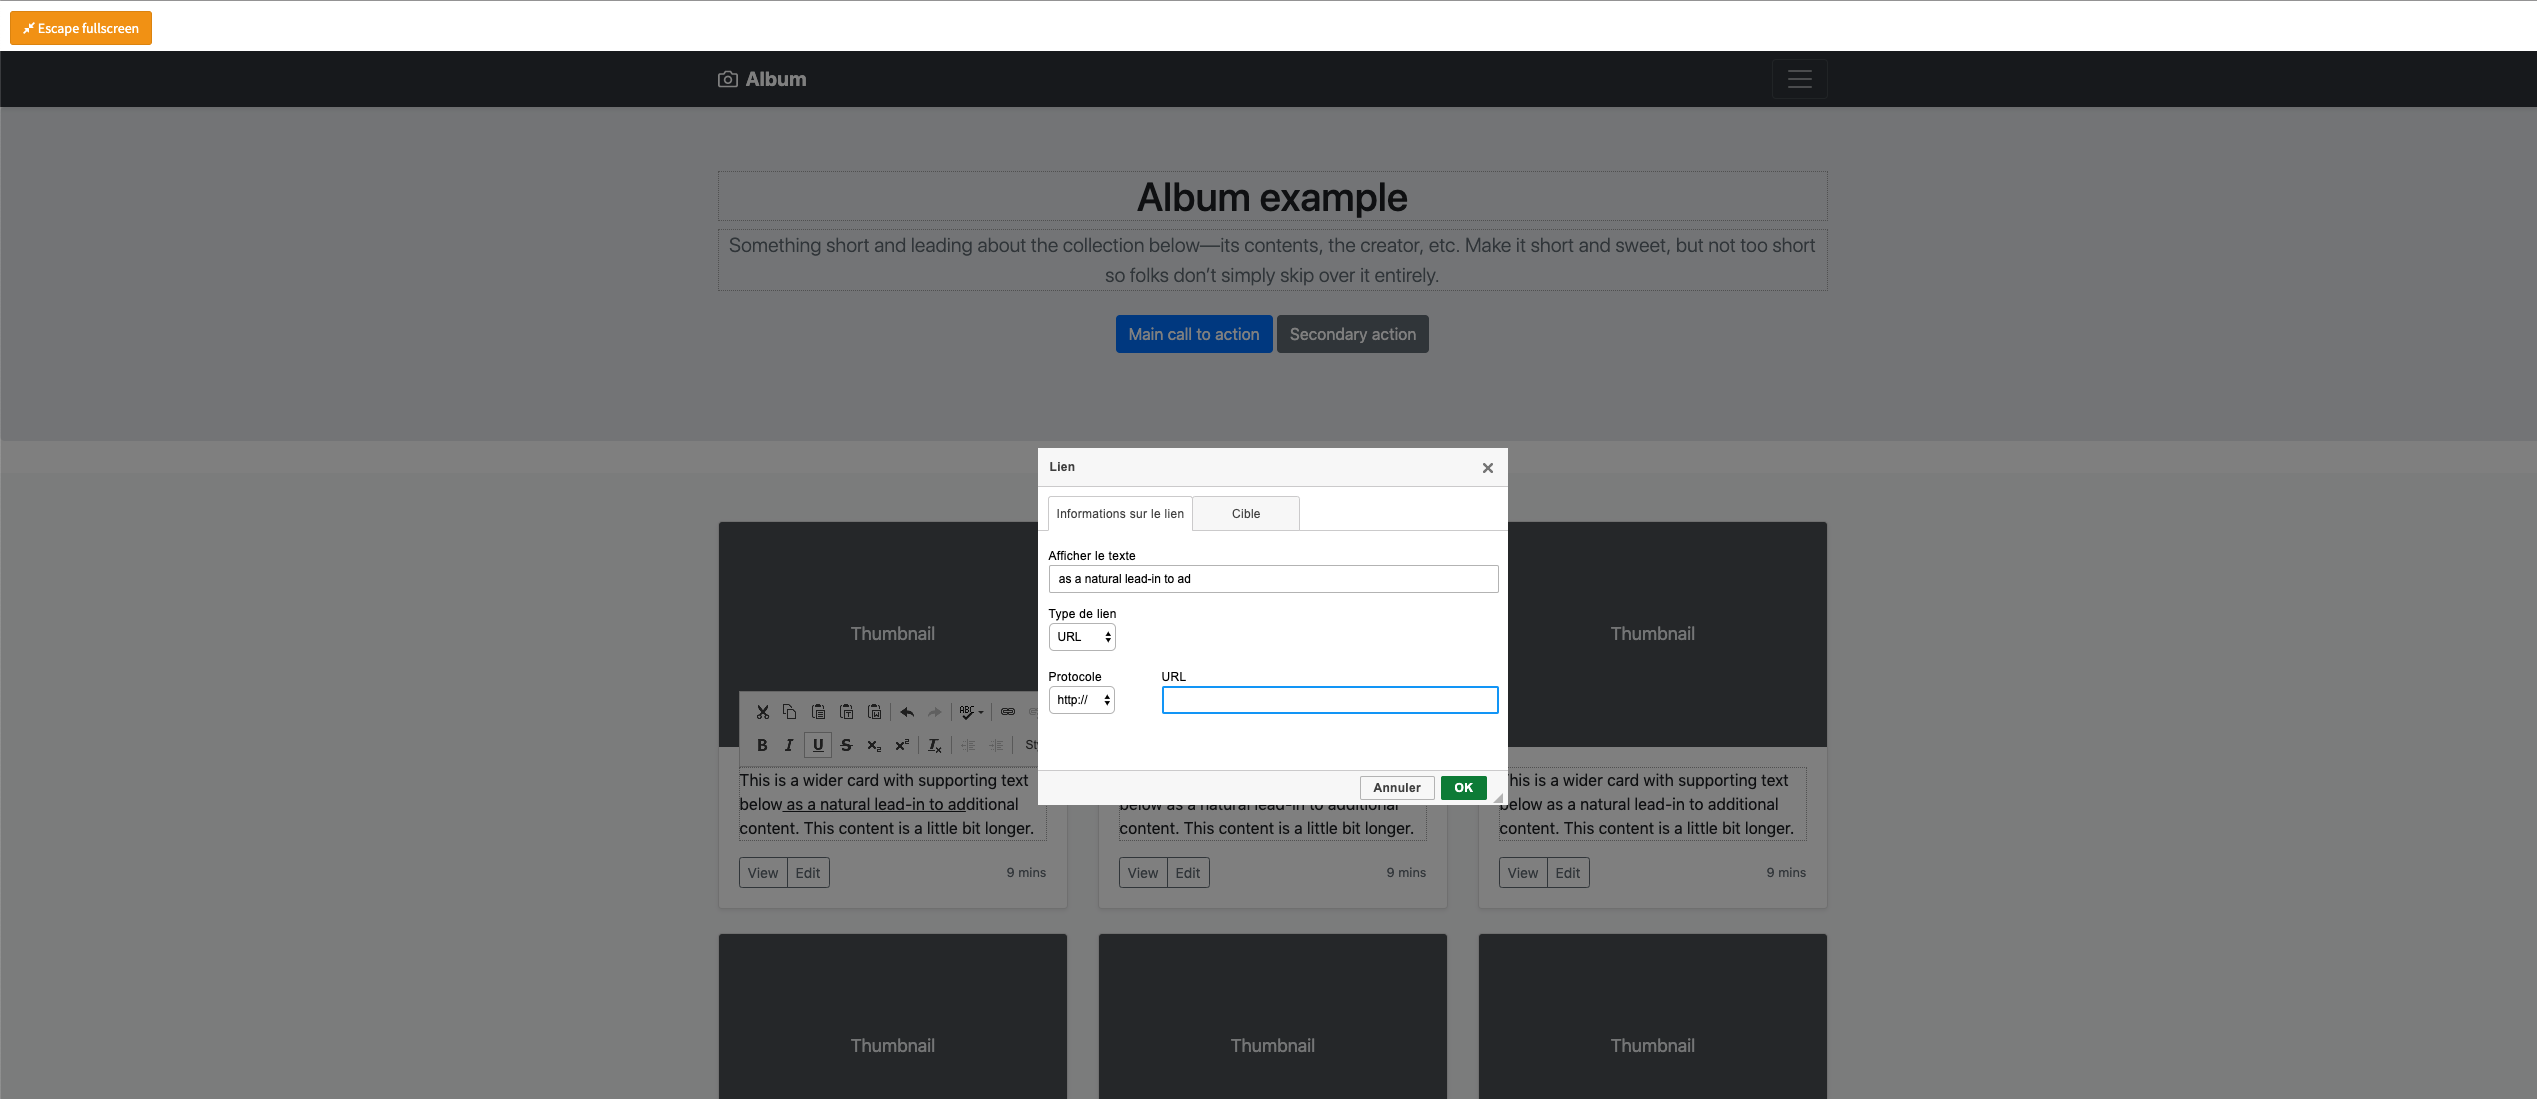
全屏模式
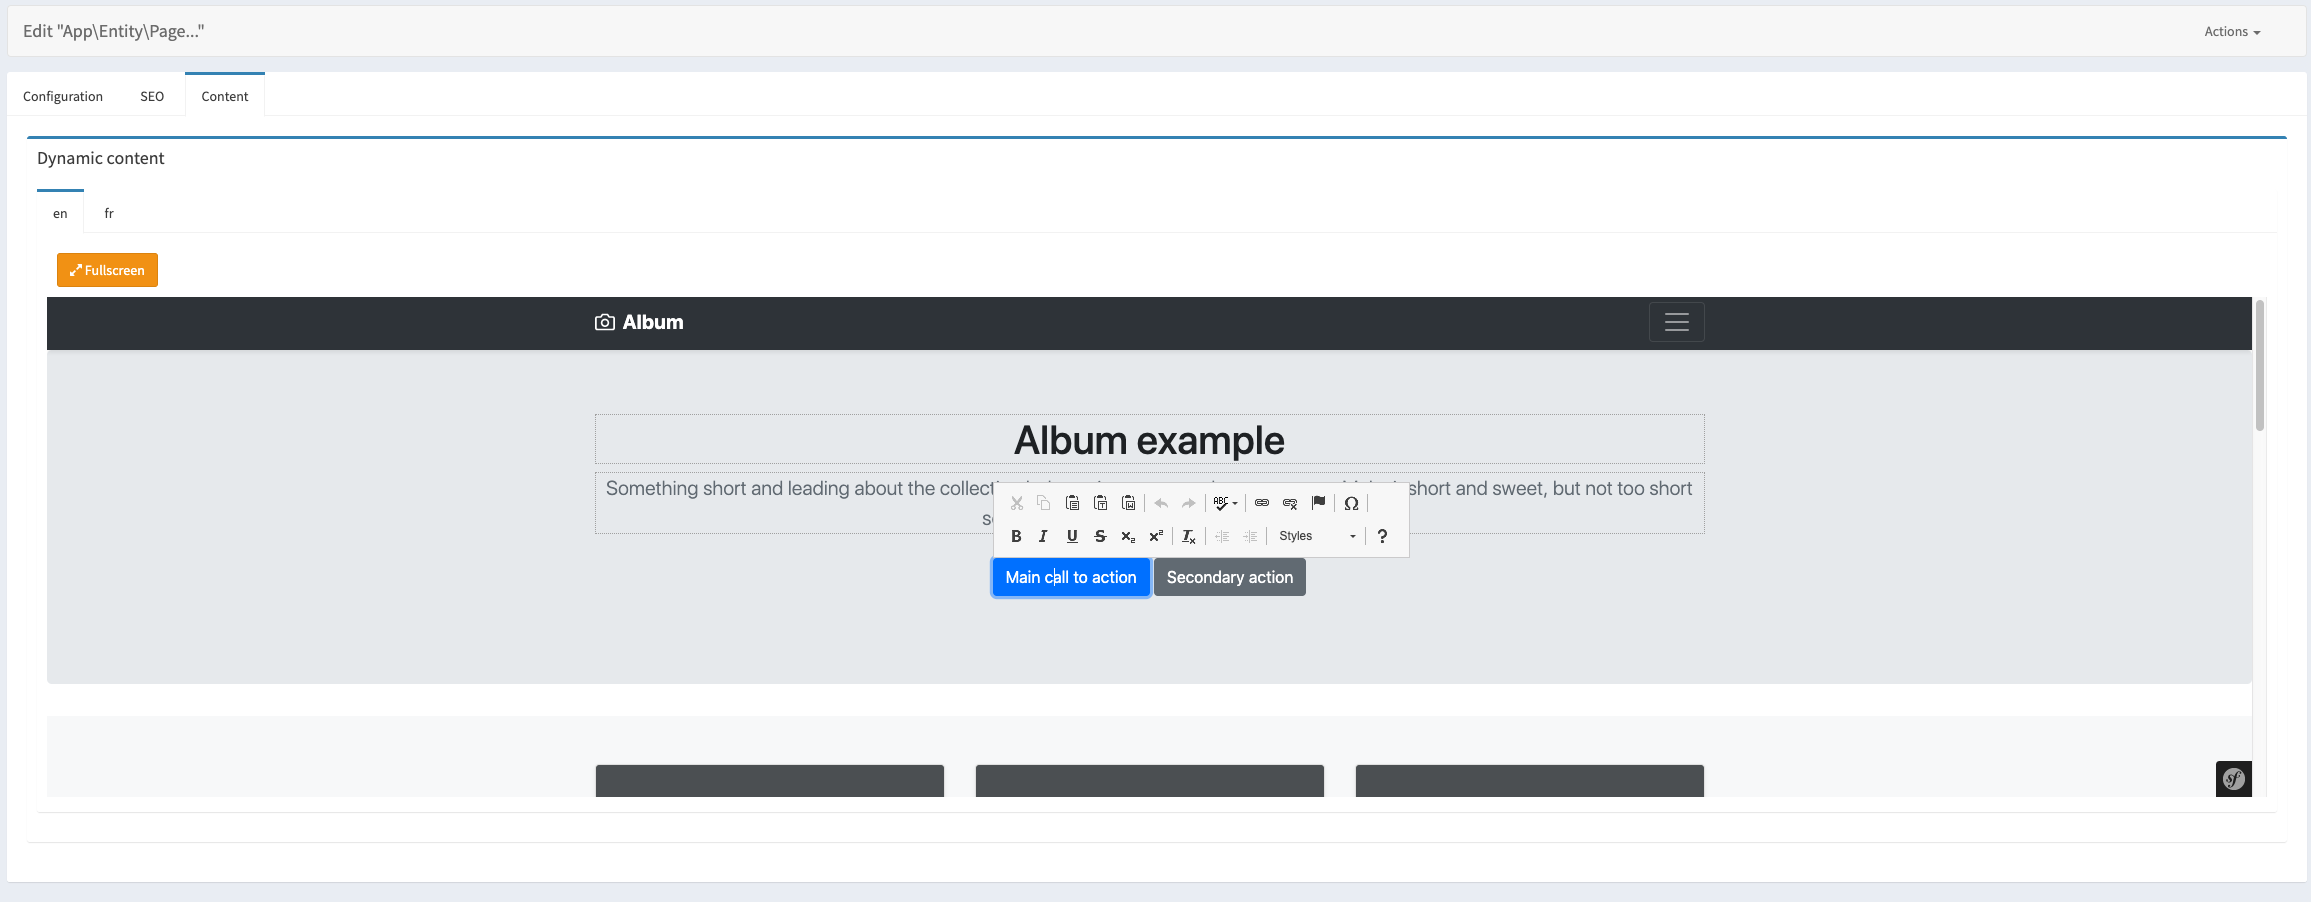
您甚至可以编辑按钮标签
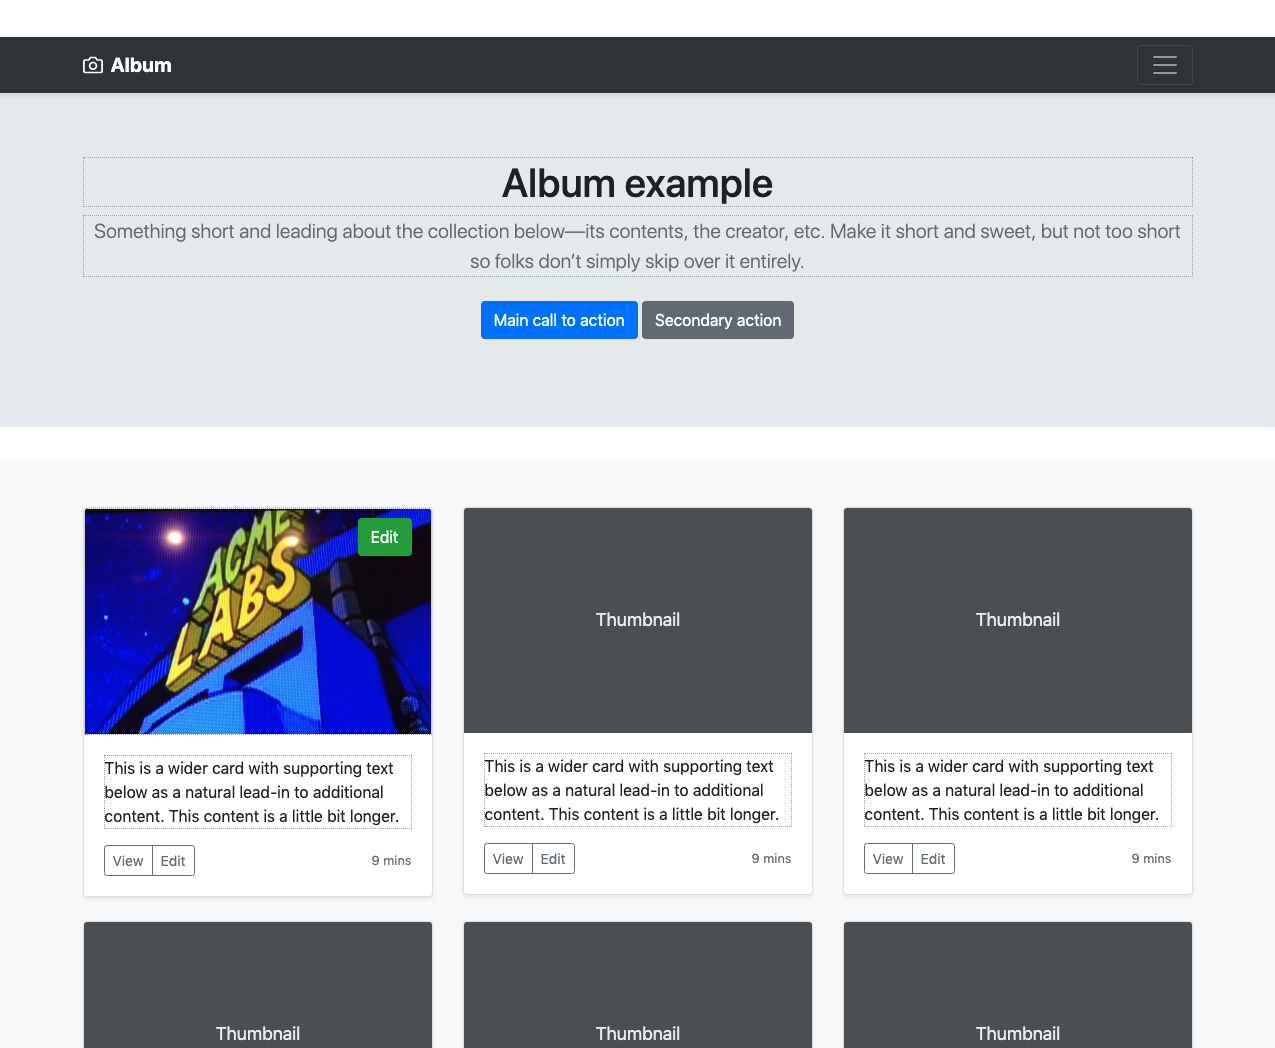
可编辑的图片
使用 ComurImageBundle 编辑图片
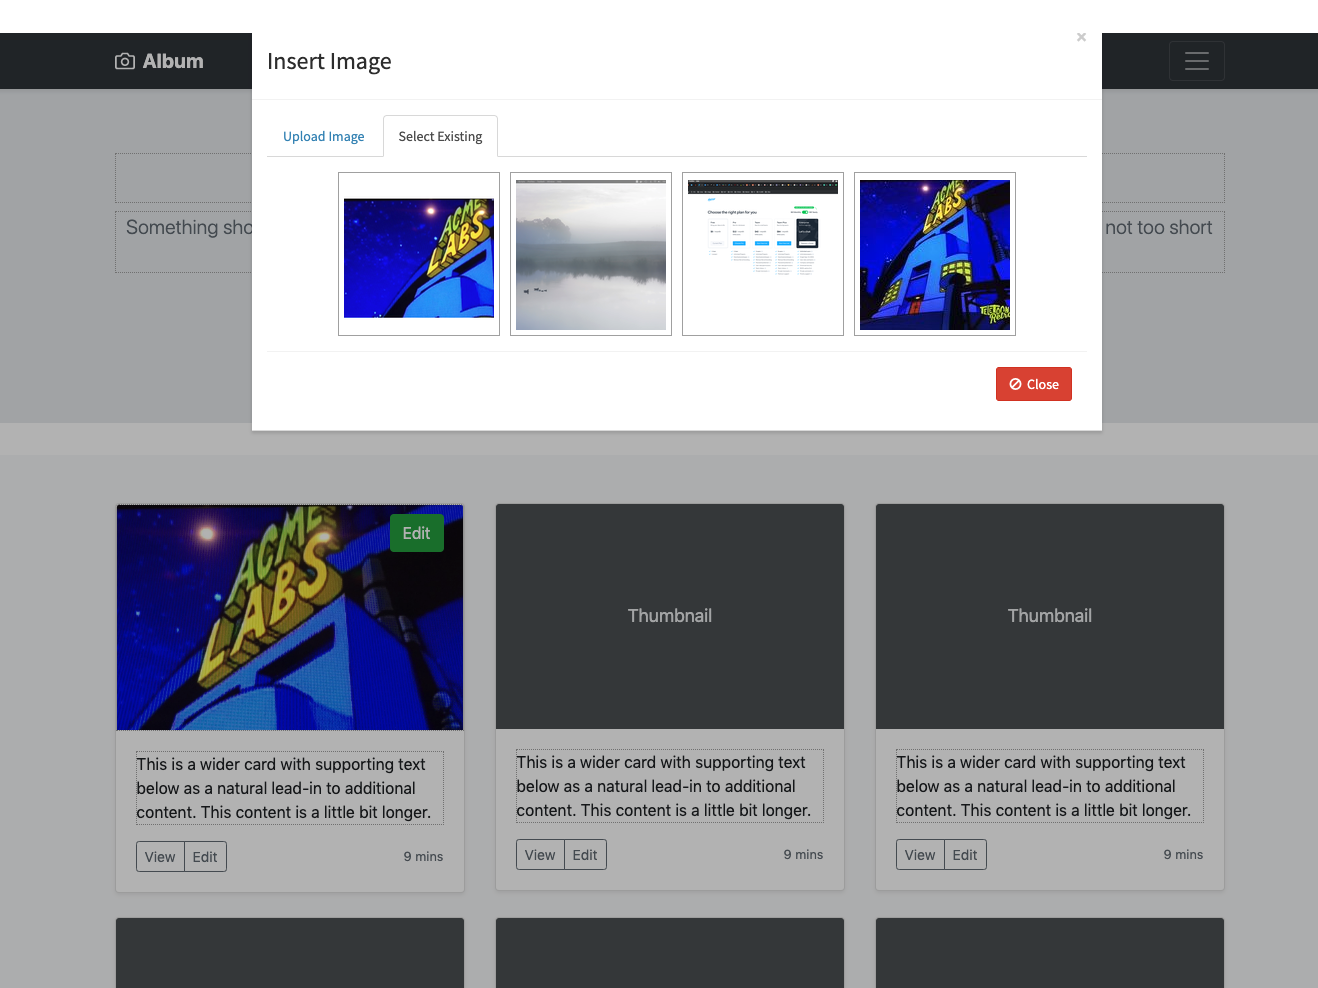
从您的库中选择(已上传的图片)
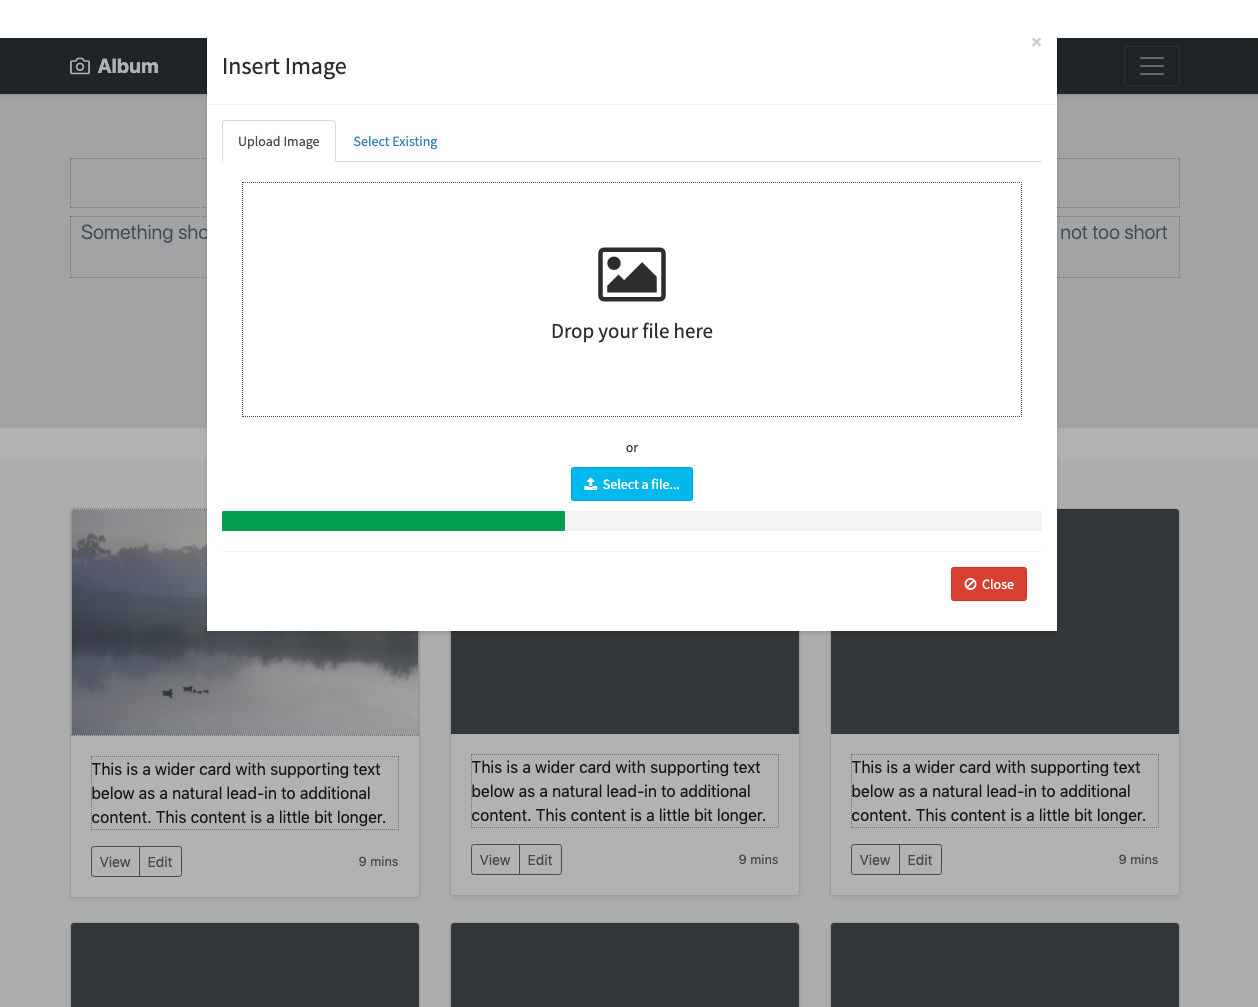
上传图片
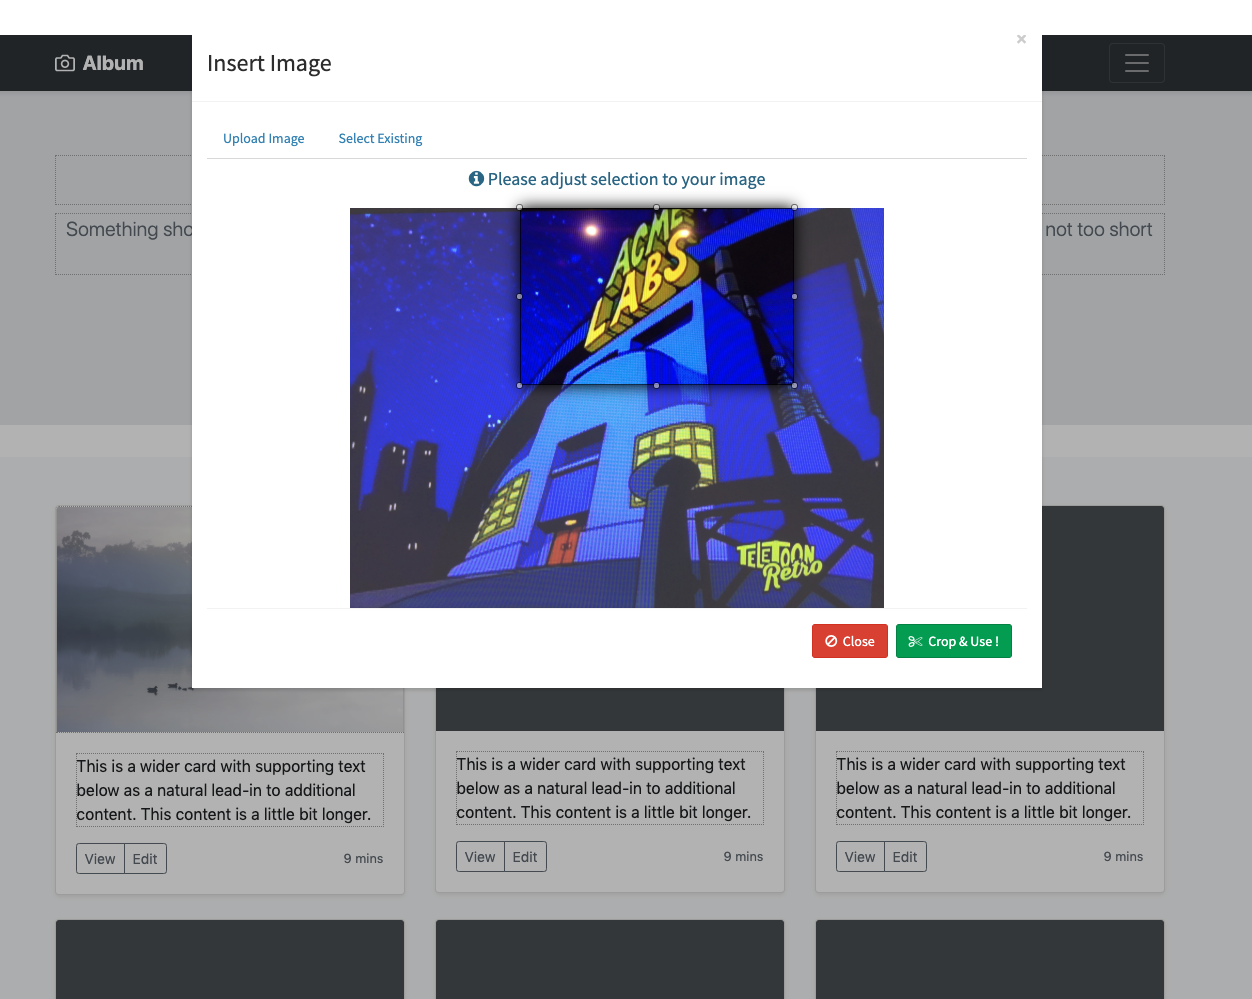
使用预定义的 HTML 属性大小(裁剪/调整大小)即时裁剪
用法
步骤 1:添加 twig 表单模板
不再需要,模板现在自动添加!
将表单字段模板添加到您的 twig 配置(config/twig.yaml)中
twig:
#...
    form_themes:
        - '@ComurContentAdmin/inline_content_field.html.twig'
步骤 2:包含路由
在您的 routes.yaml(config/routes.yaml)中包含路由
comur_content_admin:
    resource: "@ComurContentAdminBundle/Resources/config/routes.yaml"
步骤 3:实现抽象实体
ComurContentAdminBundle 使用一个属性(ORM 列)来保存动态内容数据到数据库,使用您相关实体。为此,您需要扩展 AbstractInlineContent 类。此类将在您的实体中添加一个名为 content 的属性(因此请注意不要在实体中使用此列!)。
use Comur\ContentAdminBundle\Entity\AbstractInlineContent;

class MyContentEntity extends AbstractInlineContent {
    //...
}
步骤 4:在您的管理中使用它(例如,对于 sonata admin,但也可以用于自定义管理员)
use Comur\ContentAdminBundle\Form\InlineContentType;

//...

protected function configureFormFields(FormMapper $formMapper): void
{
    $formMapper
        //...
        ->add('content', InlineContentType::class, array(
            'template_field_name' => 'template', // this will get template name from another field inside the same form (default is template)
            'template' => 'frontend/index.html.twig', // optional, you must specify either one of template_field_name or template parameter
            'class' => Page::class, // classname of your entity
            'locales' => array('en', 'fr'), // Or pass a parameter (optional, you can globally configure it in yaml and override it here)
            'required' => true // field extends symfony's HiddenType so you can use options from this class
        ))
        //...
    ;
}
步骤 5:POST 大小限制
请注意在 POST 请求中发送的数据大小限制。您可能需要将其更改为能够获取所有数据(所有动态内容值)。
有关更多信息,请参阅 https://php.ac.cn/manual/en/ini.core.php#ini.post-max-size
别忘了检查您服务器的限制(Nginx、Apache...)
步骤 6:在模板中添加 twig 过滤器
此捆绑包添加了一个名为 "inlinecontent" 的新 twig 过滤器。您必须使用它,以便捆绑包通过 HTML 标签上需要内容替换的数据-content-id 属性来确定和替换内容。
示例
{# templates/index.html.twig #}

{% extends 'base.html.twig %}

{% block body %}

  {# Need to pass content data to this filter so you need to pass content to your template (see step 7) #}
  {% filter inlinecontent(content) %}

    {# ... #}
    <div class="myclass" data-content-id="myCenterBlockDescription">This is my default content that I can replace as I want using my form</div>

  {% endfilter %}

{% endblock body%}
步骤 7:从您的控制器将内容传递到模板
内容由此捆绑包管理,但您需要将内容数据传递到模板,以便捆绑包可以使用它并相应地替换内容。
示例
// App/Controller/FrontController.php

namespace App\Controller;

use App\Entity\Page; // This is my entity extending ComurContentAdmin's AbstractInlineContent entity
use Symfony\Component\HttpFoundation\Request; // Handle the request in the controller
use Symfony\Bundle\FrameworkBundle\Controller\AbstractController;

class FrontController extends AbstractController
{

  public function index(Request $request, $slug) {
    $page = $this->getDoctrine()->getManager()->getRepository(Page::class)->findOneBySlug($slug);
    return $this->render('frontend/index.html.twig', array(
        'content' => $page->getContent($request->getLocale()) // This will return localized content data as an array and twig filter will replace default content of your template with this
    ));
  }

}
使用ComurImageBundle编辑图像
步骤 1:安装Comur Image Bundle
请按照ComurImageBundle上的说明进行安装
步骤 2:在配置中启用comur_image_compatibility
⚠️ 不再需要,此包会自动检查ComurImageBundle是否已安装,如果发现则会自动启用
comur_content_admin:
  #...
  enable_comur_image_bundle: true
步骤 3:在模板中的图像上添加数据属性
示例
<img
  src="myimage.png"
  data-content-id="myHeaderImage"
  data-image-crop-min-width="300"
  data-image-crop-min-height="500"
  data-image-upload-show-library="true"
  data-image-upload-library-dir="headerimages" <!-- Special parameter : This suffix will be added to uploadRoute and uploadUrl -->
  <!-- You can use (override for each image individually) all ComurImageBundle config parameters by prefixing it
  with data-image-upload for uploadConfig and data-image-crop for cropConfig (except thumbs parameter) -->
  width="300" height="500" <!-- if you put width and height, ComurImageBundle will ask and crop for exact size of your requirements (forceResize=true) -->
/>
此代码将被twig过滤器自动替换,src将被数据库值自动填充
这限制了使用img标签(不能用于背景图像),如果有关于编辑背景图像的想法,请告诉我 ;)
步骤 4:在您的表单中使用它
use Comur\ContentAdminBundle\Form\InlineContentType;

//...

protected function configureFormFields(FormMapper $formMapper): void
{
    $myEntity = $this->getMyEntity(); // Change it :)

    $formMapper
        //...
        ->add('content', InlineContentType::class, array(
            'template_field_name' => 'template', // this will get template name from another field inside the same form (default is template)
            'template' => 'frontend/index.html.twig', // optional, you must specify either one of template_field_name or template parameter
            'class' => Page::class, // classname of your entity
            'locales' => array('en', 'fr'), // Or pass a parameter (optional, you can globally configure it in yaml and override it here)
            'required' => true // field extends symfony's HiddenType so you can use options from this class too
            'comur_image_params' => array(
                'uploadConfig' => array(
                    'uploadRoute' => 'comur_api_upload', 		//optional
                    'uploadUrl' => $myEntity->getUploadRootDir(),       // required - see explanation below (you can also put just a dir path)
                    'webDir' => $myEntity->getUploadDir(),				// required - see explanation below (you can also put just a dir path)
                    'fileExt' => '*.jpg;*.gif;*.png;*.jpeg', 	//optional
                    'libraryDir' => null, 						//optional
                    'libraryRoute' => 'comur_api_image_library', //optional
                    'showLibrary' => true, 						//optional
                    'saveOriginal' => 'originalImage',			//optional
                    'generateFilename' => true			//optional
                ),
                'cropConfig' => array(
                    'minWidth' => 588,
                    'minHeight' => 300,
                    'aspectRatio' => true, 				//optional
                    'cropRoute' => 'comur_api_crop', 	//optional
                    'forceResize' => false, 			//optional
                    'thumbs' => array( 					//optional
                      array(
                        'maxWidth' => 180,
                        'maxHeight' => 400,
                        'useAsFieldImage' => true  //optional
                      )
                    )
                )
            )
        ))
        //...
    ;
}
有关参数的完整列表,请参阅ComurImageBundle文档
开发
任何有助于改进此包的帮助都十分感激!请随时发送PR!
待办事项
- 测试(不是特别擅长这个,如果有人想帮忙!)
- 在配置/表单参数中添加CKEditor参数
- 如果不需要,则不包含ckeditor脚本的参数(如果已在其他地方包含)
- 找到一种方法将参数传递给模板(我们经常需要将参数传递给模板,但目前还不行)
将ComurImageBundle的兼容性添加到编辑图像中完成- 找到一种更好的方法用数据替换内容而不使用DOM操作(可能会改变标签)
故障排除
内容没有替换
其中一个原因是如果您在HTML标签中放入了一些额外的空格。DomDocument修复HTML并删除额外的空格或其他它发现的不尊重HTML规则的内容。例如
<img src="myimage.png"  my-attribute="myvalue" /> <!-- will not be replaced -->
<img src="myimage.png" my-attribute="myvalue" /> <!-- will not be replaced as there is a space at the end before /> -->

<img src="myimage.png" my-attribute="myvalue"/> <!-- this is ok -->

