agelgil / filament-maps
Filament 的地图组件。
Requires
- php: ^8.2
- filament/filament: ^3.2.0
- spatie/laravel-package-tools: ^1.16
Requires (Dev)
- laravel/pint: ^1.13
This package is not auto-updated.
Last update: 2024-09-17 21:39:02 UTC
README
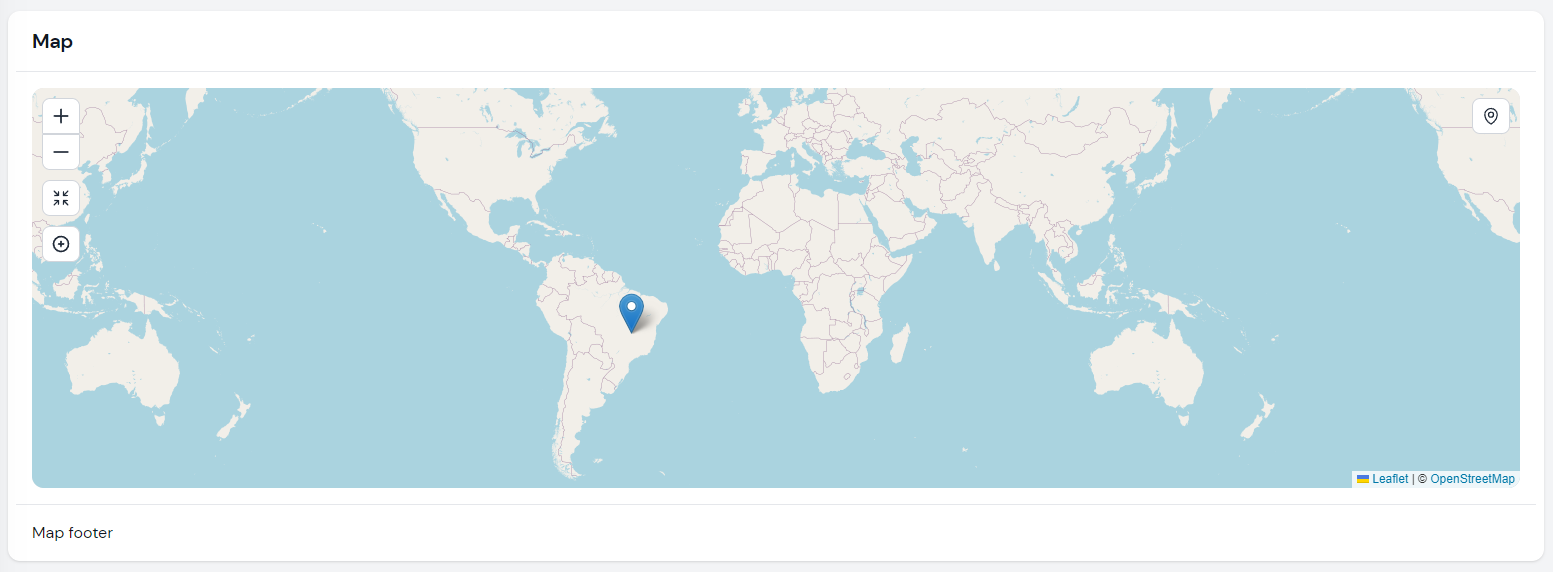
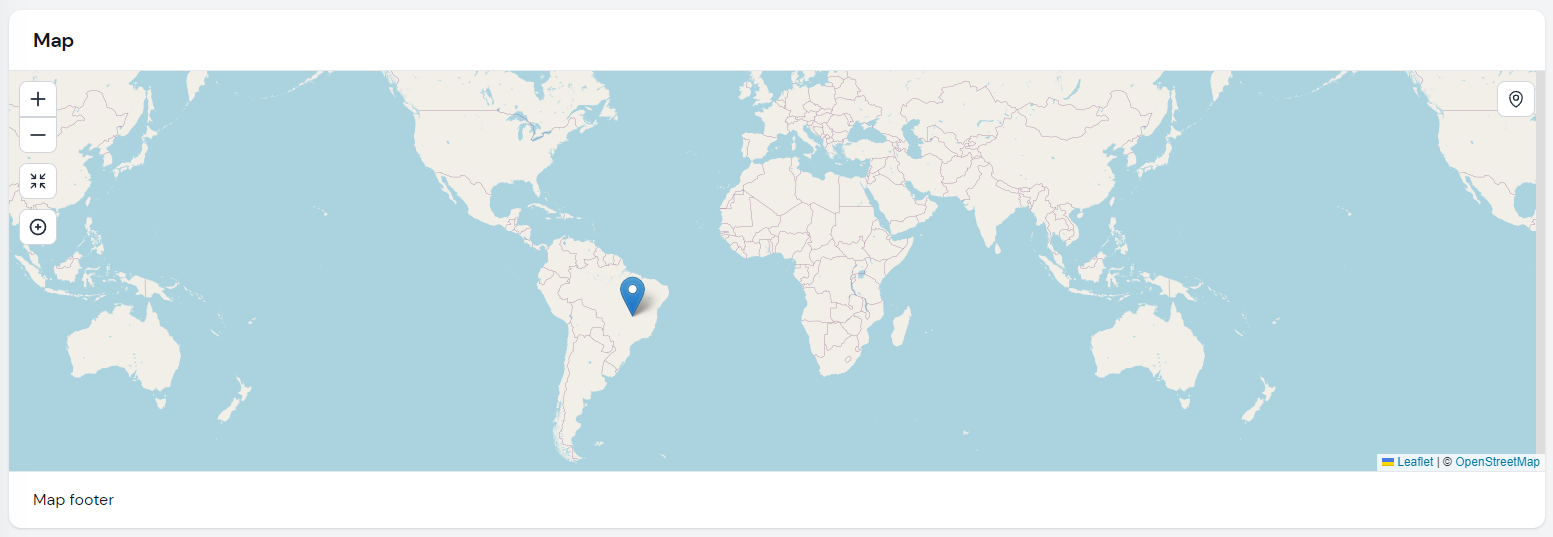
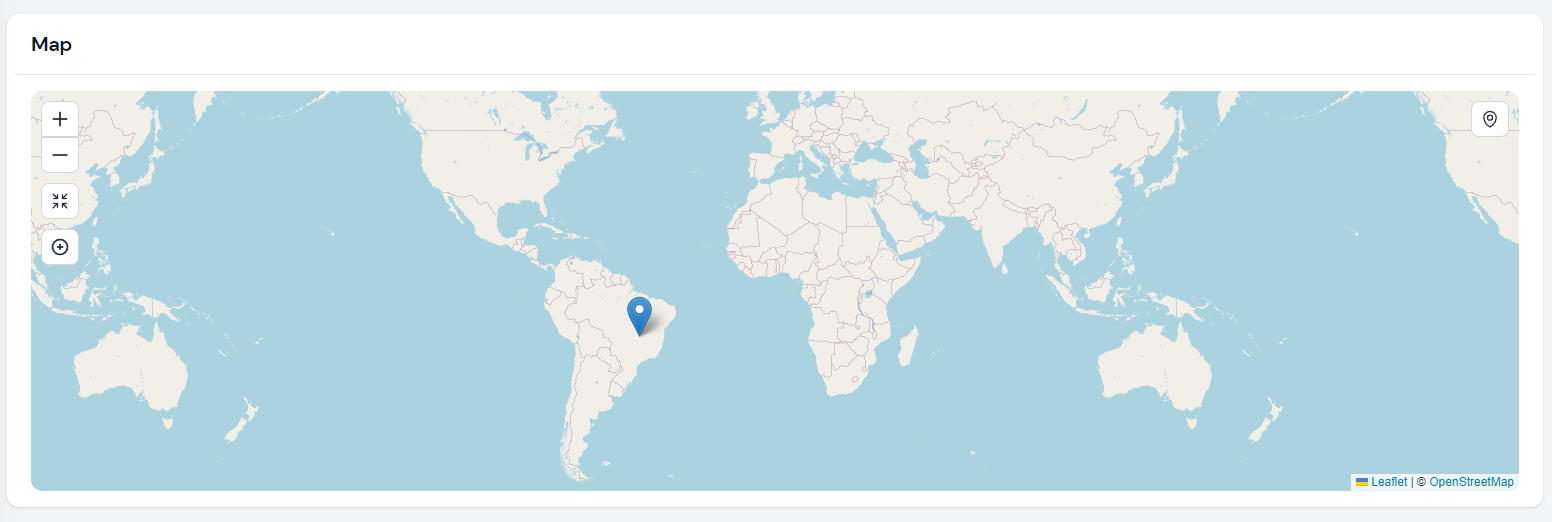
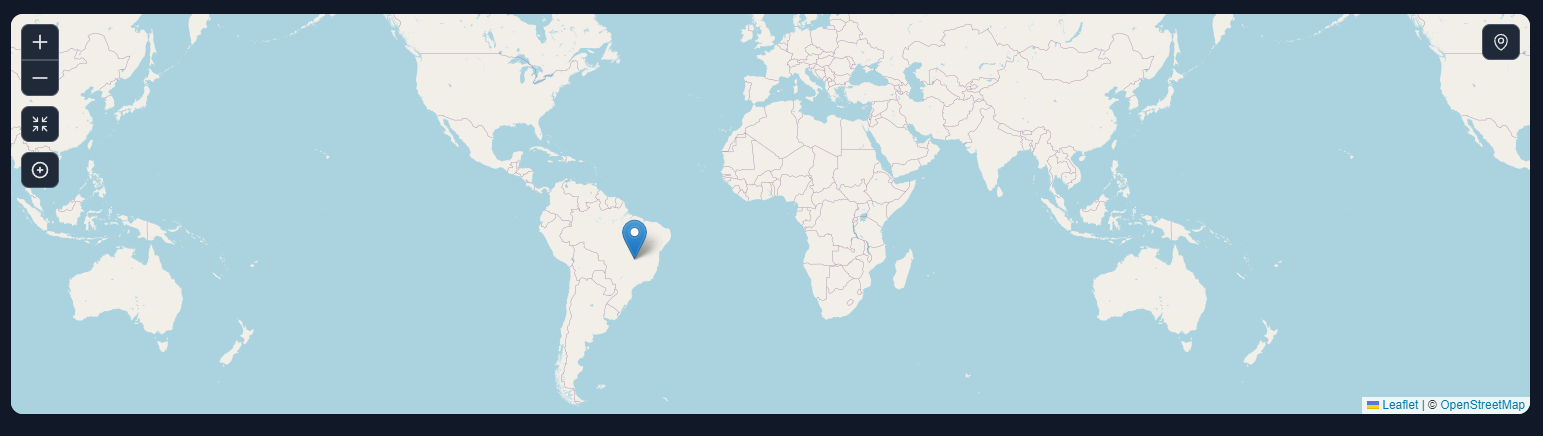
使用 Leaflet 渲染地图小部件。
- 支持同一页面上多个地图
- 内置动作:
CenterMapAction、ZoomAction、FullpageAction和FullscreenAction - 将 Filament 动作直接添加到地图控制按钮上
- 支持多个图层。包含 DarkModeTile 图层。
- 支持标记聚类
注意 对于 Filament 2.x,请使用 2.x 分支
安装
composer require webbingbrasil/filament-maps
使用方法
创建一个小部件类,并扩展 Webbingbrasil\FilamentMaps\Widgets\MapWidget
use Webbingbrasil\FilamentMaps\Actions;
use Webbingbrasil\FilamentMaps\Marker;
use Webbingbrasil\FilamentMaps\Widgets\MapWidget;

class Map extends MapWidget
{
    protected int | string | array $columnSpan = 2;

    protected bool $hasBorder = false;

    public function getMarkers(): array
    {
        return [
            Marker::make('pos2')->lat(-15.7942)->lng(-47.8822)->popup('Hello Brasilia!'),
        ];
    }

    public function getActions(): array
    {
        return [
            Actions\ZoomAction::make(),
            Actions\CenterMapAction::make()->zoom(2),
        ];
    }
}
如果您使用
make:filament-widget命令创建了一个新的小部件,请记得删除与其一起创建的视图,否则地图将不会渲染。
地图配置
对于某些配置,可以使用属性
$mapOptions:包含 Leaftlet 上可用选项的数组。有关更多详细信息,请参阅 Leaflet 文档。$tileLayerUrl:字符串或包含瓦片层 URL 的数组。默认为 OpenStreetMap。$hasBorder:在地图周围显示边框。默认为true。$rounded:在地图周围显示圆角边框。默认为true。$height:地图的高度。默认为400px。$heading:设置地图的航向。$footer:设置地图的页脚。$fullpage:以全页模式显示地图。默认为false。
但您也可以使用 setUp 方法以获得更多控制
public function setUp(): void
{
    $this
        ->tileLayerUrl(...)
        ->height(..)
        ->rounded(..)
        ->mapOptions(..)
        ->mapMarkers([
            ...
        ])
        ->fitBounds([
            [lat, lng],
            [lat, lng]
            ...
        ])
        ->actions([
            ..
        ]);
}
setUp方法在组件的mount时调用。有关更多信息,请参阅 livewire 生命周期钩子。
全局配置
如果您想为地图小部件的所有实例设置默认配置,您可以在服务提供程序中使用 configureUsing 方法
MyMap::configureUsing(function (ResellerMap $widget) {
    $widget->mapMarkers([
        Marker::make('id')
            ->lat(51.505)
            ->lng(-0.09)
            ->popup('I am a popup')
            ->tooltip('I am a tooltip'),
    ])
    ->tileLayerUrl('https://{s}.tile.openstreetmap.org/{z}/{x}/{y}.png')
    ->tileLayerOptions([
        'attribution' => 'Map data © <a href="https://openstreetmap.org">OpenStreetMap</a> contributors',
    ])
});
瓦片图层
地图默认使用 OpenStreetMap 瓦片,但您可以使用 $tileLayerUrl 属性或 tileLayerUrl 方法将其更改为任何其他提供者。建议使用 tileLayerOptions 设置正确的归属。
多个瓦片图层
您还可以使用多个瓦片图层
protected string | array  $tileLayerUrl = [
    'OpenStreetMap' => 'https://{s}.tile.openstreetmap.org/{z}/{x}/{y}.png',
    'OpenTopoMap' => 'https://{s}.tile.opentopomap.org/{z}/{x}/{y}.png'
];

protected array $tileLayerOptions = [
    'OpenStreetMap' => [
        'attribution' => 'Map data © <a href="https://openstreetmap.org">OpenStreetMap</a> contributors',
    ],
    'OpenTopoMap' => [
        'attribution' => 'Map data © <a href="https://openstreetmap.org">OpenStreetMap</a> contributors, SRTM | Map style © <a href="https://opentopomap.org">OpenTopoMap</a> (<a href="https://creativecommons.org/licenses/by-sa/3.0/">CC-BY-SA</a>)',
    ],
];
您可以使用操作来更改瓦片图层
Actions\Action::make('mode')
                ->icon('filamentmapsicon-o-square-3-stack-3d')
                ->callback('setTileLayer(mode === "OpenStreetMap" ? "OpenTopoMap" : "OpenStreetMap")'),
暗黑模式
如果您想使用暗黑模式瓦片图层,您可以使用 HasDarkModeTiles 特性。此特性将自动设置两个瓦片图层并监听 Filament dark-mode-toggled 事件。您可以使用 $lightModeTileLayerUrl 和 $darkModeTileLayerUrl 属性更改默认瓦片图层。
操作
您可以向地图小部件添加操作。操作是可以点击以使用 JS 回调执行操作的按钮。您可以创建自己的操作或使用包中提供的操作。
缩放操作
ZoomAction 操作将在地图上添加一个按钮,用于放大或缩小地图。您可以使用 zoom() 方法设置缩放级别。
use Webbingbrasil\FilamentMaps\Actions;
Actions\ZoomAction::make()->zoom(2), // Zoom in/out 2 levels
中心地图操作
此操作将地图中心定位在特定位置。
use Webbingbrasil\FilamentMaps\Actions;

public function getActions(): array
{
    return [
        Actions\CenterMapAction::make()->centerTo([51.505, -0.09])->zoom(13),
    ];
}
您还可以将地图中心定位在用户位置
Actions\CenterMapAction::make()->centerOnUserPosition()->zoom(13)
注意:只有在用户浏览器支持 Navigator.geolocation 时,用户位置中心功能才会工作。此外,用户必须在安全上下文(HTTPS)中,并且需要允许访问位置。
适应边界
您可以使用 fitBounds() 来调整地图的缩放级别和中心,以显示给定的地理区域
Actions\CenterMapAction::make()->fitBounds([
   [lat, lng],
   [lat, lng],
])
您可以向 fitBounds() 传递多个点或使用 setUp() 中配置的初始边界
public function setUp(): void
{
    $this->fitBounds([
        [lat, lng],
        [lat, lng],
        ...
    ]);
}

public function getActions(): array
{
    return [
        CenterMapAction::make()->fitBounds($this->getFitBounds()),
    ];
}
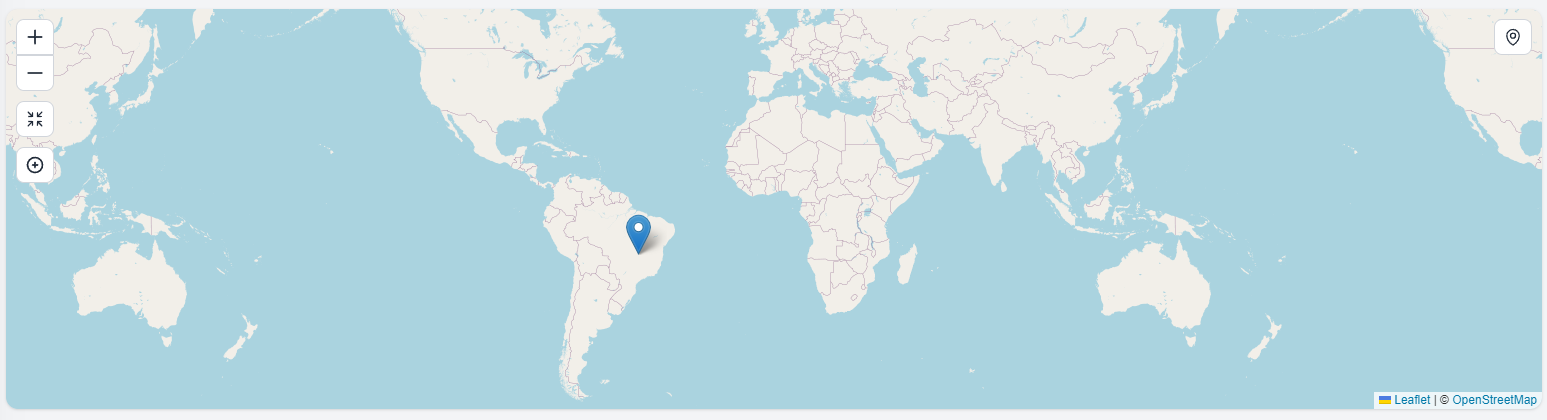
全页或全屏操作
您可以在地图中添加按钮以显示全页或全屏模式。
use Webbingbrasil\FilamentMaps\Actions;
Actions\FullpageAction::make()
Actions\FullscreenAction::make()
自定义操作
您可以使用 Webbingbrasil\FilamentMaps\Actions\Action 创建自己的操作。
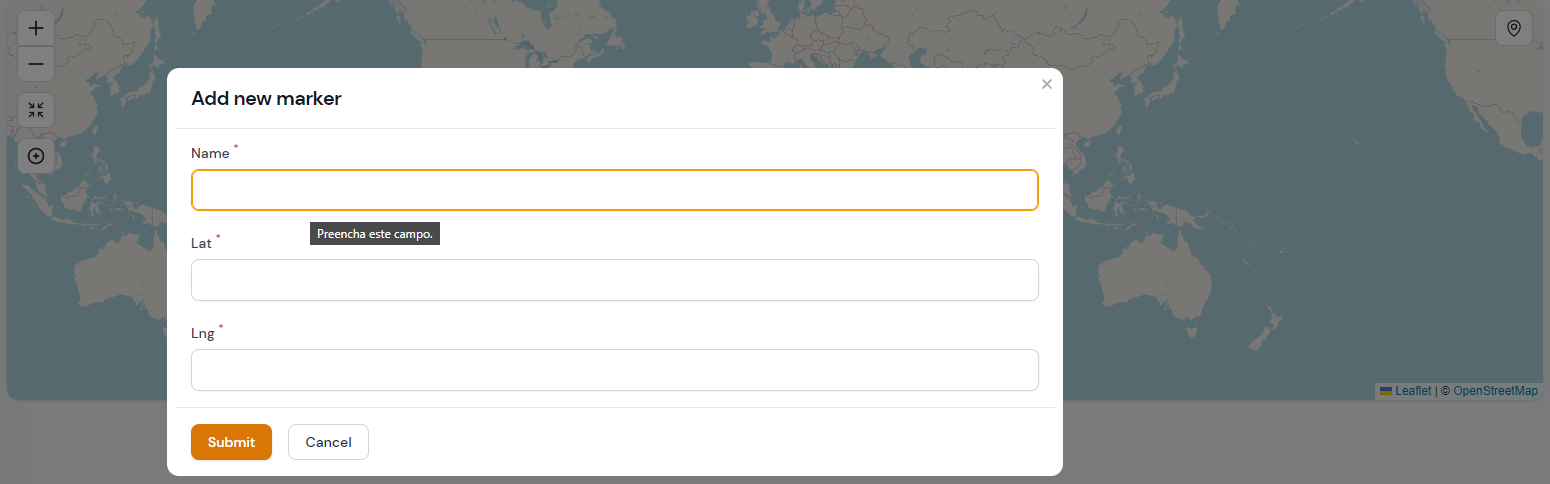
例如,添加新标记的操作
use Webbingbrasil\FilamentMaps\Actions;

Actions\Action::make('form')
        ->icon('filamentmapsicon-o-arrows-pointing-in')
        ->form([
            Forms\Components\TextInput::make('name')
                ->label('Name')
                ->required(),
            Forms\Components\TextInput::make('lat')
                ->label('Latitude')
                ->required(),
            Forms\Components\TextInput::make('lng')
                ->label('Longitude')
                ->required(),
        ])
        ->action(function (array $data, self $livewire) {
            $livewire
                ->addMarker(
                    Marker::make(Str::camel($data['name']))
                        ->lat($data['lat'])
                        ->lng($data['lng'])
                        ->popup($data['name'])
                )
                ->centerTo(location: [$data['lat'], $data['lng']], zoom: 13)
        })
在这个例子中,我们使用 addMarker() 方法动态添加新的标记,并使用 centerTo() 设置新的地图中心和缩放级别。
您可以使用以下方法操作标记数据
$liveWire->mapMarkers(array $markers); // update the markers
$livewire->addMarker(Marker $marker); // add a new marker
$livewire->removeMarker(string $id); // remove a marker
$livewire->updateMarker(string $id, Marker $marker); // update a marker
注意:标记需要有一个唯一名称。如果您尝试添加一个与现有标记具有相同名称的标记,现有的标记将被替换。
使用 JS
如果您想使用自定义javascript操作地图而不使用Livewire,则此方法很有用。
Actions\Action::make('center')
    ->alpineClickHandler(<<<JS
        map.setView([0,0], 2)
    JS)
使用
map属性在操作处理程序中访问Leaflet实例。
操作位置
您可以使用 position() 方法设置操作的位置
$this
    ->actions([
        Actions\CenterMapAction::make()->position('topright'),
    ])
}
操作图标
您可以使用 icon() 方法设置操作图标
Actions\Action::make()->icon('heroicon-o-home')
标记
您可以将标记添加到地图小部件中。标记是地图上的点,可以点击以打开信息弹出窗口或执行JS回调。
use Webbingbrasil\FilamentMaps\Marker;

$this
    ->mapMarkers([
        Marker::make('id')
            ->lat(51.505)
            ->lng(-0.09)
            ->popup('I am a popup'),
        Marker::make('id')
            ->lat(51.505)
            ->lng(-0.09)
            ->tooltip('I am a tooltip')
            ->callback(<<<JS
                alert('Hello World!');
            JS),
    ])
}
回调方法在标记渲染期间被调用,并必须返回将在事件点击时执行的JS。使用
map在您的回调中访问Leaflet实例。
标记聚合
您可以使用 MarkerCluster 类将标记分组。如果您在地图上有大量标记,这很有用。
use Webbingbrasil\FilamentMaps\MarkerCluster;

$this
    ->mapMarkers([
        MarkerCluster::make([
            Marker::make('id')
                ->lat(51.505)
                ->lng(-0.09)
                ->popup('I am a popup'),
            Marker::make('id')
                ->lat(51.505)
                ->lng(-0.09)
                ->tooltip('I am a tooltip')
                ->callback(<<<JS
                    alert('Hello World!');
                JS),
        ]),
    ])
}
标记图标颜色
您可以使用 color() 方法设置标记图标的颜色
Marker::make('id')
    ->color(Marker::COLOR_RED)
查看 Marker::COLOR_* 常量以获取所有可用颜色。默认颜色是 Marker::COLOR_BLUE。
标记自定义图标
您可以使用 icon() 方法为标记设置自定义图标
Marker::make('id')
    ->icon(
        string $iconUrl,
        string $shadowUrl,
        array $iconSize,
        array $iconAnchor,
        array $popupAnchor,
        array $shadowSize
    )
您可以从 leaflet-color-markers 获取额外的图标和相关信息。
显示标记详情
目前,标记没有与操作相同的功能,但使用 livewire事件 可以执行类似操作,例如
为您的标记添加回调
Marker::make('place')->callback('Livewire.emit("updateFooter", ' . $placeId . ')');
在地图小部件中注册事件监听器
protected $listeners = ['updateFooter' => 'showMarkerData'];

public function showMarkerData($placeId)
{
    $place = Place::find($placeId);
    $this->footer = view('marker-details', $place);
}
多边形线
您可以将多边形线添加到地图小部件中。多边形线是在地图上绘制的线,位于两个经纬度点之间。如果您有多个多边形线,每条多边形线都必须有一个唯一名称。
public function getPolylines(): array
{
    return [
        Polyline::make('polyline')
        ->latlngs([
            [45.51, -122.68],
            [37.77, -122.43],
            [34.04, -118.2]
        ])->options(['color' => 'blue', 'weight' => 5])
        ->tooltip('I am a tooltip')
        ->popup('I am a popup'),
    ];
}
您可以使用以下链接中列出的选项: Leaflet Polyline 选项
多边形线操作
您可以使用上述描述的操作来操作多边形线
Actions\Action::make('add line')
    ->tooltip('Add line')
    ->icon('filamentmapsicon-o-map-pin')
    ->form([
        Forms\Components\TextInput::make('name')
            ->label('Name')
            ->required(),
        Forms\Components\Section::make('Start')
            ->schema([
                Forms\Components\TextInput::make('lat1')
                    ->label('Latitude')
                    ->required(),
                Forms\Components\TextInput::make('lng1')
                    ->label('Longitude')
                    ->required(),
            ]),
        Forms\Components\Section::make('End')
            ->schema([
                Forms\Components\TextInput::make('lat2')
                    ->label('Latitude')
                    ->required(),
                Forms\Components\TextInput::make('lng2')
                    ->label('Longitude')
                    ->required(),
            ]),
    ])
    ->action(function (array $data, self $livewire) {
        $livewire
            ->addPolyline(
                Polyline::make(Str::camel($data['name']))
                    ->latlngs([
                        [$data['lat1'], $data['lng1']],
                        [$data['lat2'], $data['lng2']]
                    ])
            );
    })
在这个例子中,我们使用 addPolyline() 方法动态添加新的多边形线。您还可以使用 removePolyline() 和 updatePolyline() 方法。
$livewire->addPolyline(Polyline::make('polyline-name')->latlngs([...])->options([..]));
$livewire->removePolyline('polyline-name');
$livewire->updatePolyline(Polyline::make('polyline-name')->latlngs([...])->options([...]));
多边形
您可以将多边形添加到地图小部件中。多边形是在地图上绘制的线,位于两个经纬度点之间。如果您有多个多边形,每个多边形都必须有一个唯一名称。
public function getPolylgones(): array
{
    return [
        Polygone::make('polygone')
        ->latlngs([
            [45.51, -122.68],
            [37.77, -122.43],
            [34.04, -118.2]
        ])->options(['color' => 'blue', 'weight' => 5])
        ->tooltip('I am a tooltip')
        ->popup('I am a popup'),
    ];
}
您可以使用以下链接中列出的选项: Leaflet Polygone 选项
多边形操作
$livewire->addPolygone(Polygone::make('polygone-name')->latlngs([...])->options([..]));
$livewire->removePolygone('polygone-name');
$livewire->updatePolygone(Polygone::make('polygone-name')->latlngs([...])->options([...]));
矩形
您可以将矩形添加到地图小部件中。如果您有多个矩形,每个矩形都必须有一个唯一名称。
public function getRectangles(): array
{
    return [
            Rectangle::make('rectangle')
                ->bounds([
                    [54.559322, -5.767822],
                    [56.1210604, -3.021240]
                ])->tooltip('rectangle')
                ->options(['color' => 'red'])
    ];
}
您可以使用在Leaflet Rectangle 选项中列出的选项。
矩形操作
$livewire->addRectangle(Polygone::make('rectangle-name')->bounds([...])->options([..]));
$livewire->removeRectangle('rectangle-name');
$livewire->updateRectangle(Polygone::make('rectangle-name')->bounds([...])->options([...]));
圆形
您可以在地图小部件中添加圆形。如果您有多个圆形,每个圆形都必须有一个唯一名称。
public function getCircles(): array
{
    return [
            Circle::make('circle')
                ->lat(-15.7942)
                ->lng(-47.8822)
                ->options(['radius' => 200000])
                ->popup('Hello Brasilia!')
                ->tooltip('test2'),
    ];
}
您可以使用在Leaflet Circle 选项中列出的选项。
矩形操作
$livewire->addCircle(Circle::make('circle-name')->lat(...)->lng(...)->options([..]));
$livewire->removeCircle('circle-name');
$livewire->updateCircle(Circle::make('circle-name')->lat(...)->lng(...)->options([...]));
图片