actengage / nova-wizard
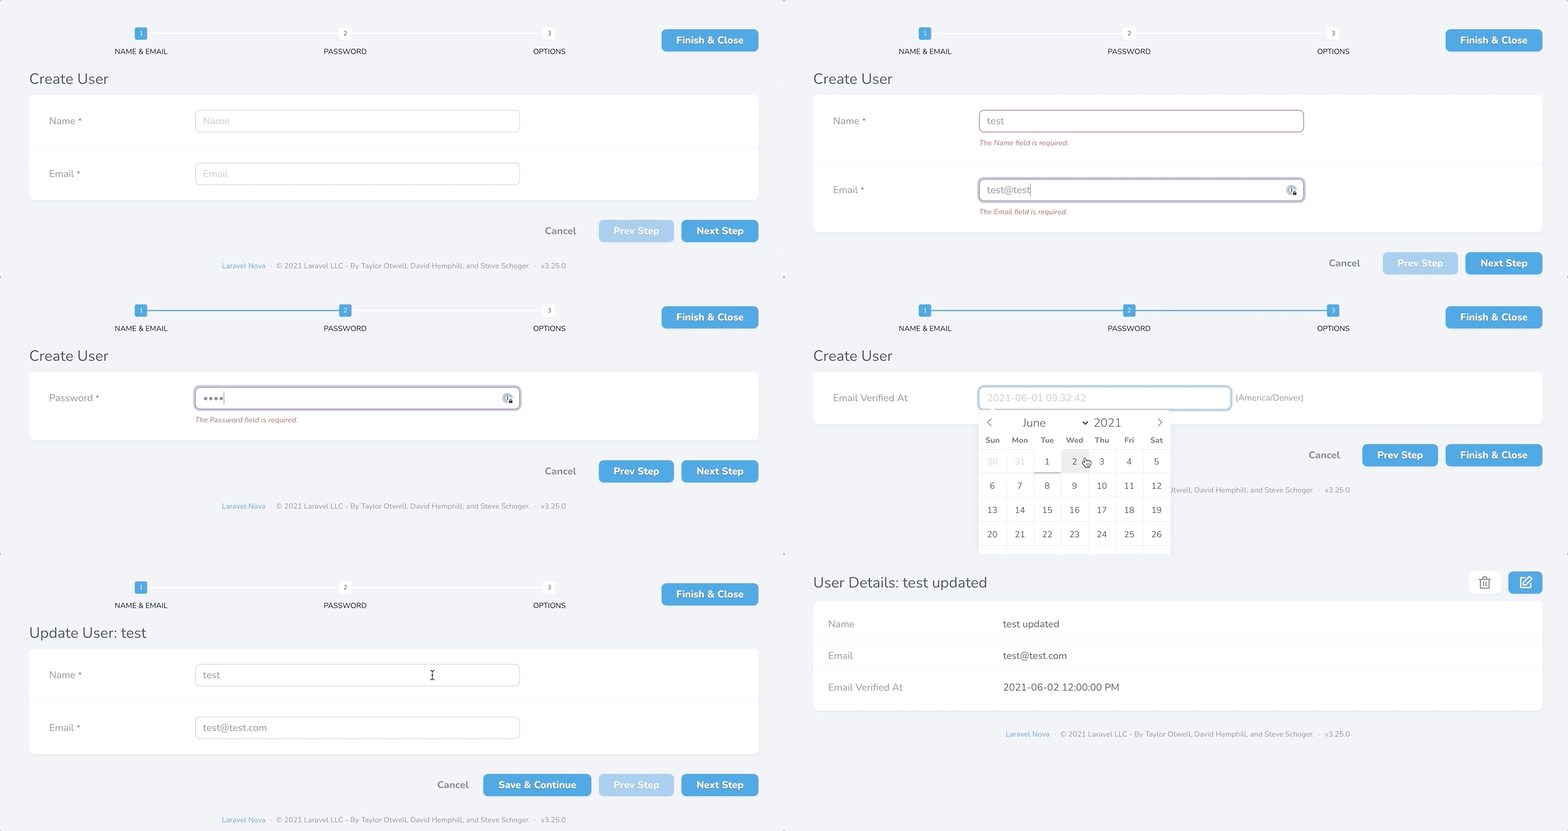
将您的长且复杂的资源表单转换为简单且清晰的分步流程。
v0.9.8
2021-07-17 01:31 UTC
Requires
- php: >=7.1.0
- laravel/framework: ^8.0
- laravel/nova: ^3.0
README
将您的长且复杂的资源表单转换为简单且清晰的分步流程。此包旨在尽可能少地更改Nova。只需实现特性,定义步骤,插件会完成剩余工作。
安装
composer install actengage/nova-wizard
用法
- 使用
Actengage\Wizard\HasMultipleSteps特性。 - 在
fields()方法中创建Actengage\Wizard\Step实例。
namespace App\Nova;

use Actengage\Wizard\HasMultipleSteps;
use Actengage\Wizard\Step;
use Illuminate\Http\Request;
use Laravel\Nova\Fields\DateTime;
use Laravel\Nova\Fields\Text;
use Laravel\Nova\Fields\Password;

class User extends Resource
{
    use HasMultipleSteps;

    /**
     * The model the resource corresponds to.
     *
     * @var string
     */
    public static $model = 'App\\User';

    /**
     * The single value that should be used to represent the resource when being displayed.
     *
     * @var string
     */
    public static $title = 'name';

    /**
     * The columns that should be searched.
     *
     * @var array
     */
    public static $search = [
        'id', 'name', 'email',
    ];

    /**
     * Get the fields displayed by the resource.
     *
     * @param  \Illuminate\Http\Request  $request
     * @return array
     */
    public function fields(Request $request)
    {
        return [
            Step::make('Name & Email', [
                Text::make('Name')
                    ->sortable()
                    ->rules('required', 'max:255'),

                Text::make('Email')
                    ->sortable()
                    ->rules('required', 'email', 'max:254')
            ]),

            Step::make('Password', [
                Password::make('Password')
                    ->onlyOnForms()
                    ->creationRules('required', 'string', 'min:8')
                    ->updateRules('nullable', 'string', 'min:8'),
            ]),

            Step::make('Options', [
                DateTime::make('Email Verified At')
            ]),
        ];
    }
}
以面板形式显示步骤
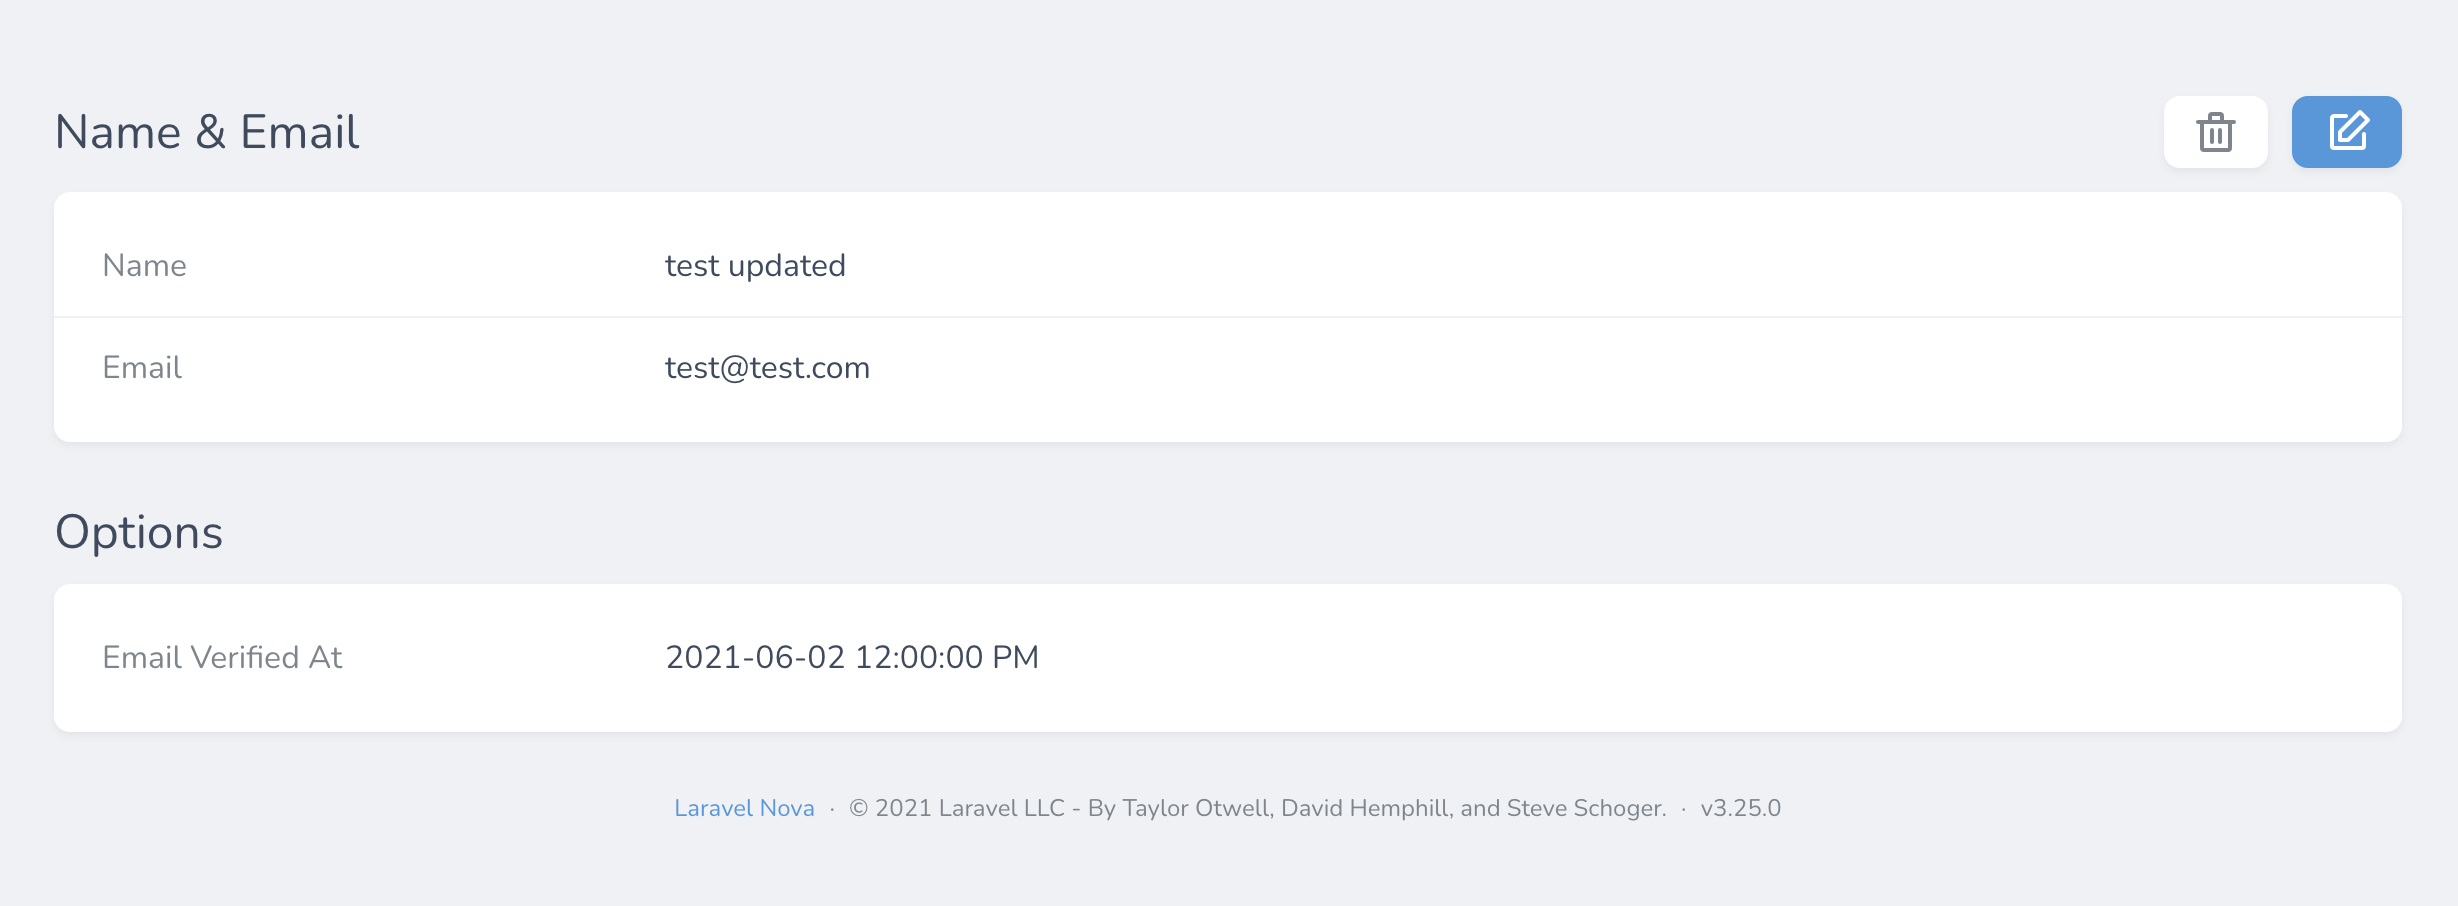
有时您可能希望步骤以面板形式显示,而无需在步骤内重复定义面板。为此,只需使用 displayasPanel() 方法。此外,如果您想控制工具栏的显示位置,可以使用 withToolbar() 方法,就像处理面板一样。
Step::make('Name & Email', [
    Text::make('Name')
        ->sortable()
        ->rules('required', 'max:255'),

    Text::make('Email')
        ->sortable()
        ->rules('required', 'email', 'max:254')
])->displayAsPanel()->withToolbar(),


